Friday 29 February 2008

300! Post.......

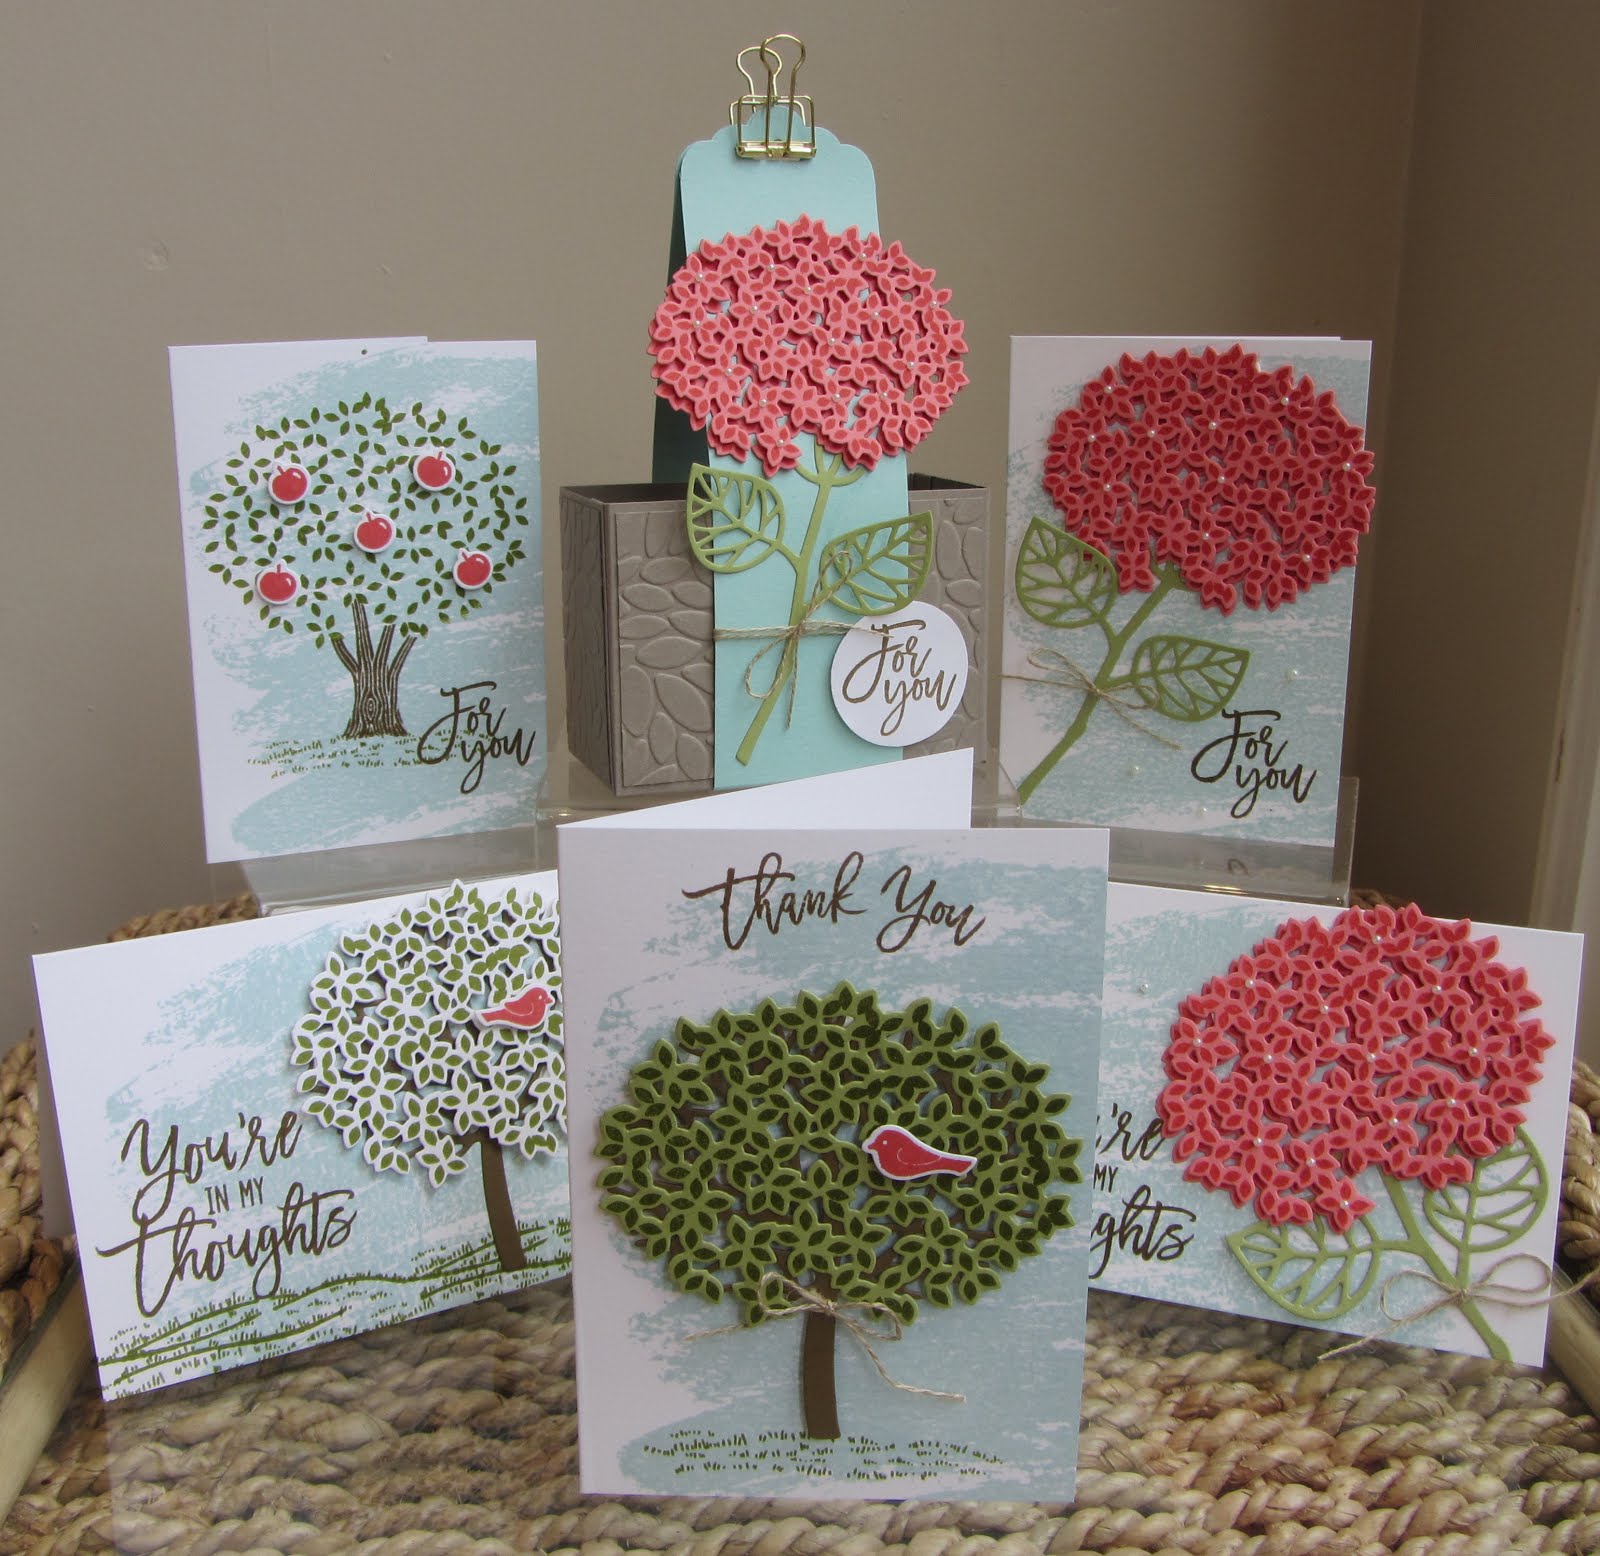
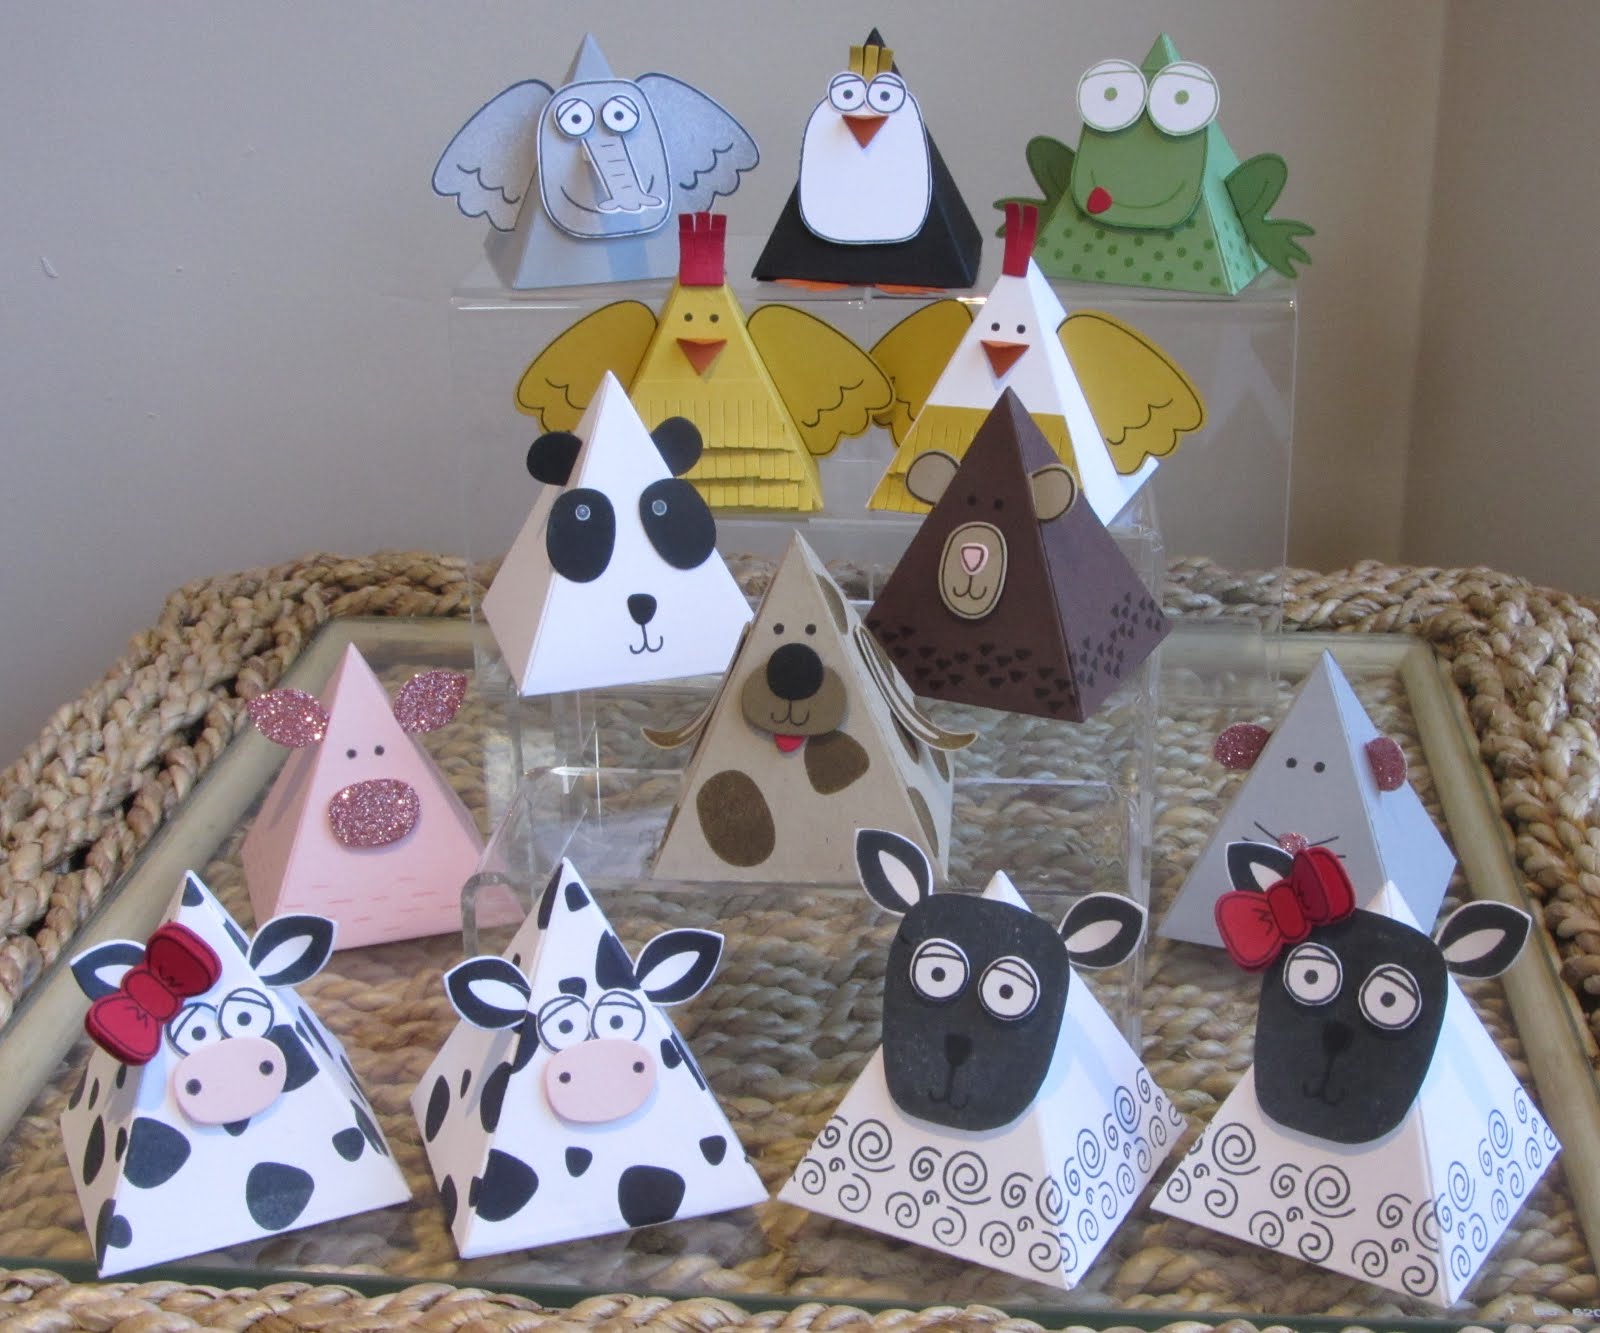
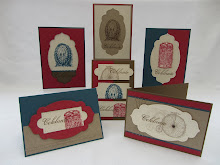
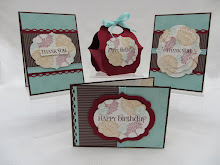
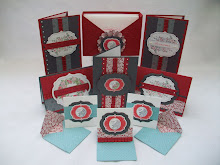
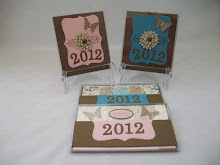
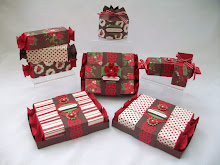
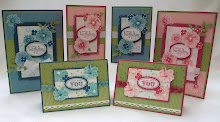
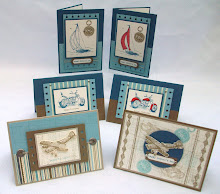
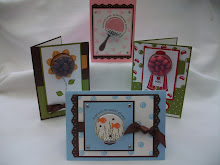
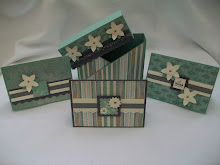
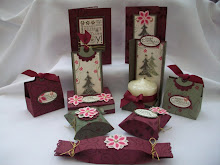
Gosh! Just noticed this is my 300! Post on my little old Blog, surely I haven't made 300 cards??? No wonder I working my way through the whole of Stampin' Up Cardstock Supple:-(

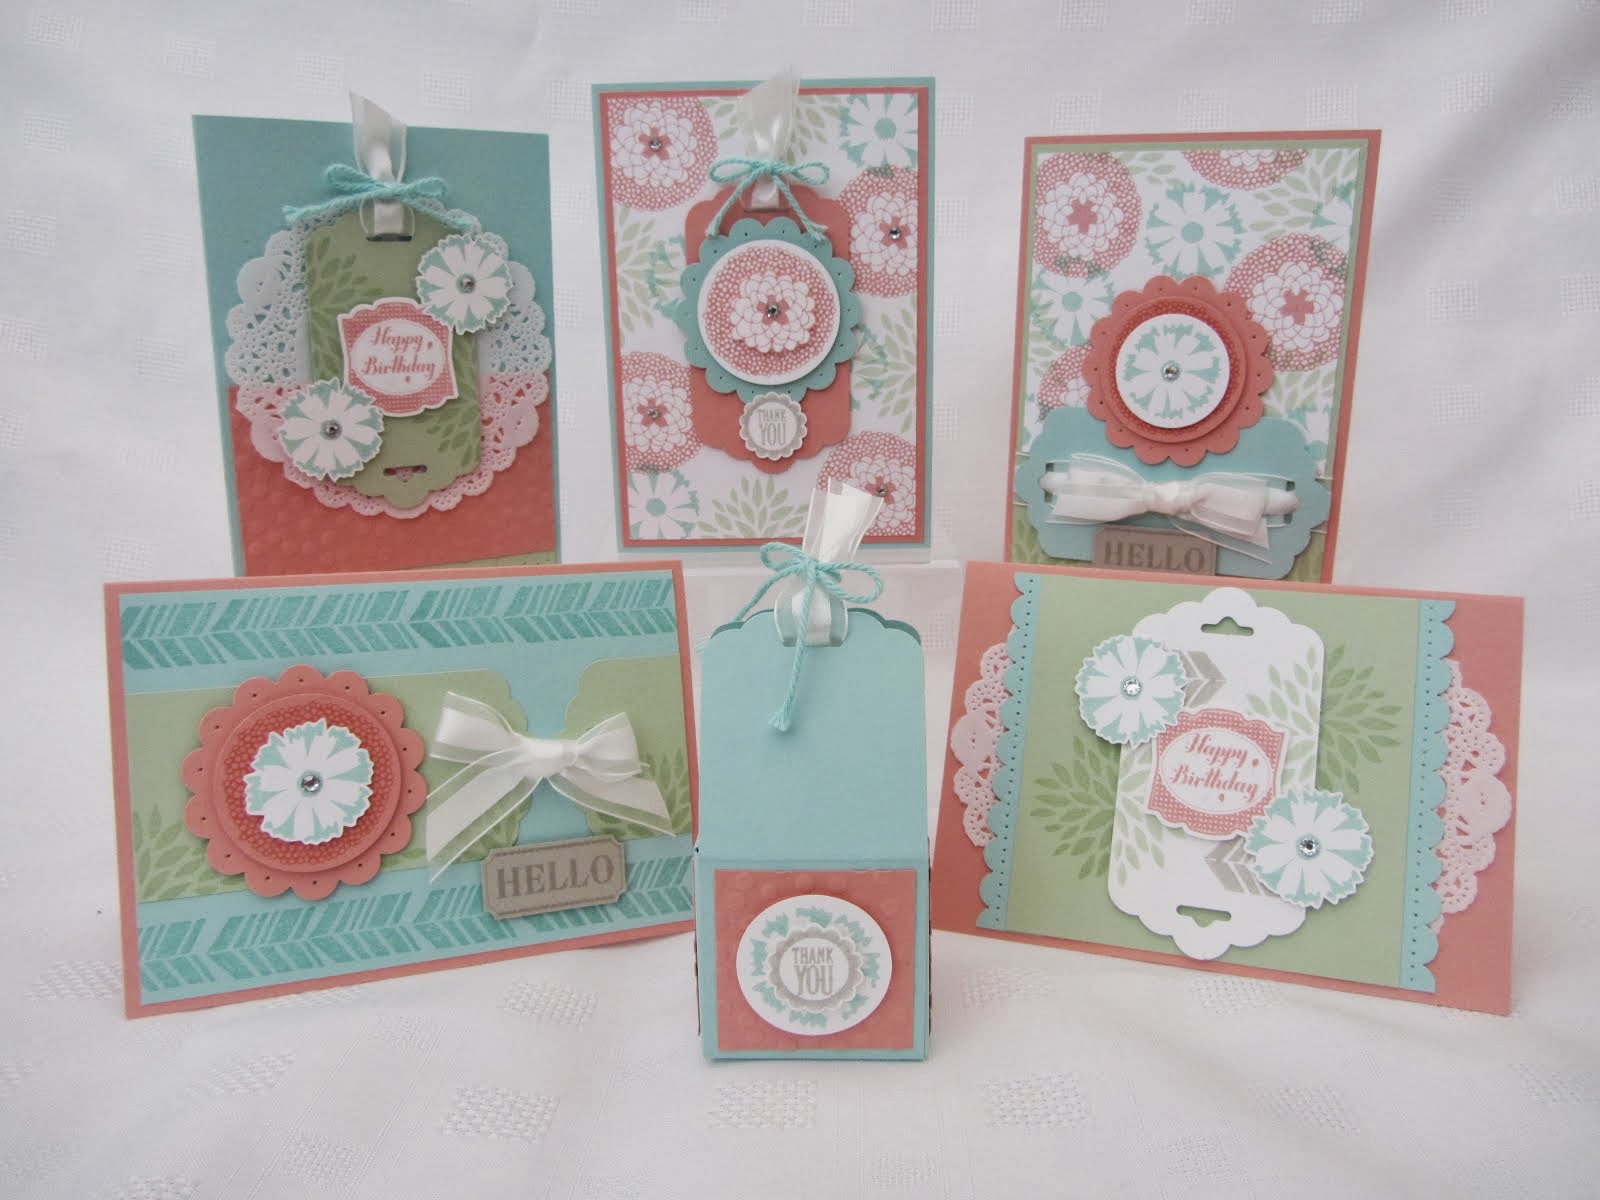
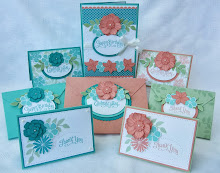
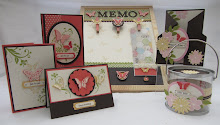
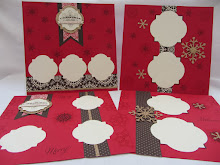
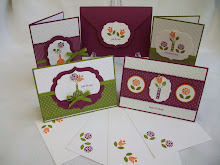
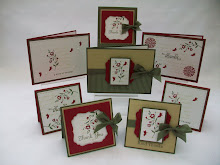
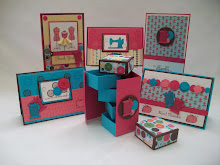
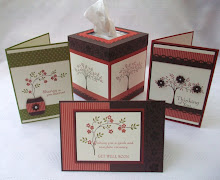
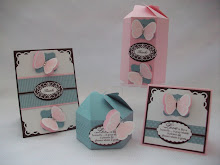
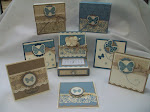
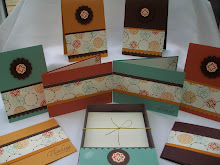
This card is mainly using the Seeing Spots Stampset.....I made the base card from Pink Passion cardstock. Its half a sheet of 12 x 12, scored at 4" and 8". To get the tag shape, I measured 1 1/4" from the edge and 1 1/4" from the score lines and cut away the bits in between.

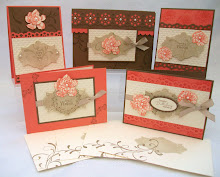
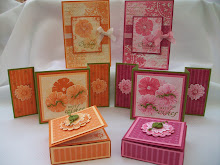
I used the 1/4" square punch to thread the ribbon through.


The front has a clippy bookmark to can remove and use. The paperclips are from Staples. I used 2 scallop circles and the circles punches 1 3/8 & 1 1/4 ones to make this.

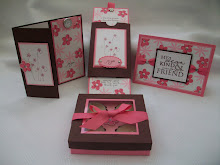
The cardstock used is Pink Passion, Pixie Pink and Whisper white. I stamped all over the whisper white piece of cardstock in both Pink Passion and Pixie Pink ink with 2 of the stamps to form the background. I used the Happy Everything stamp set for the sentiments. The bottom piece of cardstock is only taped down on the bottom and the 2 sides.

I did some pricking around the edge and went over it with the white gel pen. I added the ribbon before I added the whisper white layer to the actual card.


For the middle layer I used the Stem Sayings stampset to make the flower Stems then added a couple of 1 1/4 circles that I had stamped with one of the spots in Pink Passion.

I added a couple of flowers that I had cut out.

I used the corner rounder to make the scallops at the bottom.


For the last layer I split the cardstock, used the spiral punch down the left hand side. I added a couple more flowers, and used the sentiment from the Happy Everyting stamp set again,

Although this is quite a large card it does fit in a normal envelope.

Thanks for looking,
Jenny:-)xx

Thursday 28 February 2008

Z- Card Carte Postale Demo Card....

This is the next card I will Demonstrating tomorrow - Z-Card......I love these.

The cardstock is Close to Cocoa, Regal Rose, Whisper white. The stamp set is Carte Postale, sorry I've used this alot lately but love it.....


The base card is half a sheet of cardstock cut length ways and folded in half and then the front is folded back.

I stamped the left hand side piece of Regal Rose with the Canvas Background stamp, then went over it with the leaf stamp. I then added some Chocolate Chip Ribbon. The centre piece is only tape on the left hand side, the right hand side slips under the scallop circle. This holds the front down and also makes it stand so well.

The scallop circle, then the circle punches are held on by 2 3d dimensionals.


The other sample of Z-card is using the Loads of Love stamp set. The cardstock used is Pumpkin Pie, Real Red, Old Olive and Whisper white.

The left hand side is stamped with the Dotty Background stamp and I cut 2 slits in the fold to thread the ribbon through and then tied the knots, Real Red Ribbon.

I stamped the card in Old Olive and also on the Old Olive DP spotty paper. I cut it out and paper pieced this to the stamped image. I added some jumbo eyelets, when I layered it onto the Real Red cardstock you can see the Red through the eyelets. I stamped the flowers and coloured them in with SU Markers.


The scallop circle is used again to hold back the card.

Thanks for looking,
Jenny:-)xx

Slider Card, Z-Card, 3 Fold Card etc.....

These two are a couple of Slider Cards, I've made to Demonstrator at my Workshop Tomorrow - Hope they are OK Tracey?

The cardstock for both cards is Real Red, Regal Rose and Whisper white. The stampset is Simply Said which was requested.

The first one is 14.5cm wide ( finished size ). The actual piece of card is 21cm x 14.5cm, scored at 10cm and 20cm.

The cardstock was stamped all over with the 2 step flowers in Regal Rose and Real Red ink.


The front is a piece of Real Red then a piece of whisper white, stamped with the flower spray, the 1 3/8 circle punch was used. Then I added a 1 1/4 circle in Regal Rose, then I stamped the sentiment which is from the Circle of friendship stampset, punched out using the 1" circle punch. I added a Jumbo Eyelet and Rhinestone brad in the centre.

I used the 1/4" square punch to punch through both layers of the front and back of the cover. I threaded the Real Red ribbon and then insert the insert. I added a Round tab punch out but before I threaded the ribbon through the square punch hole I had made then taped it in place.

You can see better in this photo.


I tied a knot to complete the card.


The second is also a Slider card but a smaller one. The piece of cardstock is 10cm x 21cm, scored at 10cm and 20cm.

The stampset is Simply Said as well.


I stamped all over the cover with the flower and did the back as well!!

I used the round tab punch to cut the circle and then stamped the diddie flower in each corner and added a Real Red brad in the centre of each one. Then I punched a scallop circle in the Regal Rose and added some dots with the white gel pen. I stamped the flower heart in Real Red and coloured it in with the Regal Rose SU Marker, also I went over it with a glitter pen (Not SU).


I stamped the insert with the flower in Regal Rose and Real Red. The sentiment, which is such a lovely one is stamped in Real Red.

The 1/4" square is used again to thread the ribbon through and the 3/4" circle punch is used to punch out a 1/2 circle for the ribbon to sit neatly.

Thanks for looking,
Jenny xx

Joy Fold Carte Postale Card.....

Another day making cards for my workshops on Friday......Tomorrow!

I haven't moved off my chair all day and Boy! Do I need to get a new one. Chair I mean :-)

I made 6 cards today, I thought this wasn't alot in 5hrs but then again it was only a few months back it would take me up to a week to come up with a card to do with the Girls on our Thursday Meetings..........So maybe 6 in one day isn't so bad after all.

I haven't made a Joy fold Card for ages, they are lovely but my ones always end up so heavy. Lets put it this way the postage isn't cheap. Then again if its to someone special Who CARES.....

The base card is half a piece of cardstock folded in half. You can do it thinner but I love my cards to stand up. I used Regal Rose, Close to Cocoa and Whisper White cardstock. The stampset is Carte Postale and Canvas, also Cheer & Wishes.


I used some Close to Cocoa designer paper, Love that double sided paper.


The scallop circle holds back the front of the card, What would I do without my lovely Scallop Circle Punch. Note to self must try something else!!

I added some Chocolate Chip Taffeta Ribbon,


Shall I wait until tomorrow to upload the rest of the cards??????????

Let me know if you fancy seeing them,
Jenny:-)xx

Another Flower to cut out.....

I'm sure this layout was a Card Sketch Layout Challenge but sorry I couldn't find the number. I made a card similiar to this layout in the Summer and thought I would use it yesterday to make this one.

Yes another Tall card, I must try and not make a Tall card today. I have more work to do today so not sure how much crafting I can get done and also its raining and Puppy doesn't like the rain so I've found out.......So will have to bring in my craft bits and bobs after I've finished my book work.

The base card is Close to Cocoa, it goes so well with Sage Shadow. I stamped the 2nd Close to Cocoa with the Canvas Background stamp and went over it with the leaves from the Carte Postale stamp set. Next I cut 3 strips in Sage Shadow 3.5cm x 7cm and 3 strips in Close to Cocoa 3cm x 7cm and layered them up. I stamped Merci on each. I wrapped around some Chocolate Chip ribbon and did a knot.


Next I stamped the flower square in Sage Shadow on whisper white, cut around it and layered it onto some Sage Shadow cardstock, 4.5cm x 4.5cm.

I stamped the flower square again in Close to Cocoa and cut out the centre flower leaving an edge showing. Then I added 3 pearls from the Pretties Kit.....


I mounted them on the card as shown using the 3d dimensionals.

Thanks for looking,
Jenny:-)xx

Wednesday 27 February 2008

More Cards made today.....

I made these cards using the Colour Challenge CC155 Black River Rock Elegance......

Well us poor folks in UK don't have River Rock so I thought I couldn't play but Yeah!!! Found some Designer Paper in the Dashing Paper Pack that is River Rock......So I could play even without River Rock cardstock or a River Rock Inkpad.

I thought I would try and make some Male cards as I don't really do those very well. So 2 ended up pretty much male cards and the middle one is just quite........Mmm don't know, could be for my DH as he loves Birds and he is my best friend...:-)


This one is a Z-card, I know haven't made one of these in ur ....a few days. I'm not sure the scallop circle is male looking but it fits these Z-cards so very well. I used the French Flair background stamp and Carte Postale stamp set. Black, whisper white cardstock and one 12 x 12 sheet of the dashing river rock subsistute.... The buttons are SU and they are square, I thought they were chocolate chip but no they are Black.


This is the other half of the piece of Basic Black cardstock. Must be into tall cards today, as I made 4 of them.

The piece of dashing was stamped with the French Flair background stamp with black stazon ink.

I then added another piece of the paper and stamped the word friendship from the wonderful word stamp set. The bird was stamped and cut out and layered onto a scallop circle, 1 3/8 circle of the dashing paper, 1 1/4 circle in whisper white. I did some pricking onto some black card and added this below and above the word friendship.


I had one piece of dashing paper left so I made this square card, not sure if I like....

The base card is 14cm x 28 cm folded into a square. I stamped over the paper with the little leaf in black. I stamped the Lovely as a Tree stamp onto whisper white and tried a moon using a circle cut out and sponging over the top. I added some black brads and the linen thread. The spiral punch was used to finish the bottom.

The sentiment is Sincere Salutations stamp set.

One more post and that me done.

What I Have been up to today....

Just thought I would show you what I have been making today. I have a workshop on Friday and I wanted to make some new cards to show.....

The cardstock is Lovely Lilac, must be having a Purple week this week! They were both made from one piece of cardstock cut lengthways and folded in half. I then stamped on whisper white with Lovely Lilac ink with the Paisley Background stamp. MMMMM! Looks like material....


The stampsets are Pick a Petal and Sincere Salutations.

For this one I stamped the petal 6 times with the lovely lilac on whisper white and cut them out. Cor!!! Cut! Cut! Cut!

I added some dazzling diamonds glitter to each petal with the Quickie Glue pen (not SU).

I arranged them into half a flower and added a centre with a rhinestone brad.


For this one I stamped the petal with versamark ink on Lovely Lilac cardstock and added some heat & stick powder so that I could then add some Dazzling Diamonds Glitter.

The card is the same as before but I added some white ribbon before I taped down the paisley background.


Arh! A Sleepy Puppy.......


Thanks for looking,
Jenny:-)xx

More Polka Dot......

This is my last card I made yesterday, using the Polka Dot & Paisley stampset.

I used the same Elegant Eggplant and Orchid Opulence cardstock again, I like these 2 colours together, but also I added Brocade Blue as well, as I have these two colours in SU Ribbon.

The card is half a sheet folded in half. Then I did a layer of Orchid Opulence which I stamped all over with the Paisley stamp in Elegant Eggplant. A white gel pen was used to colour in sections of the paisleys. I have done this before on a previous card and I like the look.

I then added some Brocade Blue cardstock which I stamped with the dotty background stamp from the same stamp set, before I added this I wrapped around the ribbon and tied a knot.


For the flower, I stamped in Orchid Opulence on whisper white, also I stamped the head of the flower 3 more times and cut them out. I glued the 2 elegant eggplant ones straight down but I added a dimensional behind the Orchid Opulence head and then added a rhinestone to bring in the Brocade Blue.

This image was layered up on some more cardstock.

The sentiment was added from the Occassional Greetings stampset.

I'm back out in the Craft Room today, seeing what I come up with for my workshops on Friday.

Thanks for looking,
Jenny:-)xx

Tuesday 26 February 2008

Tall Criss-Cross Card Complete

This the Tall Version of a Criss Cross Card.

The cardstock is Elegant Eggplant, stamped all over with the open petal from the Polka Dot & Paisley stampset.

I do like the Tall Criss Cross Card to be able to stand up so I add a leg at the back of the card, see further down for photo.

The Band wrapped around the whole card is Orchid Opulence, stamped using Elegant Eggplant with the dots background stamp in the Polka Dot & Paisley stamp set.


This is the insert with is loose and can be pulled out completely.

The flowers on the Band is actually the tall flower in the Polka Dot & Paisley stamp set, same as the one on the inside, but the head is cut off. You need to stamp it 4 times to make this flower. I added a tiny pearl to the centres.

The Centre Flower is layered on to scallop circles, then 1 1/4 circle. I used a white gel pen to make the dots on the scallops on the scallop circle. The card is More Mustard.


This is the Leg or Kick stand!!! I made for the card to stand up.

Thanks for looking,
Jenny:-)xx

Tall Criss-Cross Card

To make a Tall Criss Cross Card, cut a piece of cardstock in half width ways.

See Photo 1.

Score these on half and you will end up with two normal sizes cards.


Do the same as before and cut diagonally from the score line to the bottom corner.

You should end up with your cards looking like Photo 3.

Tape the cards together as shown and same as before in Photo4.

Any Queries, just leave me a comment.


Wide Criss Cross

To make the wide sort of Criss Cross Card, you need to cut a piece of cardstock lengthways in half. As in Photo 1.

Score these in half as shown in Photo 2.

Next use your cutter to cut diagonally from the score line to the bottom corner.

Cut the other piece diagonally from the score line to the bottom corner.

Your pieces of cardstock should look like this.

Now use double sided tape and tape the centre on top of one another, so you have the two triangle piece out in front and then tape them down on top of eachother as shown in the card.

Polka Dot Criss Cross Card

What a mad day yesterday, I feel like I did a whole weeks worth of work yesterday in just one day so I could get some Cards made today.......Even Ironing done:-)

This is Part One of my posts today, They are working progress........Criss Cross Cards.

This Criss Cross Card is where you cut the Sheet of Cardstock in half lengthways. Photo Tutorial to follow.....

The cardstock is Elegant Eggplant, More Mustard and Whisper White. I seem to be flying through these packs of cardstock, like wild fire! The stamp sets are Polka Dot & Paisley ,Stem Sayings, Circle of Friendship and the Canvas Background stamp. The punches are Scallop, Round Tab Punch, 1 1/4 circle, 1" circle and the crop a dile.

I've been meaning to try this flower out and this is how you make it. Its the scallop punch, each scallop is then cut towards the centre but not all the way. Then I ran each petal through my fingers to curl it up.

These are the parts I used to make the centre flower.


Check back later for the next Criss Cross Shape Card,
Thanks for looking,
Jenny:-)xx

Sunday 24 February 2008

First Suspension Card.....

I've been meaning to make one of these cards for ages but keep forgetting about them.

You can find the tutorial on Splitcoaststampers here.

I've used the Big Bold Birthday stamp set and Circle of Friendship for the circle sentiment that twists around to refill another message on the back.

The cardstock is Pretty in Pink and Certainly Celery and Certainly Celery DP paper.

The outer circle is 1 3/8 circle punch then the 1 1/4 and 1" circle punches for the centre.

Sorry a bit of a rush, but off to the movies.

Thanks for looking,
Jenny:-)xx

Saturday 23 February 2008

Shapes & Shadows......Embossed Dots Again!

Wow! Just uploaded these photo's and Gosh they are bright! They are warm in real life, funny how sometimes the photo's make the cards look bigger and different!

This is for Beates Weekend Challenge, I seem to be Addicted to Challenge Layouts at the moment. I love to see what Beate from Fresh & Fun Blog gets us to do each Friday......Great start to the Weekend. The other Ladies that help her with their versions are so amazing as well, pop over to Beate's Blog and get the low down.....

This card is Old Olive, half a sheet folded in half. Trying to come up with some simple cards for my two workshops this week and this layout worked well for this.....

The stamp set is Shapes and Shadows which is on special offer until 29th February. The cardstock is Pumpkin Pie, Real Red, Old Olive and Whisper White.
The Old Olive square is 4.5cm x 4.5cm and I embossed the dots using the Crop a Dile and the clear pricking mat from the Crafters Tool Kit.


I stamped 3 flowers, 2 in Pumpkin Pie and 1 in Real Red on whisper white cardstock. I did 2 step stamping on the pumpkin pie flowers with the other stamp. I added some rhinestone brads and 3d foam pads to layer up.

The Canvas Background stamp was used on the large layer of Pumpkin Pie with same ink, then I stamped the little flower in Real Red. The ribbon is Real Red. Note to self.....Buy some Pumpkin Pie SU Ribbon - Can't believe I am missing that colour.


This is the pricking mat from the Crafters Tool Kit. I used this to emboss the dots. Janette and I had played with this before but forgot about it until I saw over at Dannies Blog, she has used and We remembered about doing this on Friday......

Great minds.....


The setting on the Crop a Dile is A 1.

Thanks for looking,
Jenny:-)xx
 
09 10