Hello Everyone,
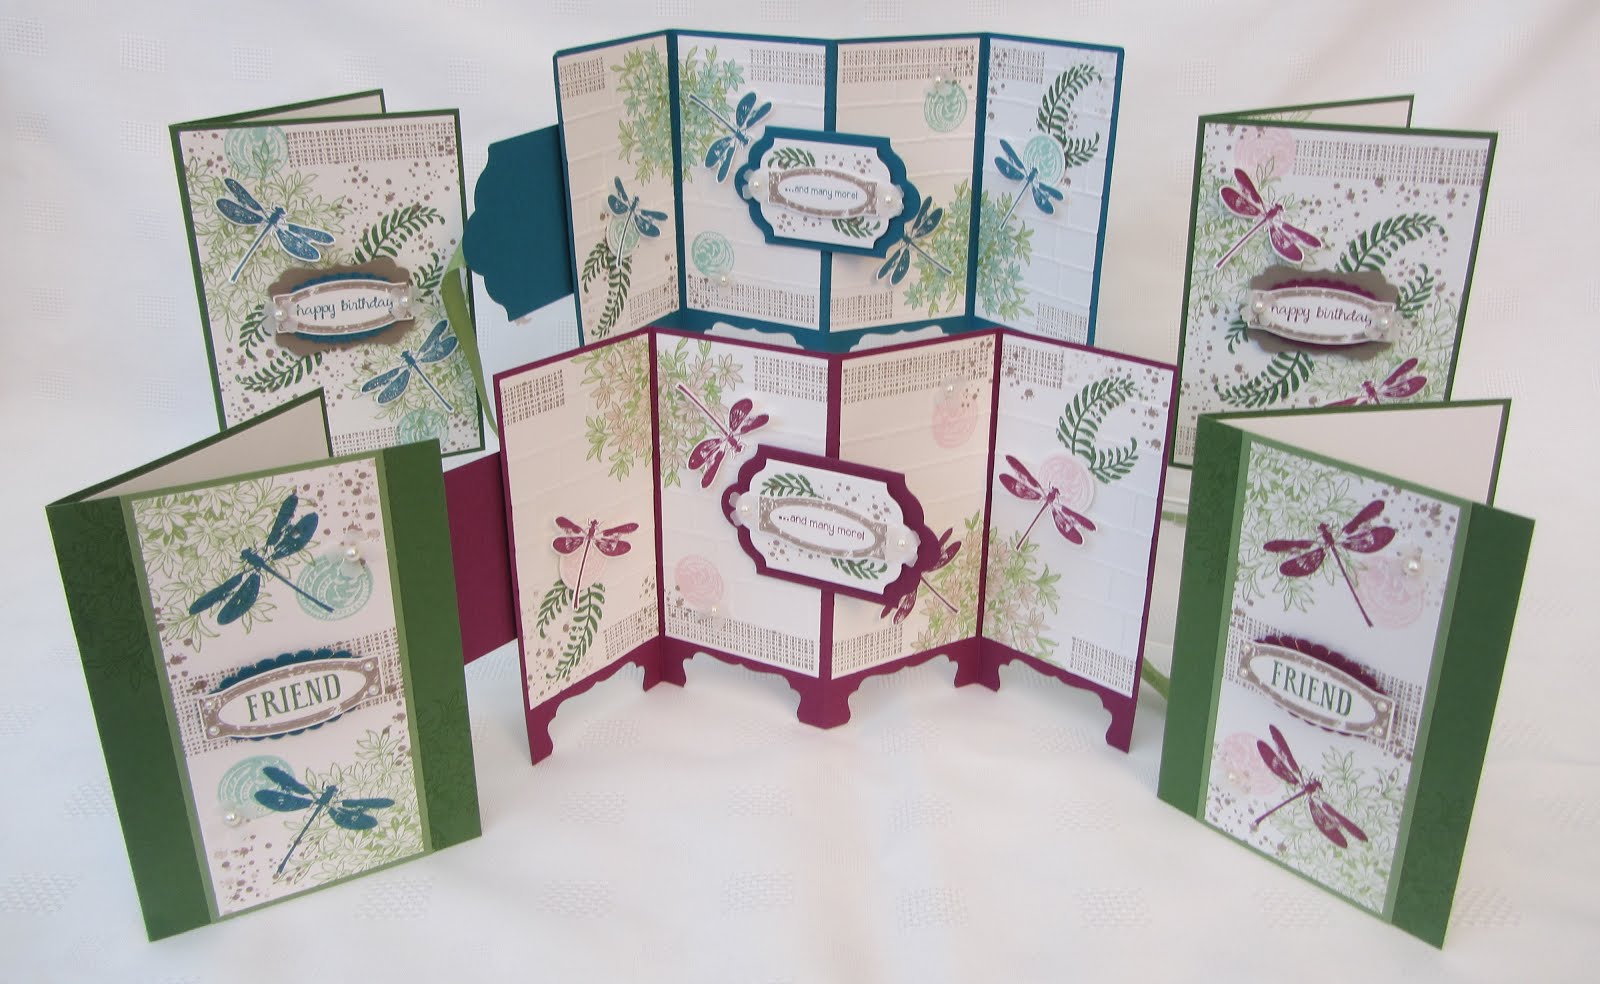
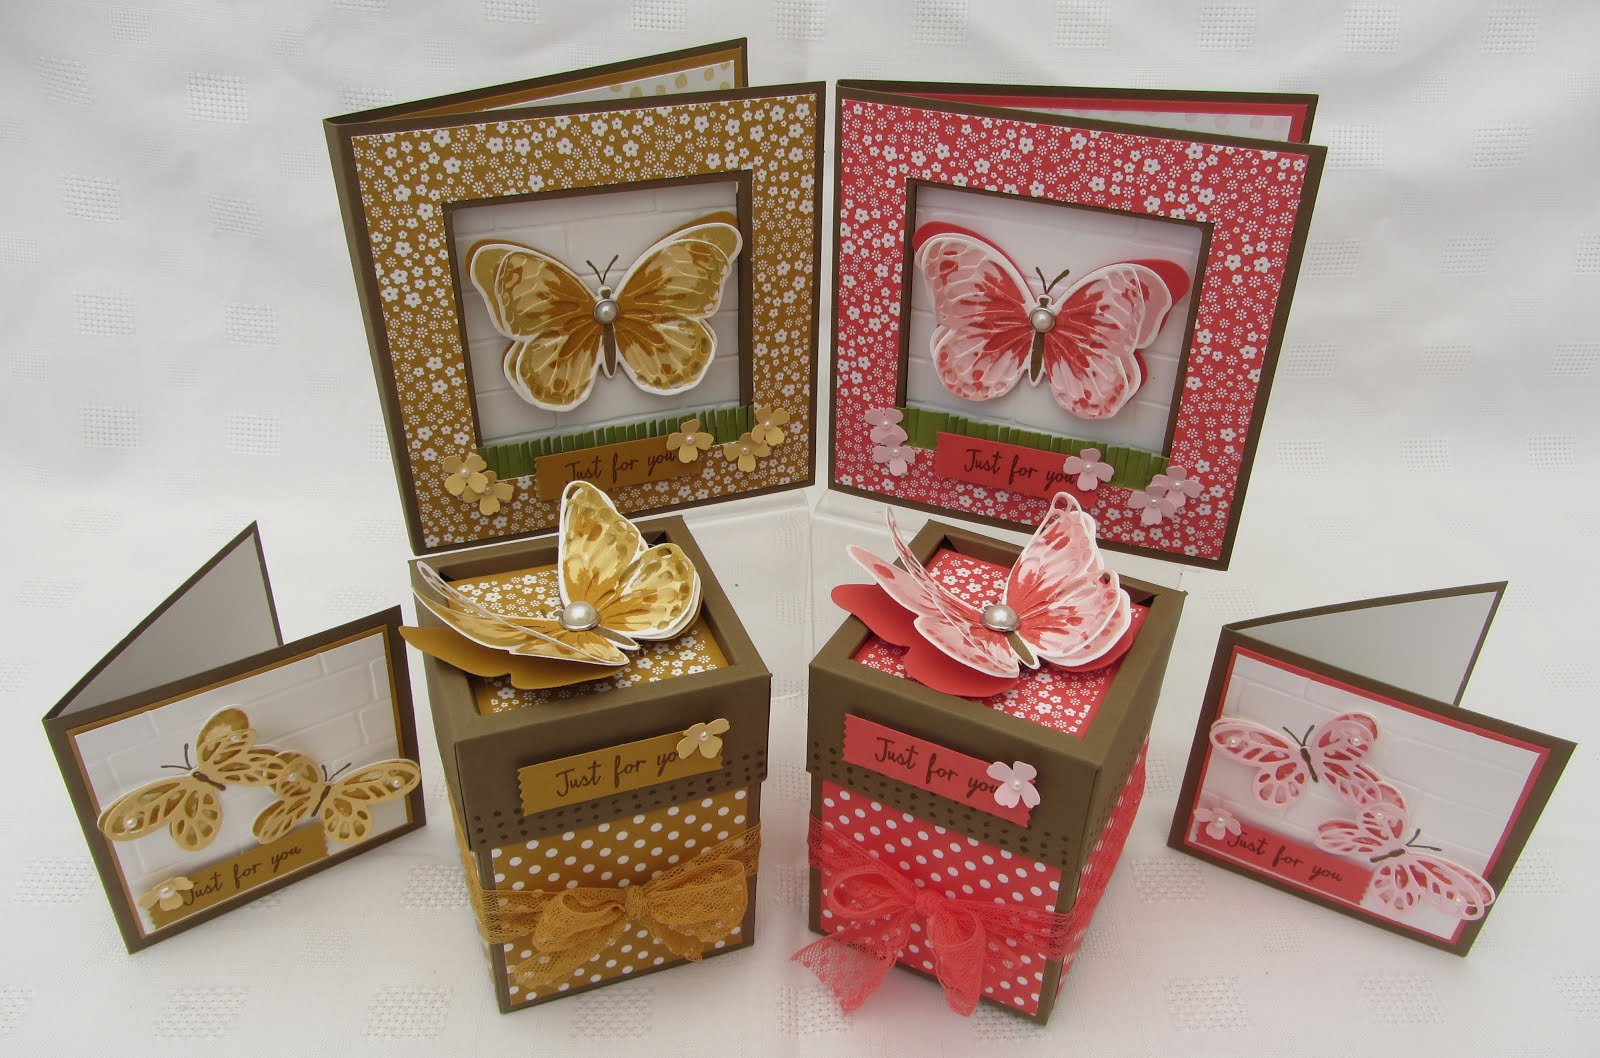
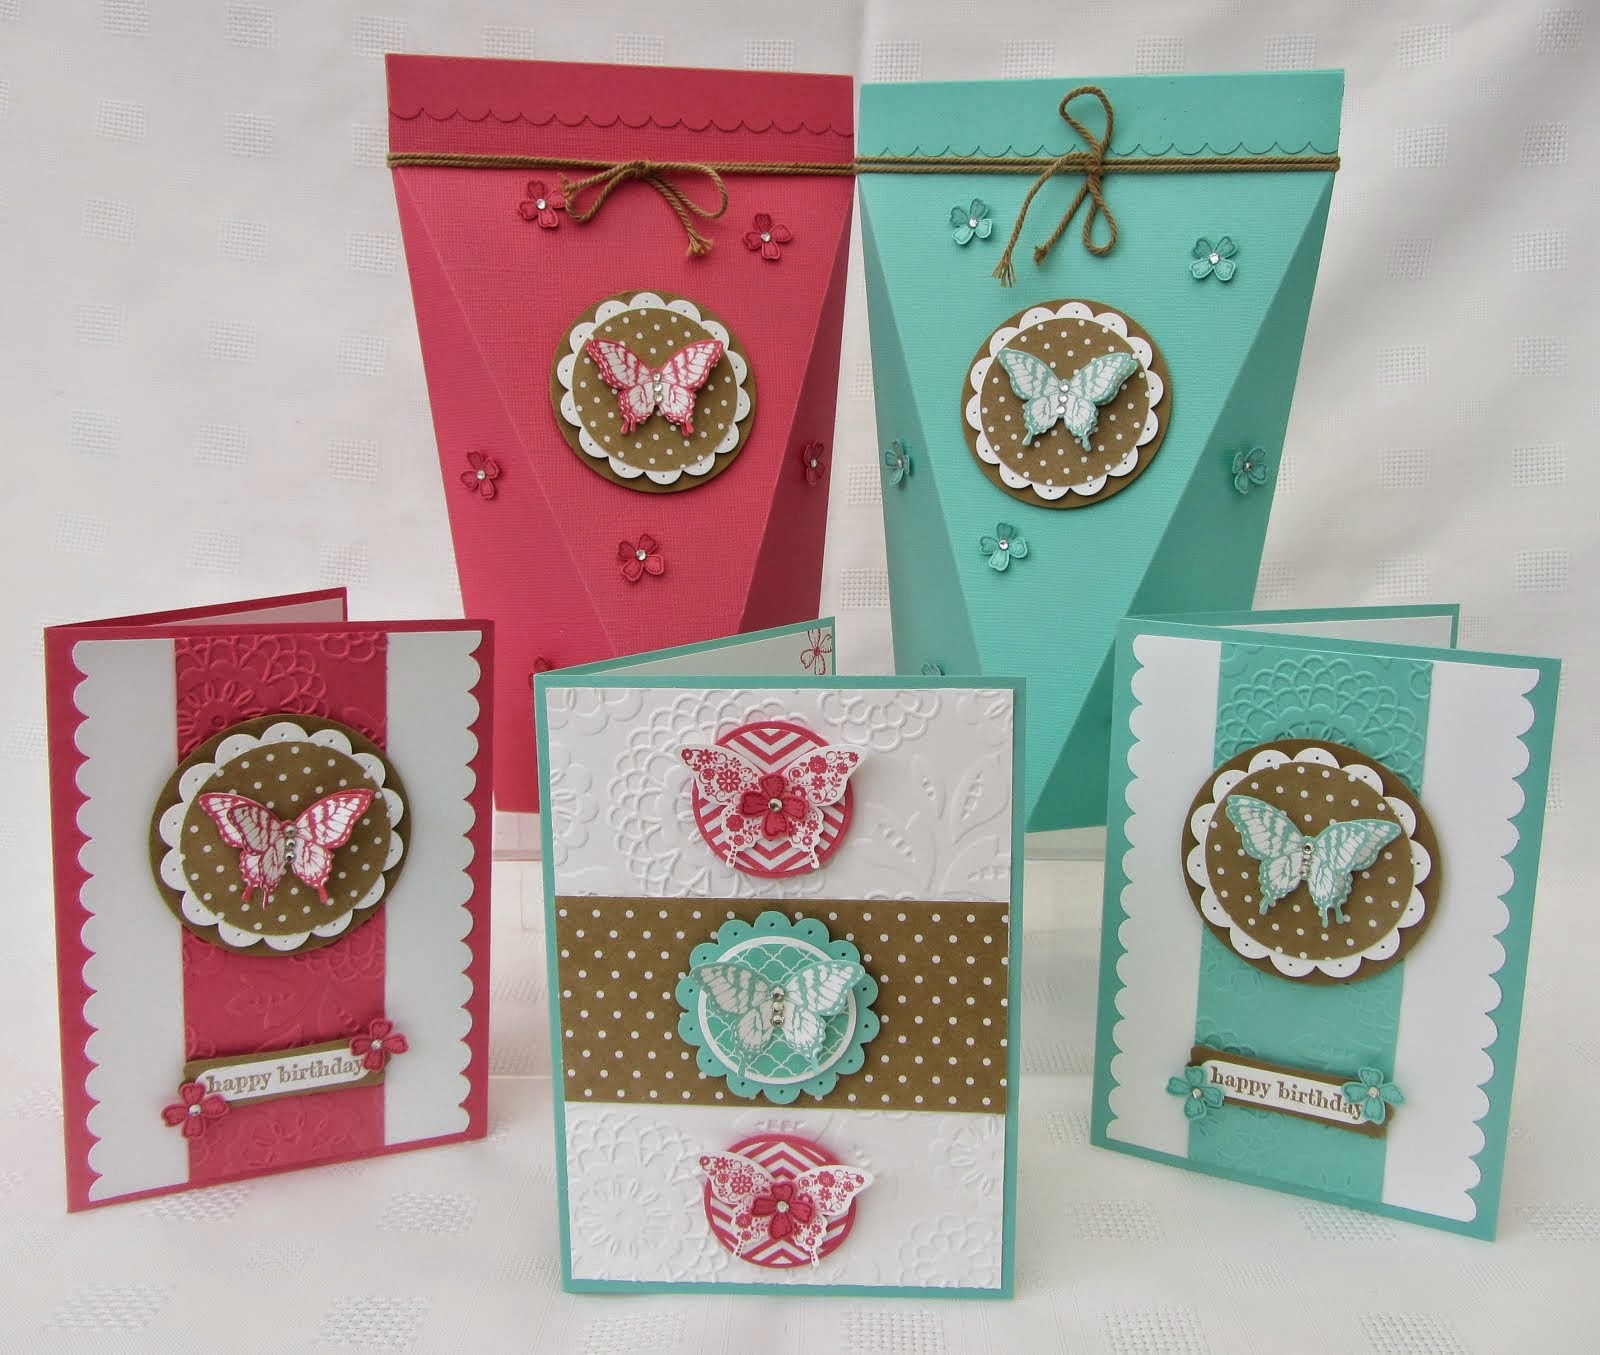
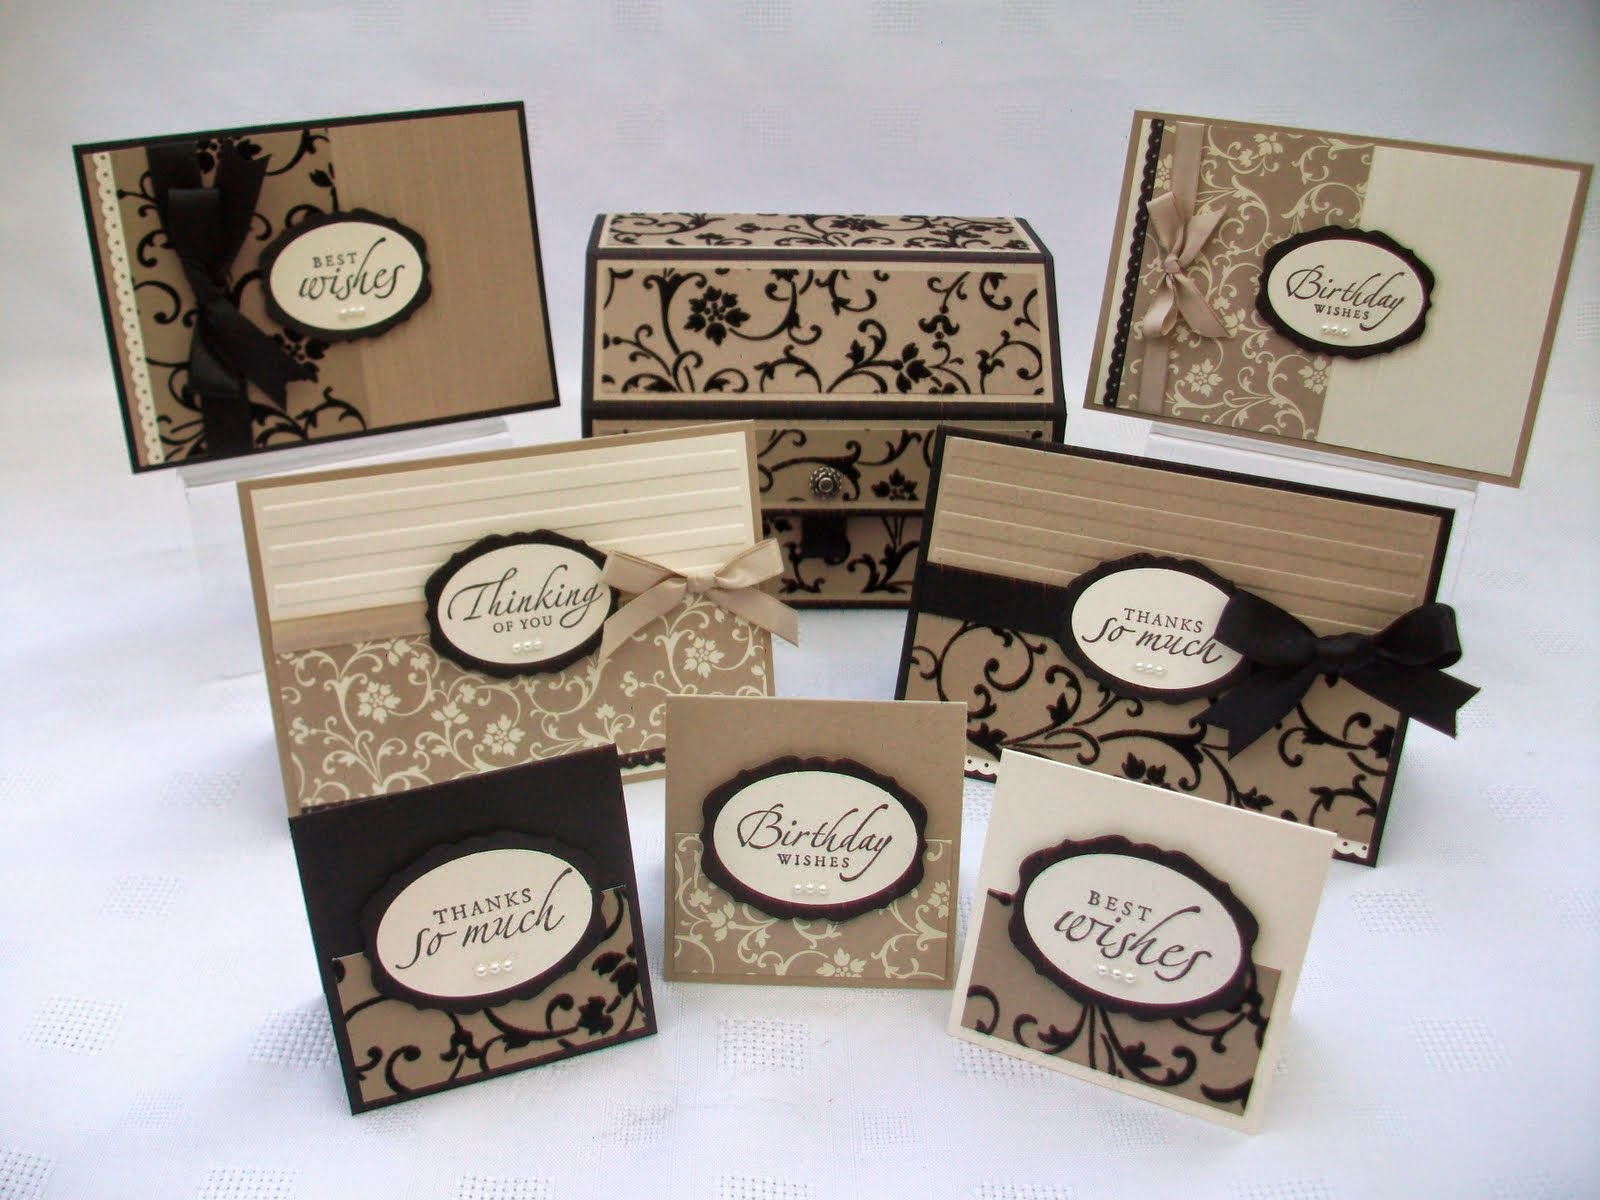
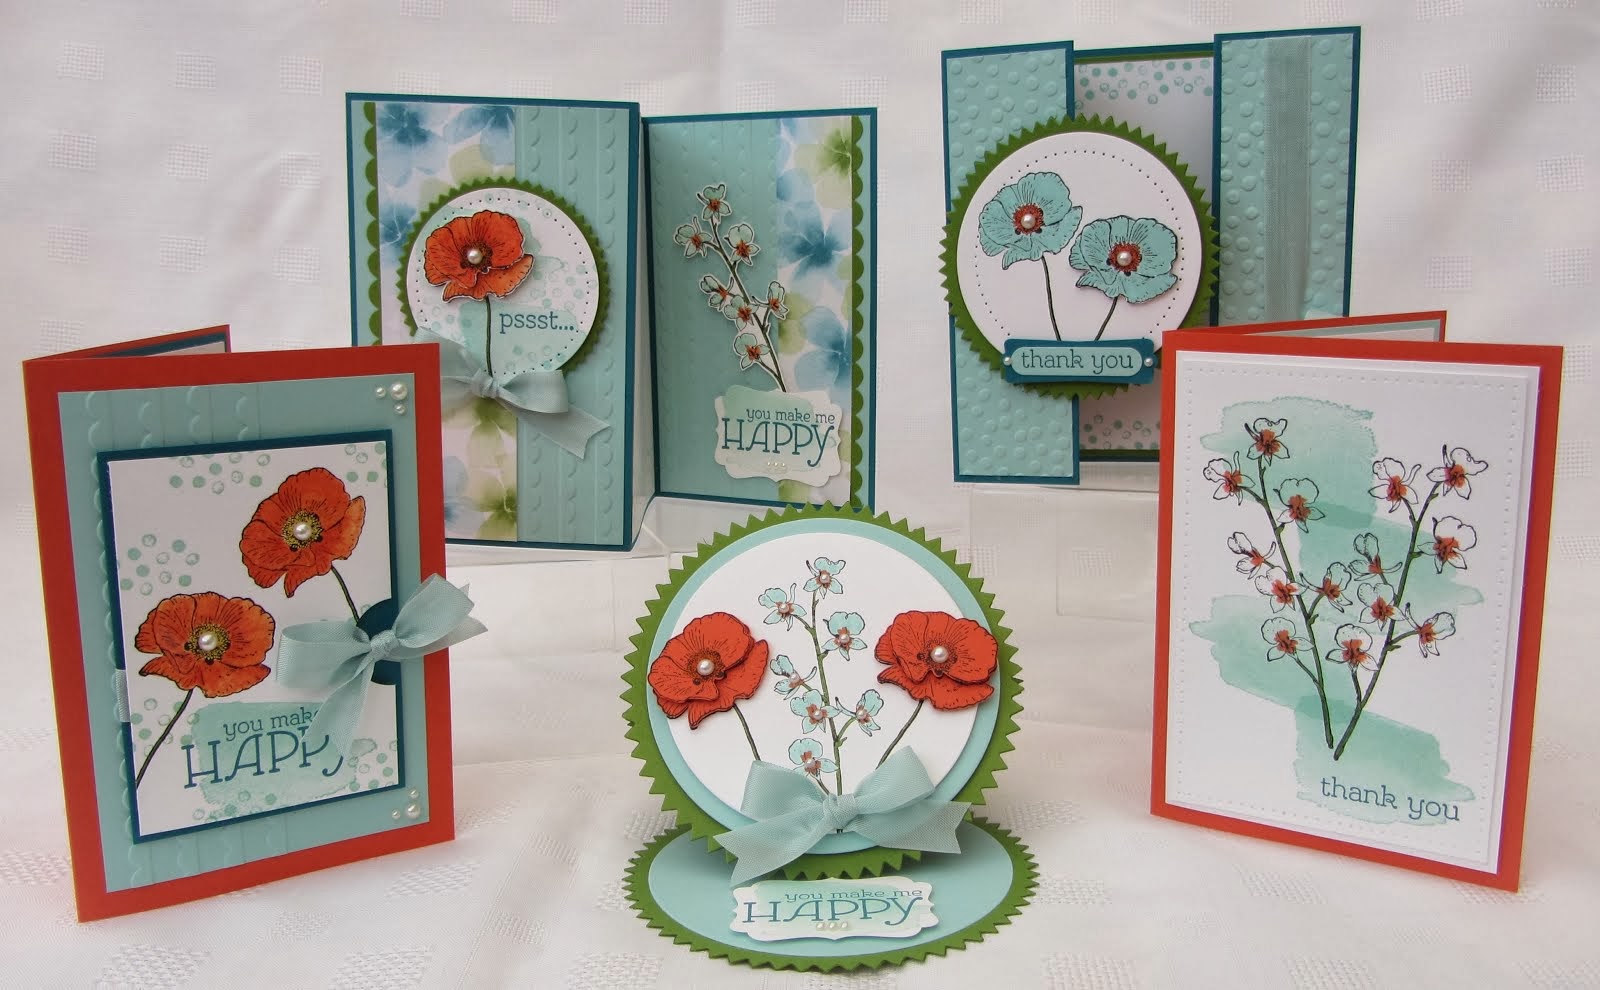
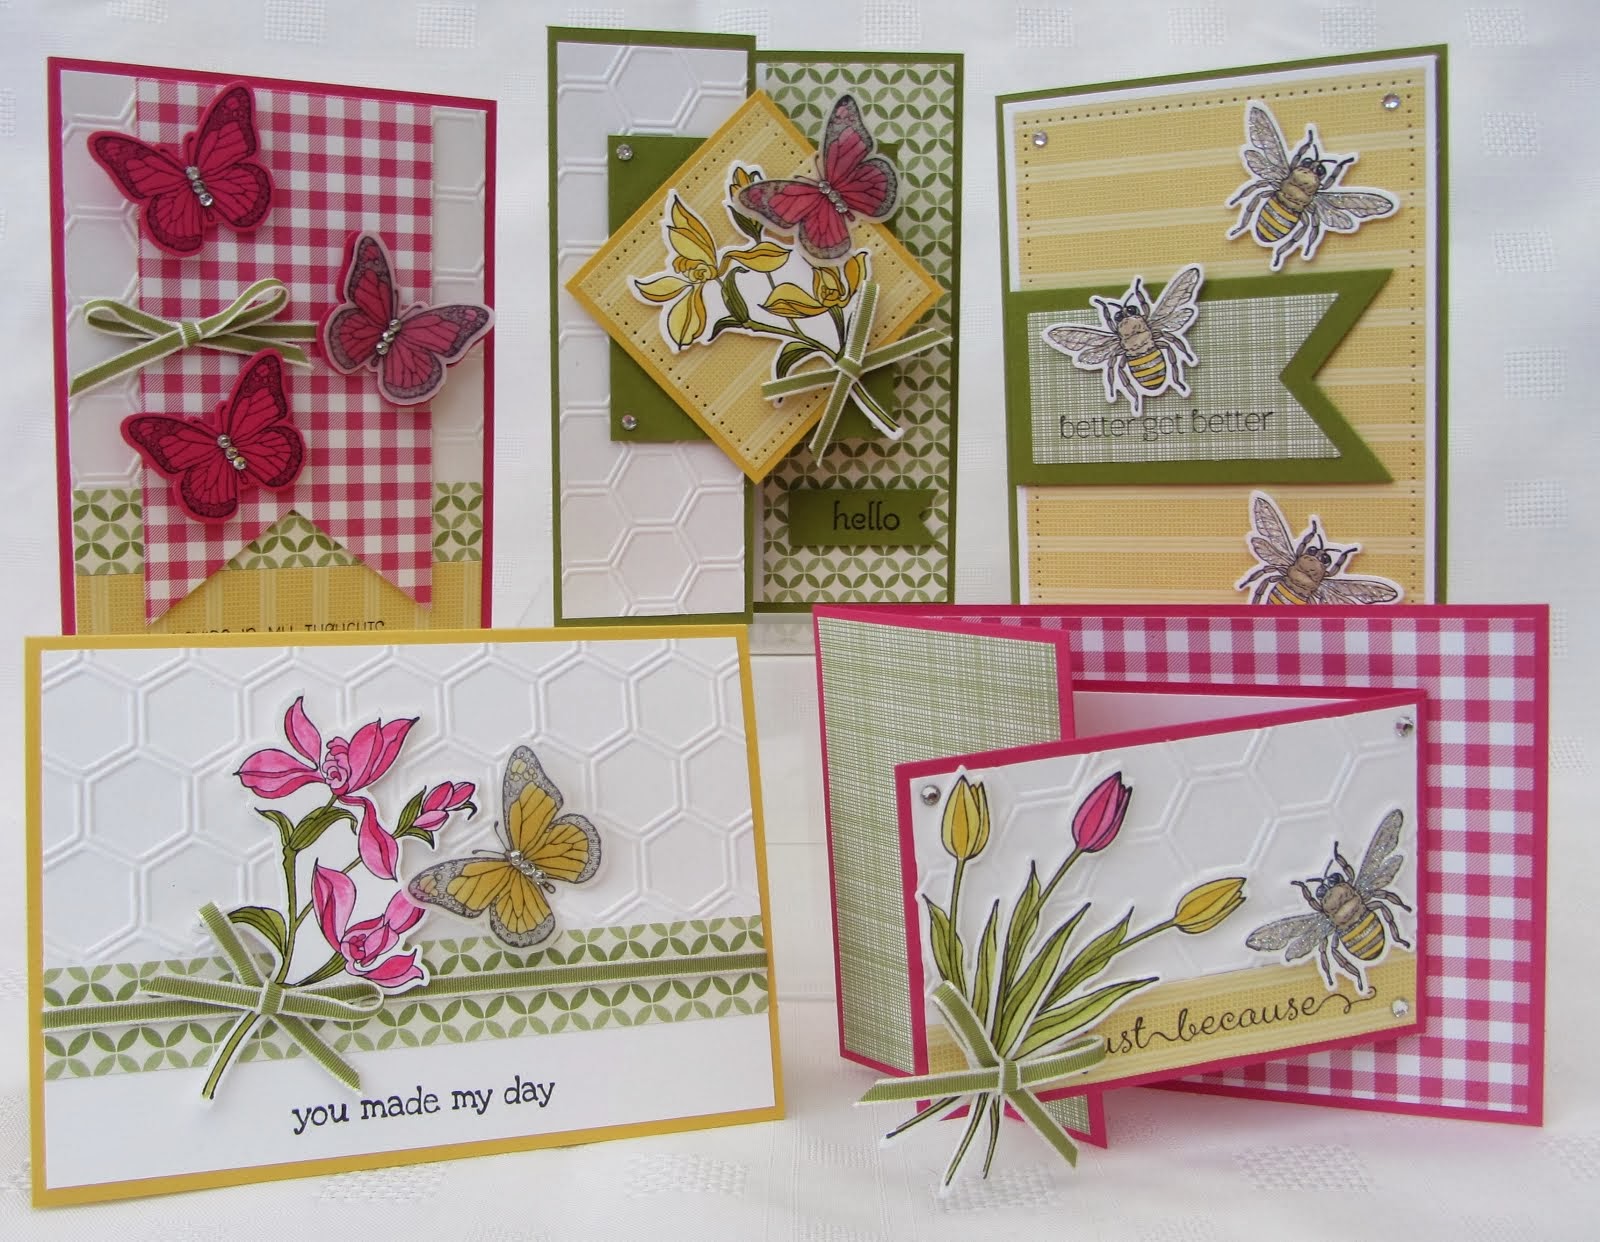
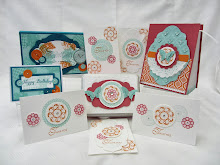
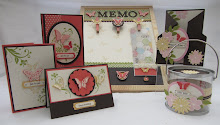
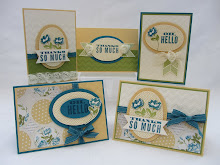
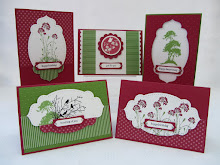
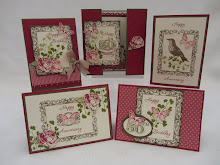
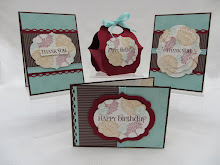
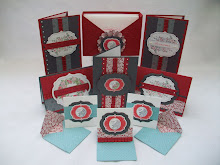
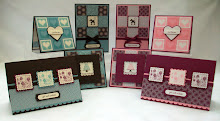
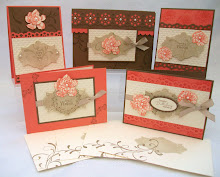
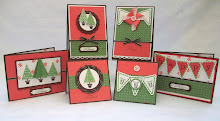
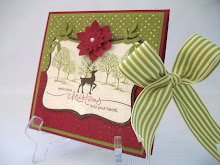
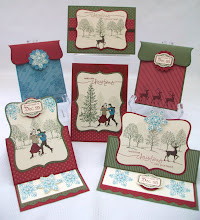
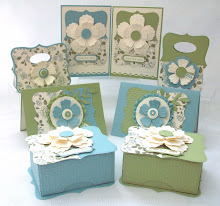
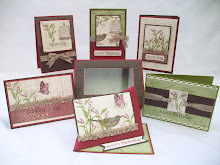
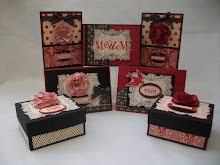
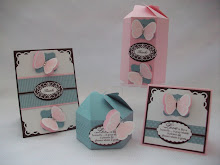
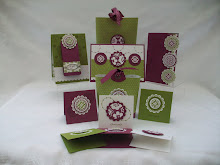
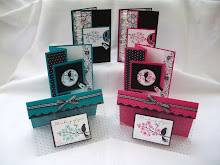
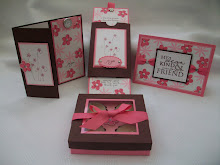
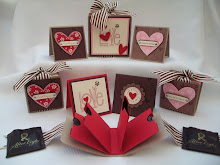
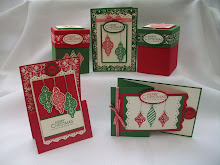
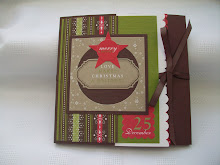
I had a workshop at Sue's today and this is the Criss Cross card I demonstrated how to make. They really are quite simple. You can make this sort of Criss Cross and the taller ones, like the Garden whimsy one on an earlier post.
I cut a piece of Chocolate Chip cardstock, in half, lengthways, these were folded in half. I then used my cutter (probably favourite cutter of all time - might have mentioned this once of twice!), to cut the front part of each card away in a diagonal cut, this forms the Criss Cross.
I then used double sided tape to attach both pieces of card at the back, ie sandwiching them together. I added some Holiday Treasure paper to the front, which is 14cm x 10cm cut in half diagonally. Don't you just love the double sided papers?
I then taped one half down along the bottom and then I taped the other side down also along the bottom and part way up the front, ie forming the pocket for the insert.

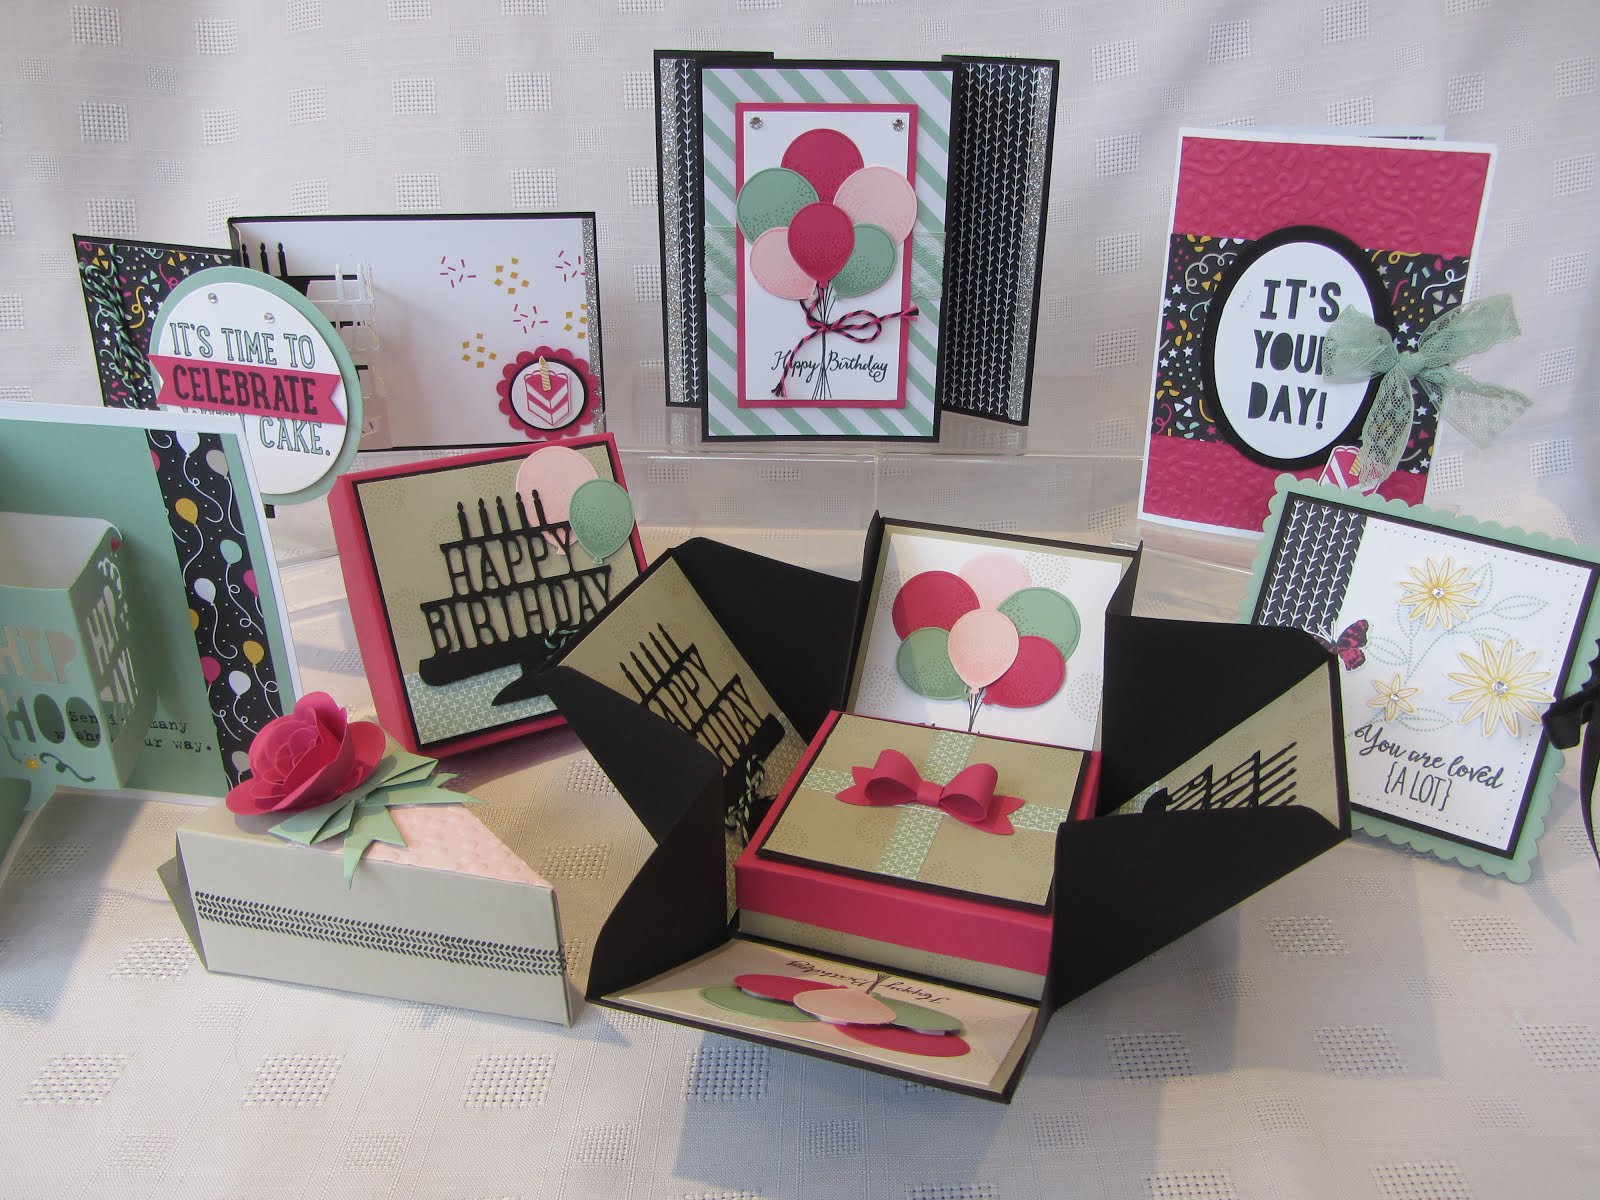
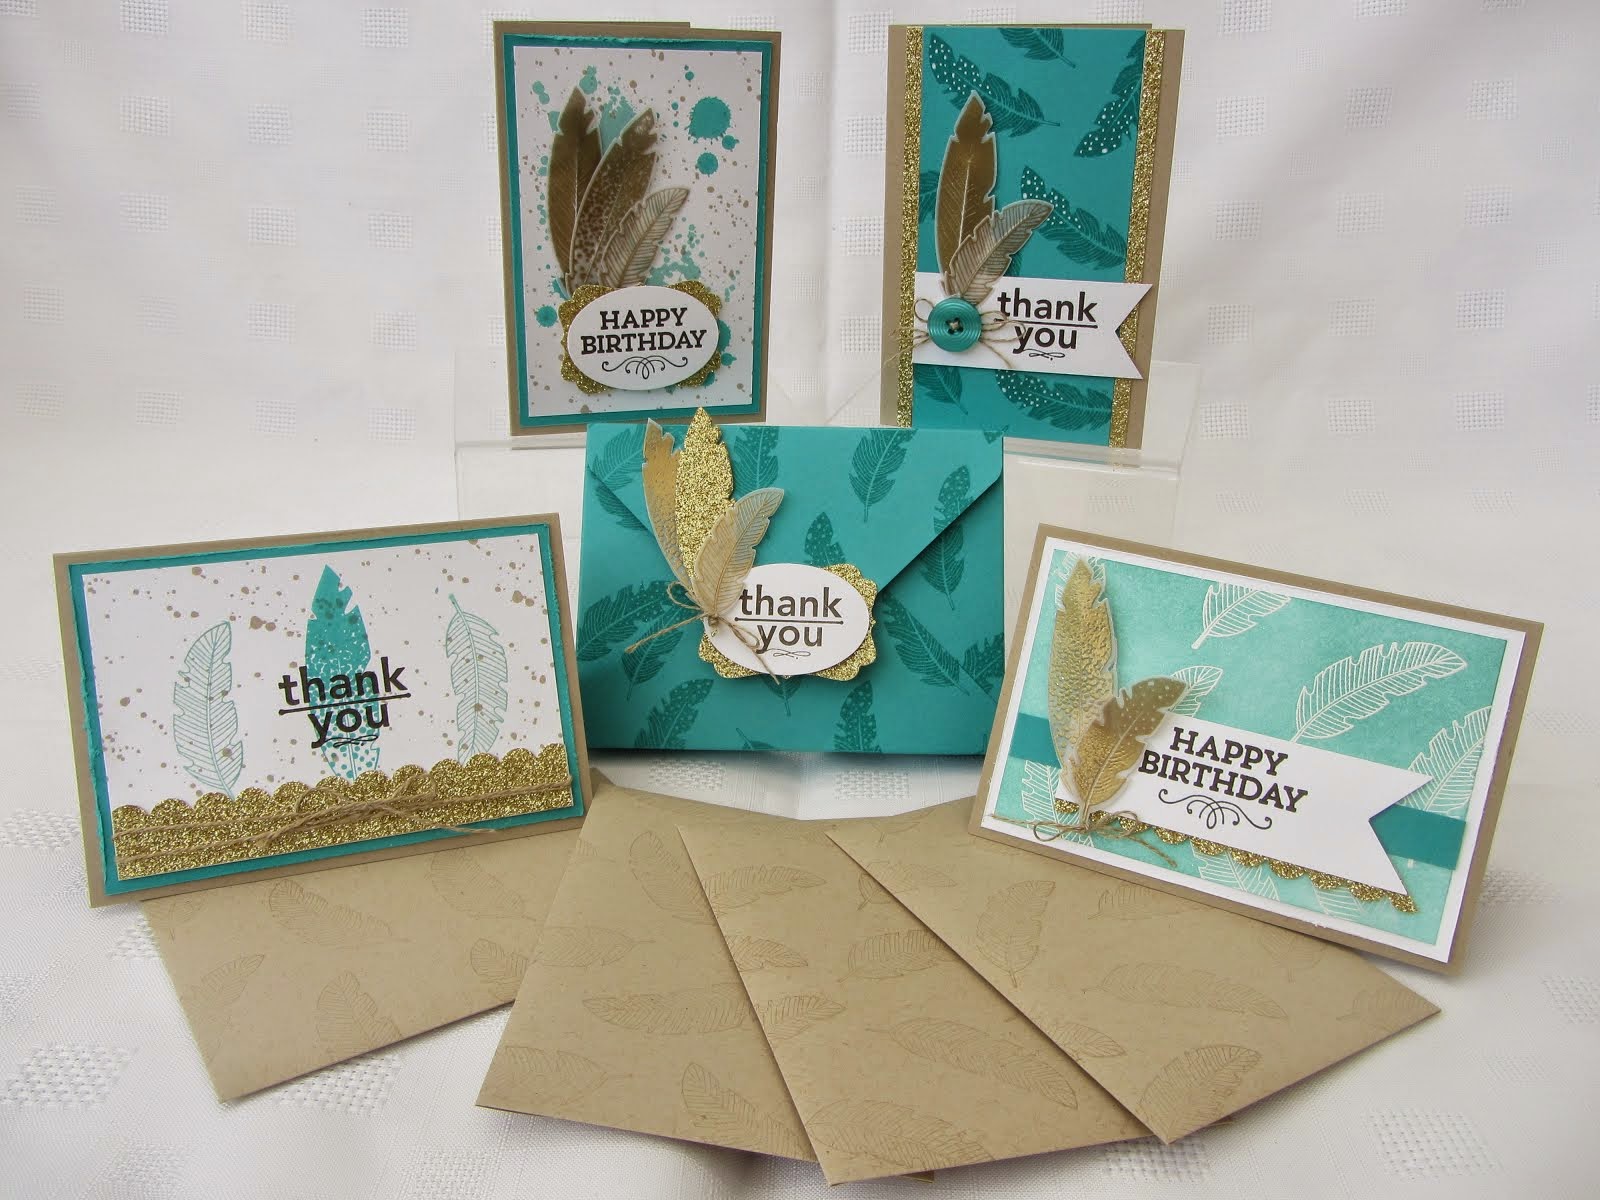
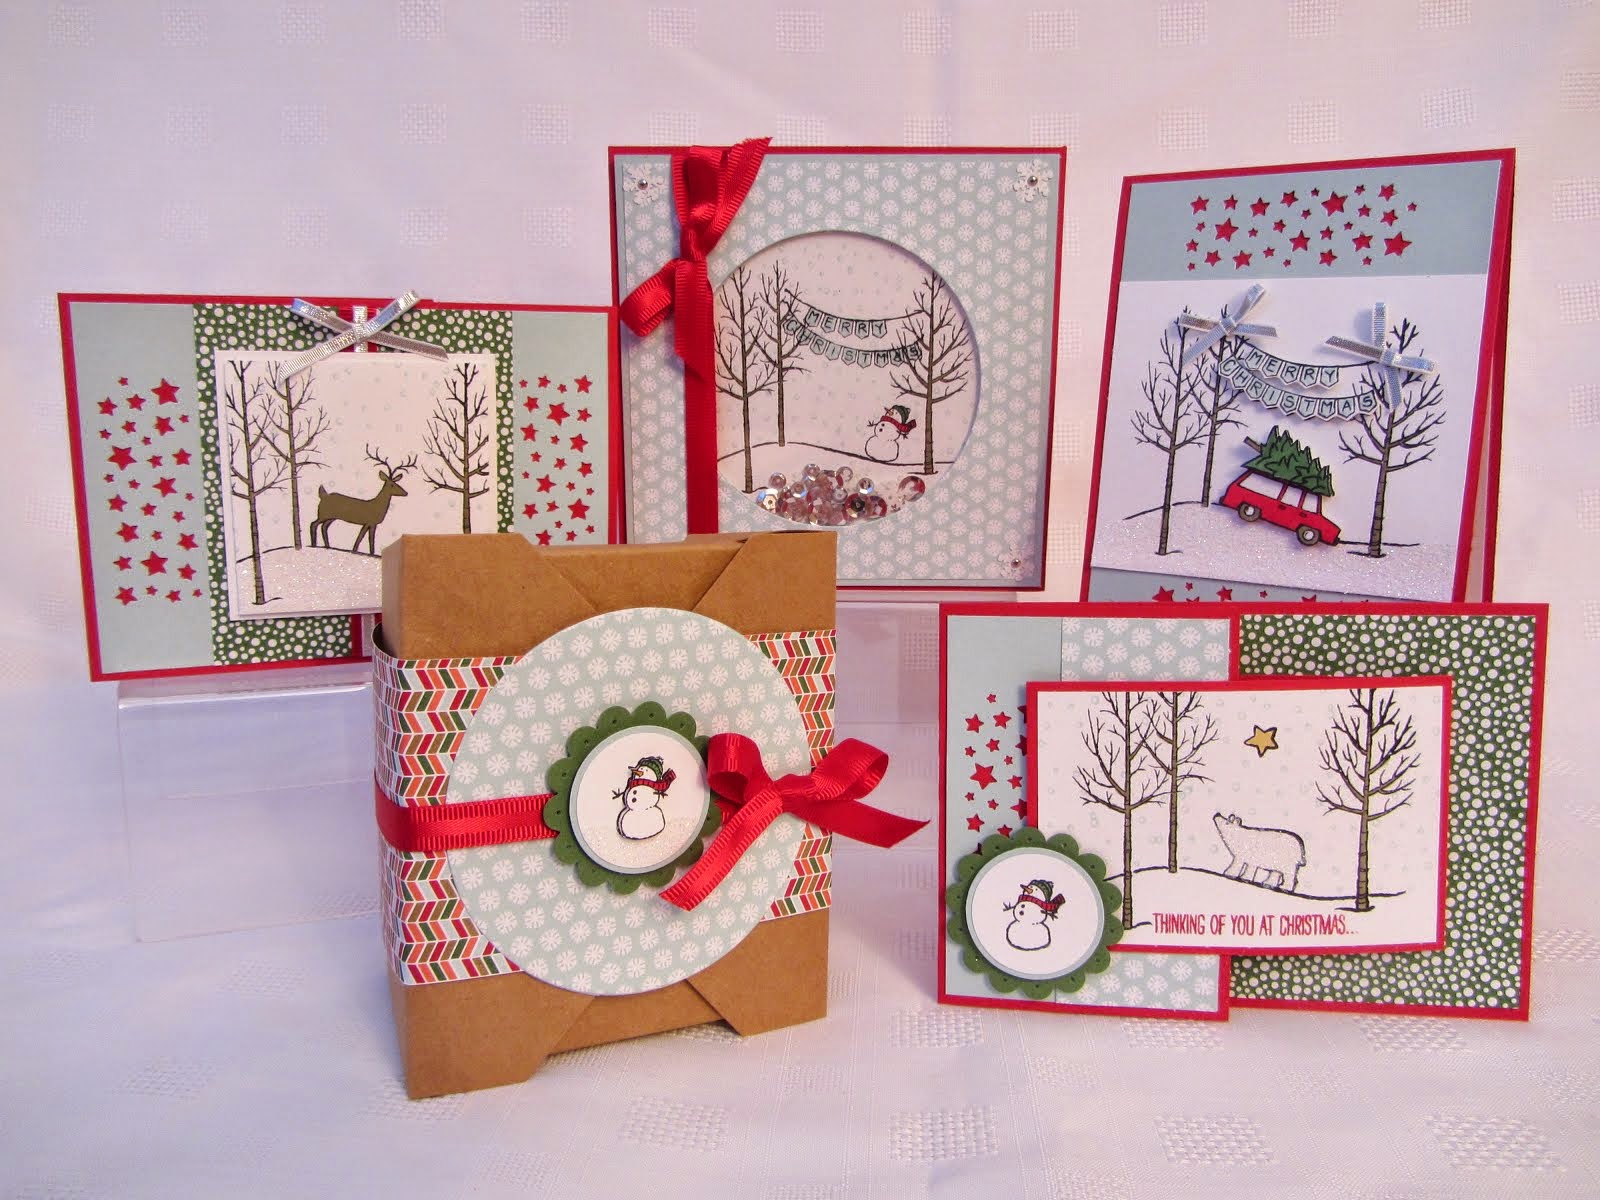
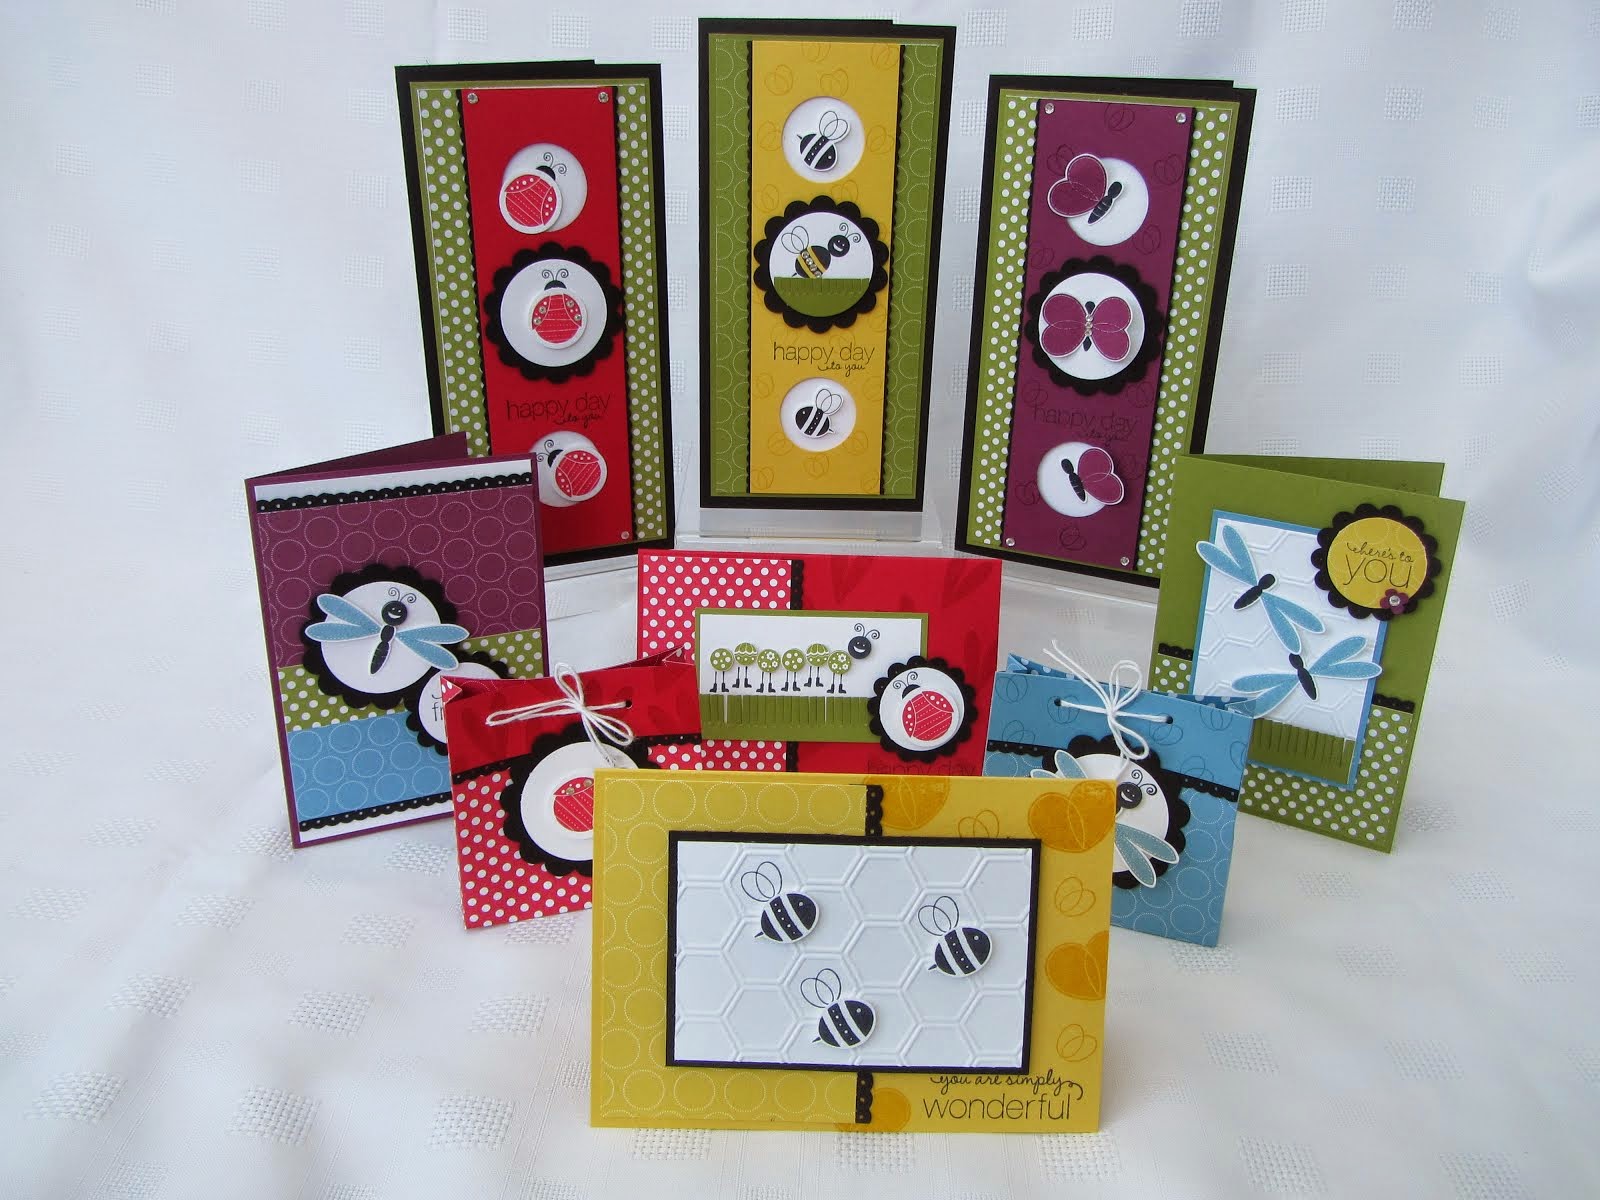
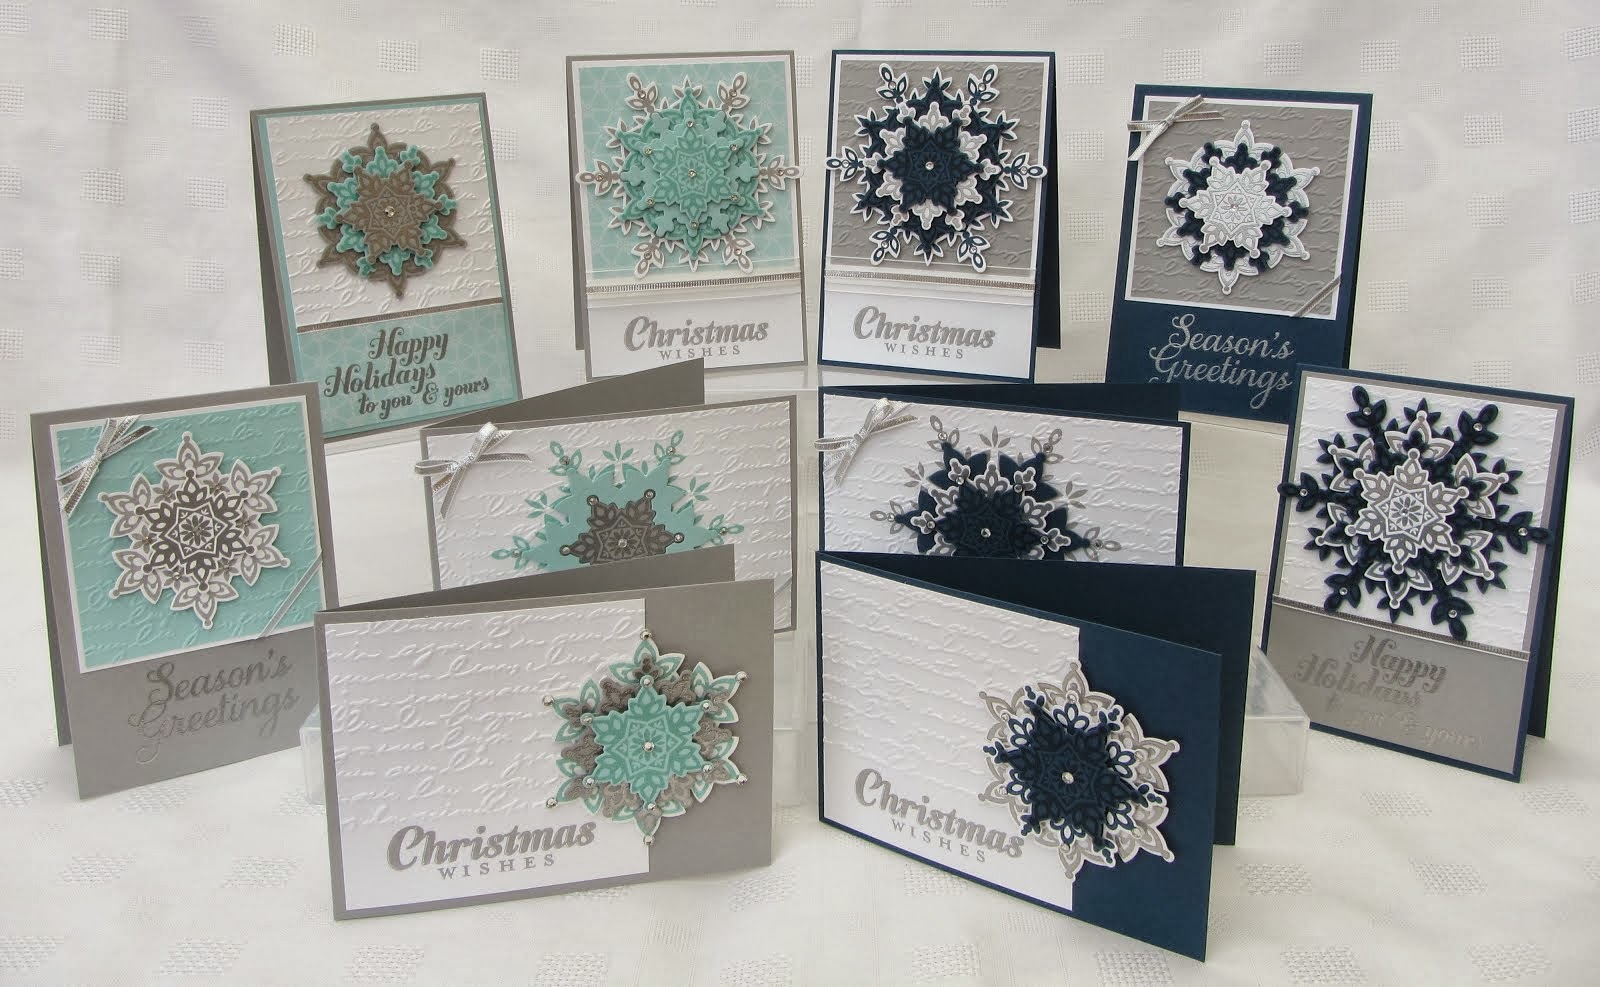
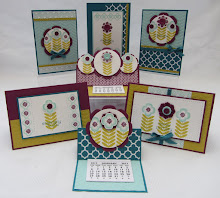
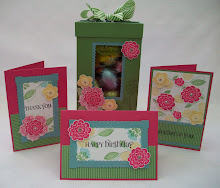
You can see the insert here. I used the round tab punch for the part to pull out the insert, with a Season of Joy poinsetta flower, stamped in Ruby Red. The insert is 14.5cm x 9.5 cm in Old Olive and then 14cm x 9cm in Very Vanilla. I stamped the tree in Old Olive, also the swirl and then the tiny flowers in Ruby Red.

For the centre of the card I added 2 scallop squares and 2 poinsettas stamped in Old Olive and Ruby Red. Three gold brads were added to the centre, if you make the holes fairly close the brads mount eachother to look like berries.

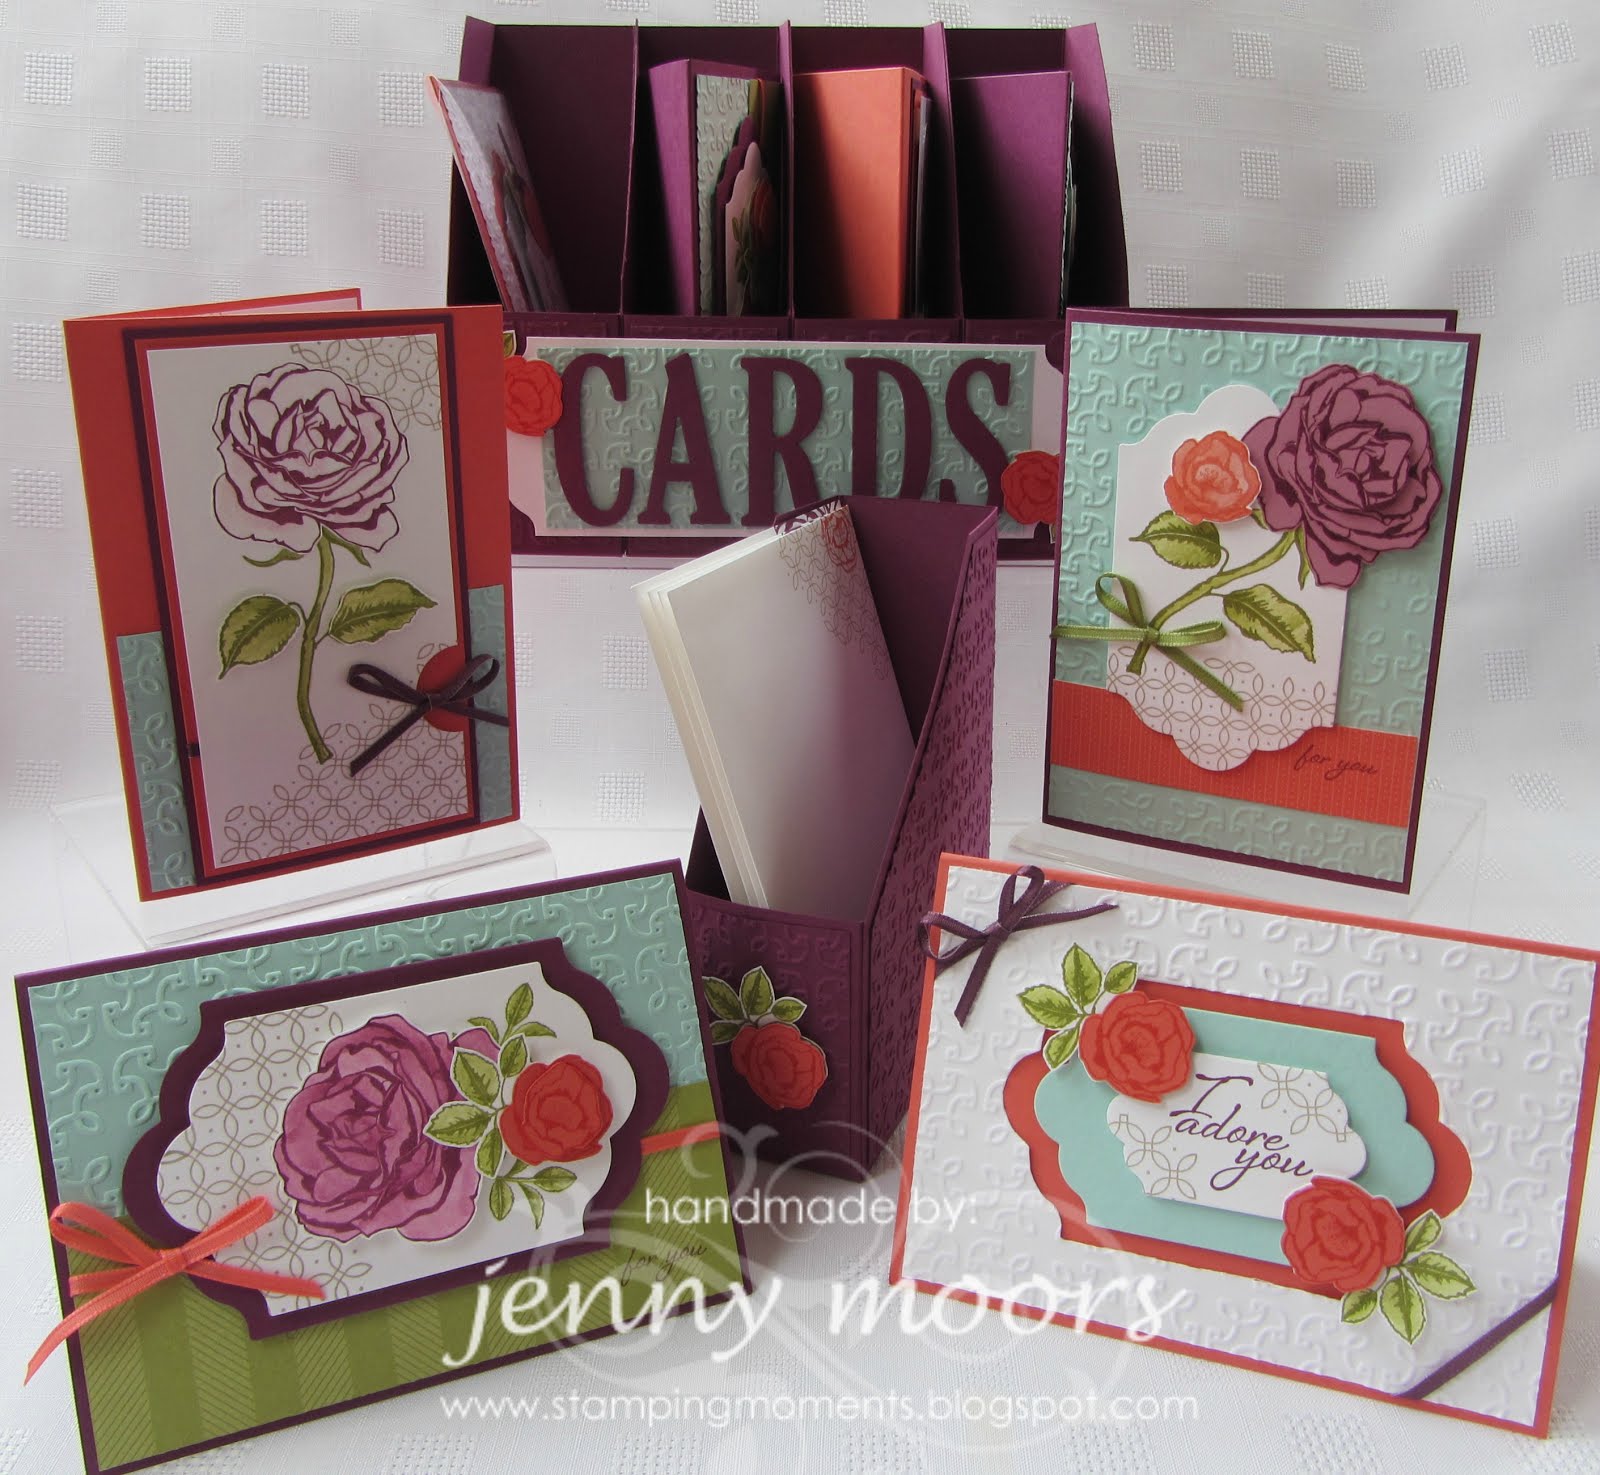
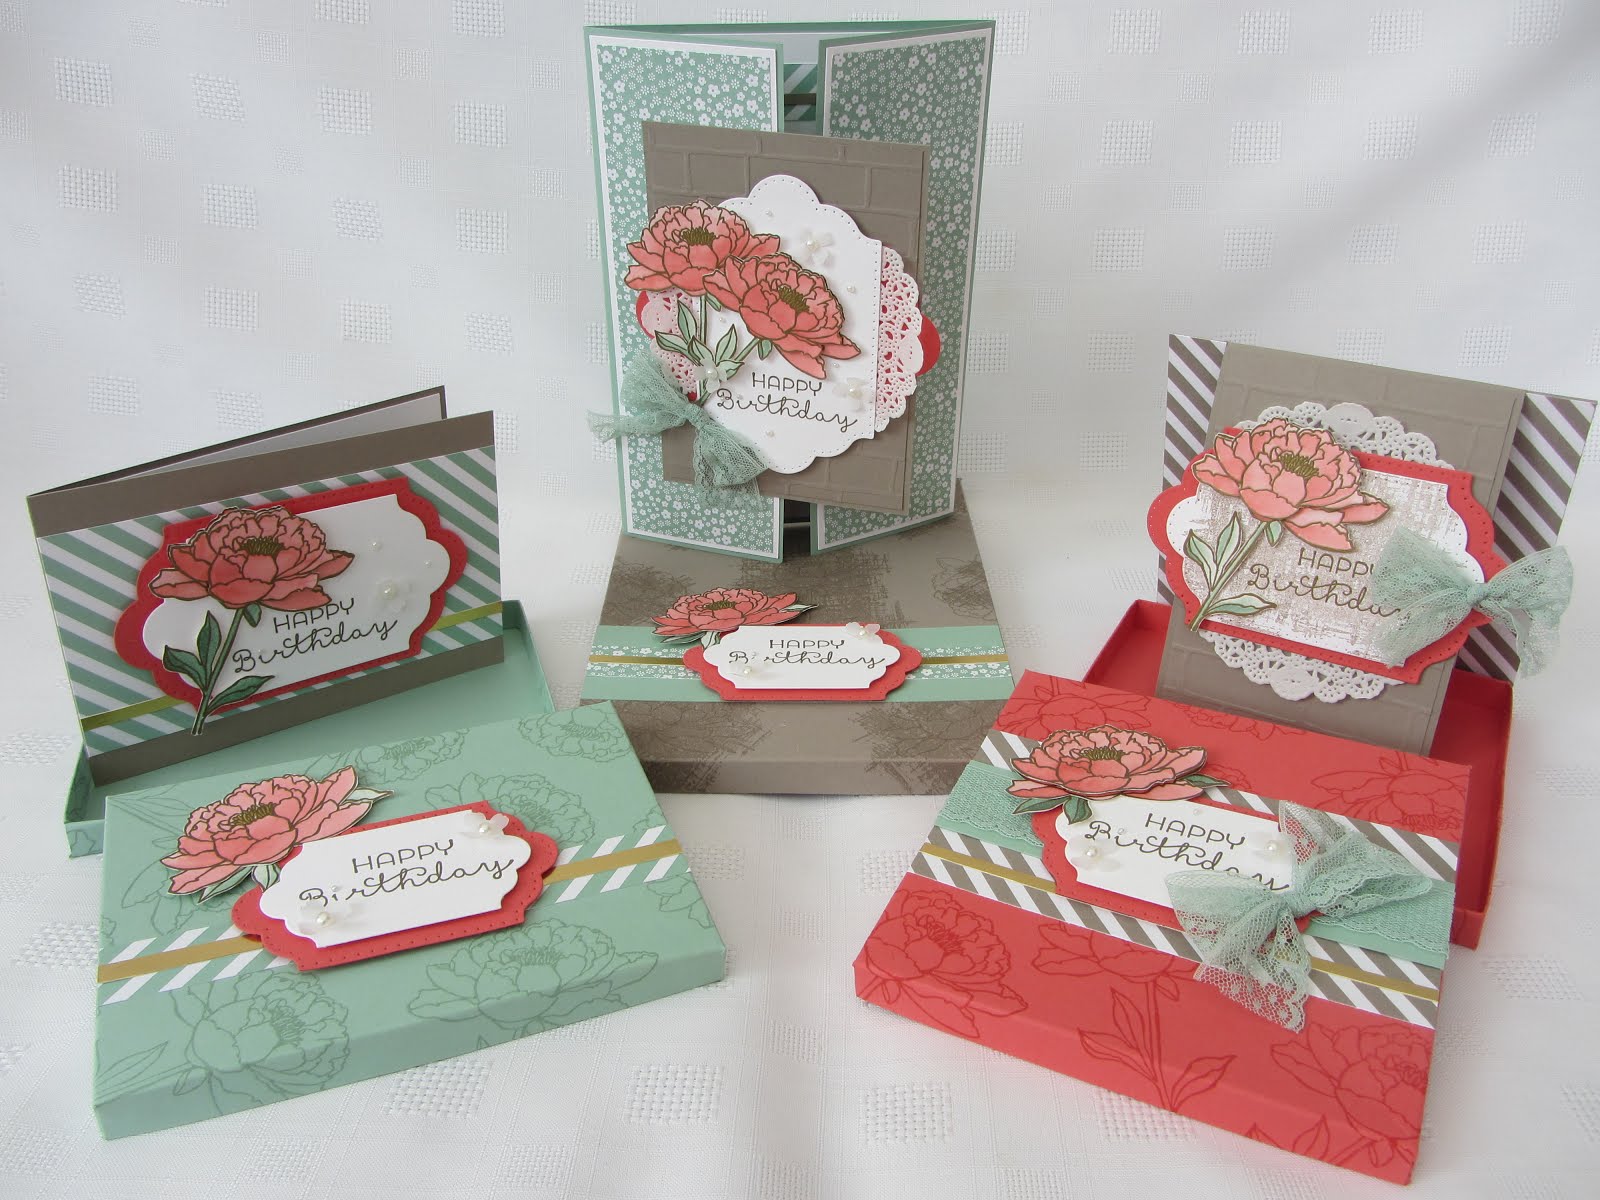
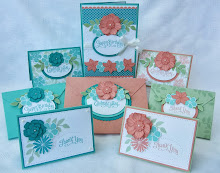
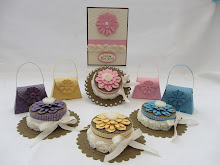
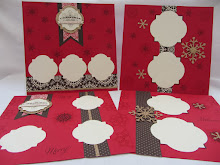
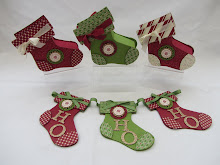
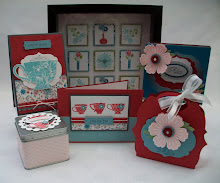
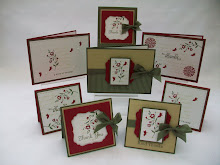
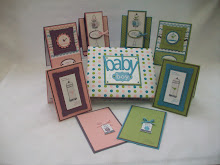
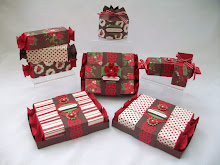
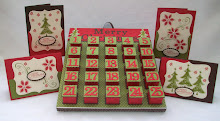
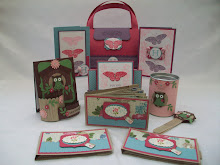
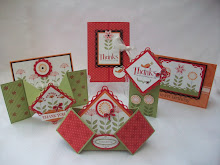
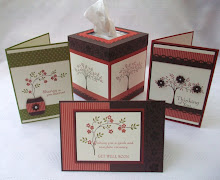
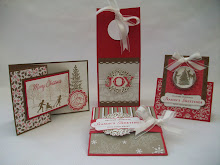
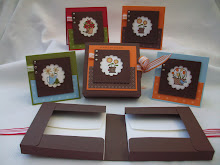
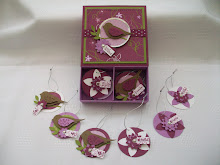
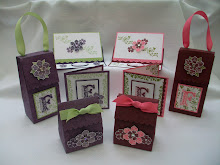
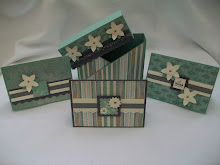
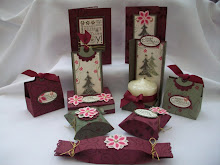
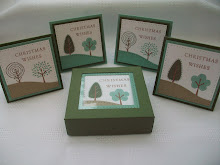
This is the a Box in a Bag made using the same Holiday Treasures paper, I think you might be seeing this alot.....
Measurements for a normal size Box in a Bag are:-
4 1/2" x 4 1/2" piece of cardstock, score at 1" on all 4 sides and make a box bottom.
5 1/2" x 11" piece of Designer paper, double sided tape all along the bottom and one side.
11" x 1 1/2" piece of cardstock for the scallop edge to finish the bottom. I used the scallop punch, but you could use the corner rounder if you like.
2 Round tab punch outs and jumbo eyelets, set with the Crop a Dile.
Ribbon to tie a knot to finish.

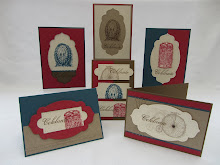
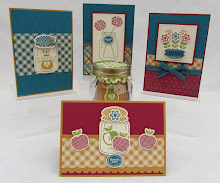
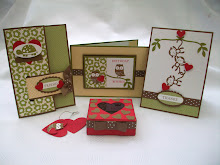
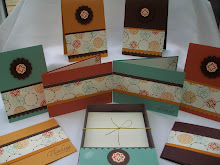
I also made a money wallet with the same colours and I used the new Gold elastic cord to hold it together. This will fit into a normal envelope.
Sorry its late today,
Thanks for looking,
Jenny:-)xx


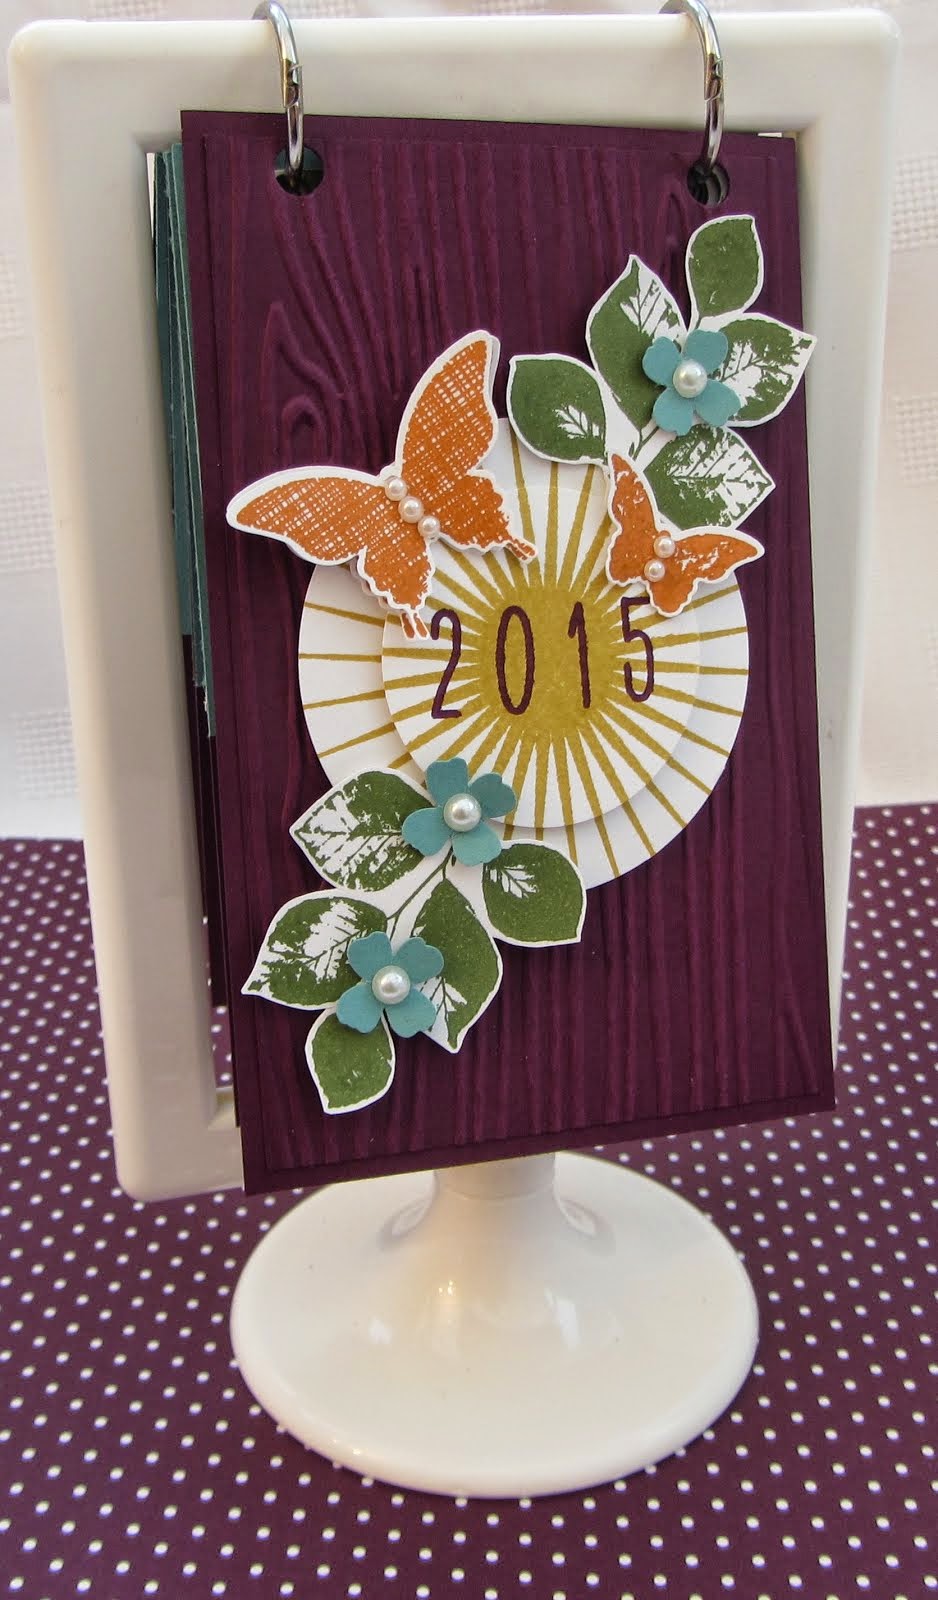
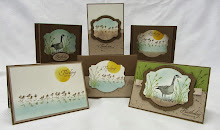
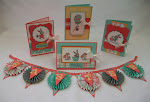
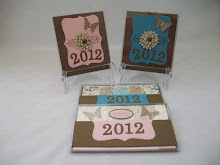
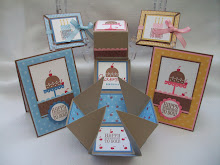
 I finally finished the Book a Party Cake for the Ringwood Show on Sunday. I first saw these cakes over at Splitcoast stampers and then I saw a brilliant version over at Michelles Blog, another UK Demonstrator. She did a fantastic job and I knew I just had to try it too!
 Do you like the pink cake stand? These are at Dunelm Mills near the Range.
 The slices have pressies inside each one, Rubber Stamps and A £5 money off voucher. Book a party with me at the Ringwood Show and you can take home a Piece of Cake......:-)
 Posted by