Wednesday 30 September 2009

Christmas Jingle......

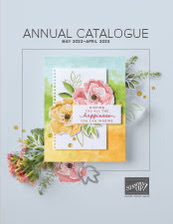
Can you believe that Today is the last day to place orders from the current Stampin' UP! Catalogue? Where has the last year gone....

You are in a treat tomorrow though! The Brand New CATALOGUE goes Live Hee Hee

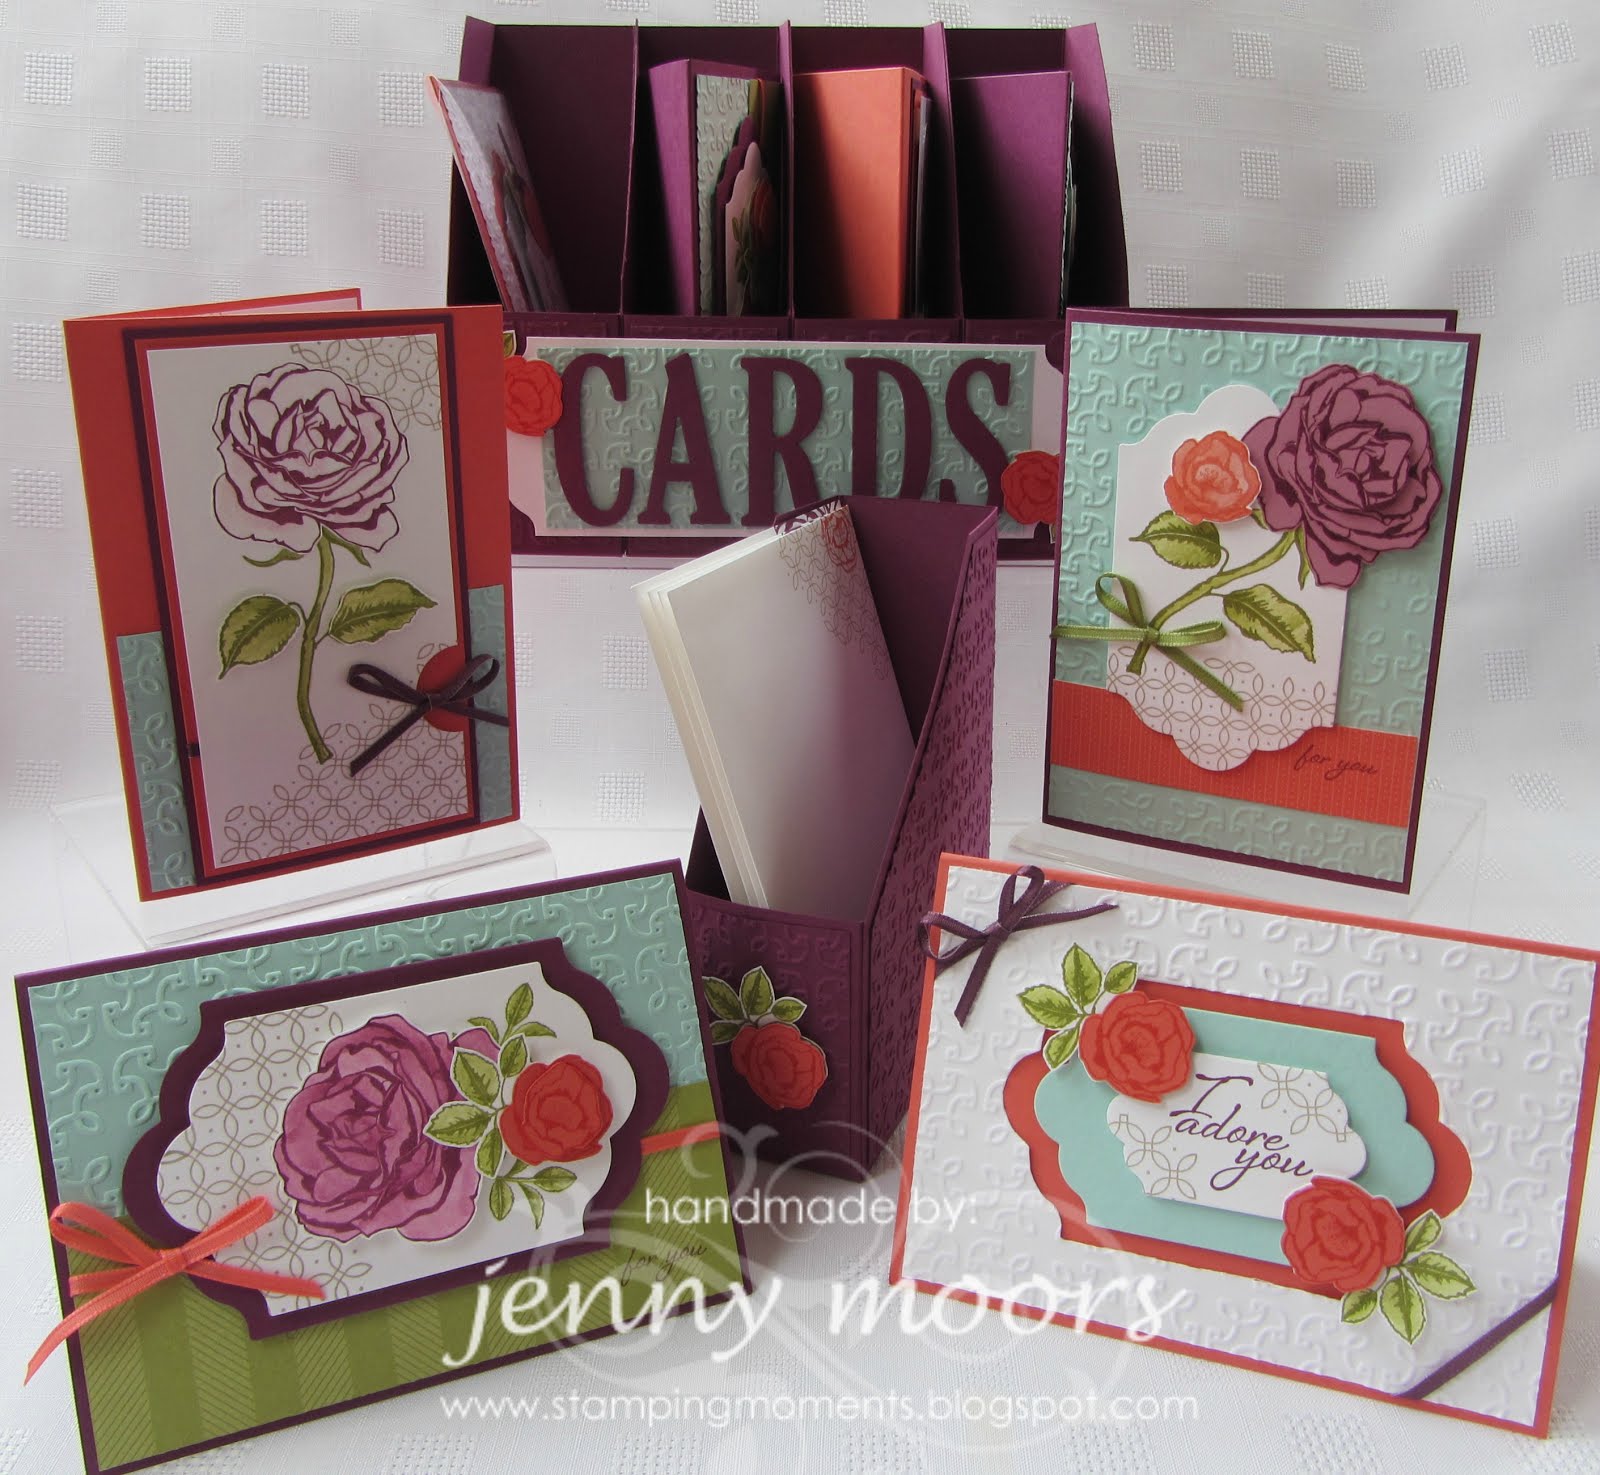
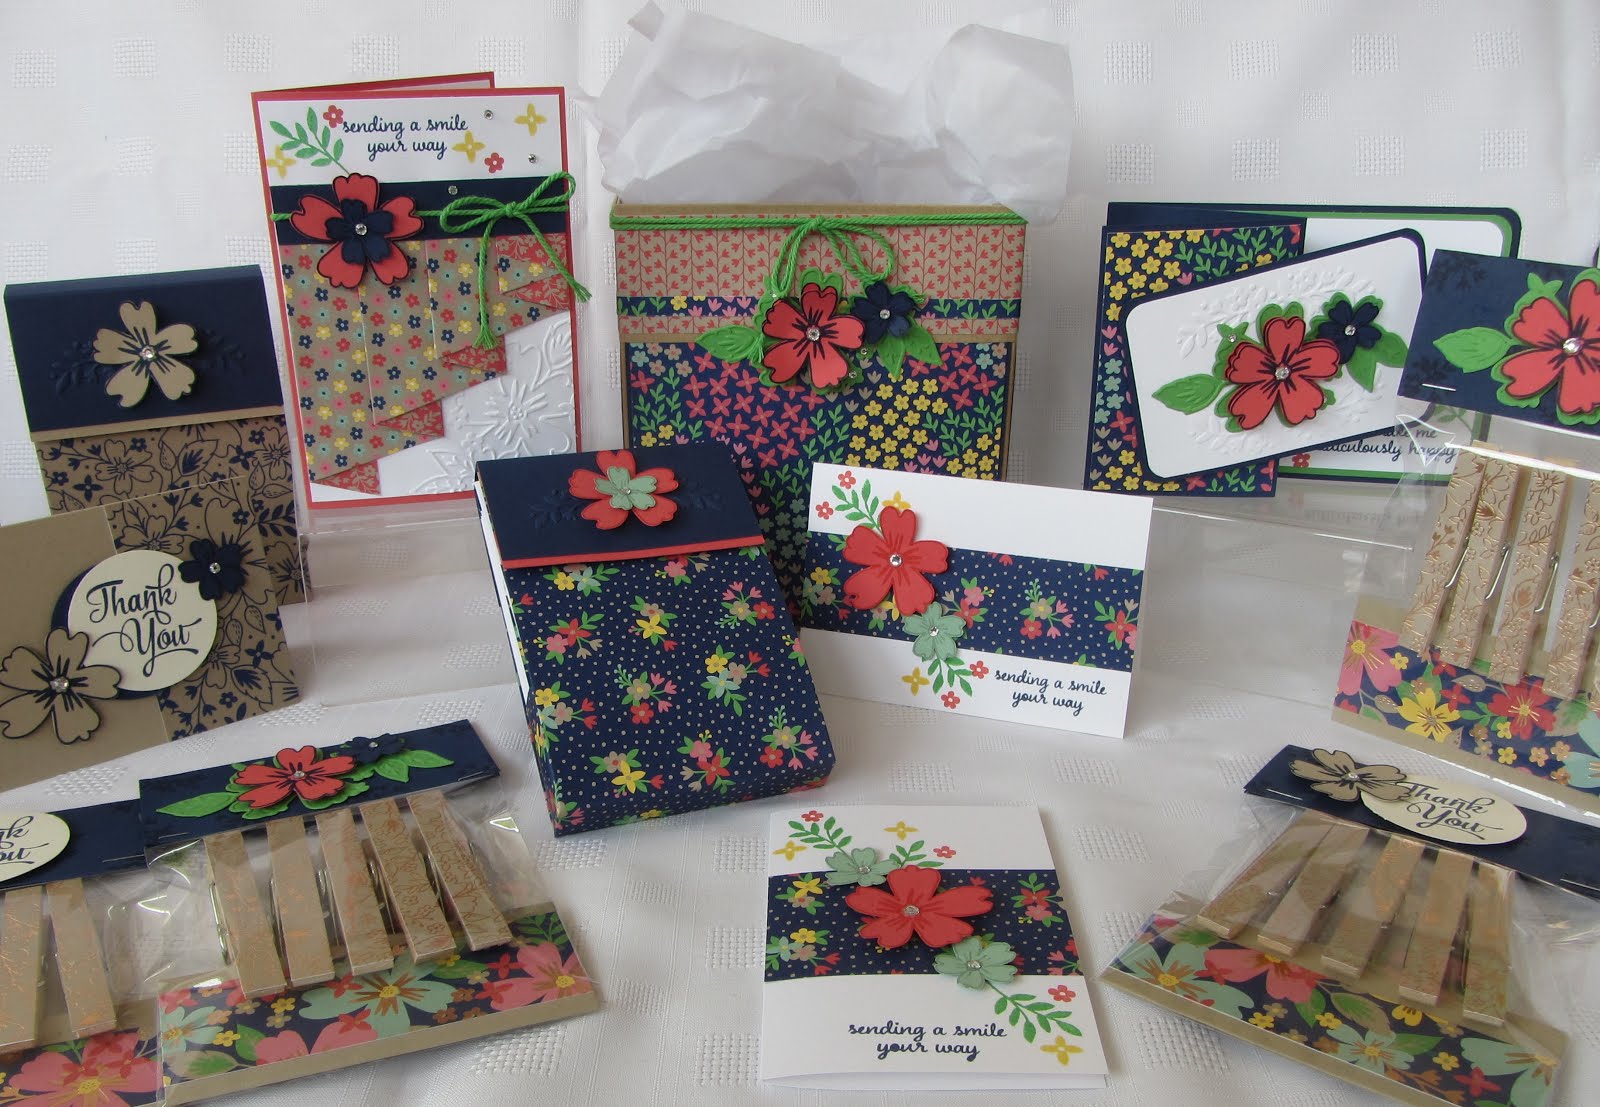
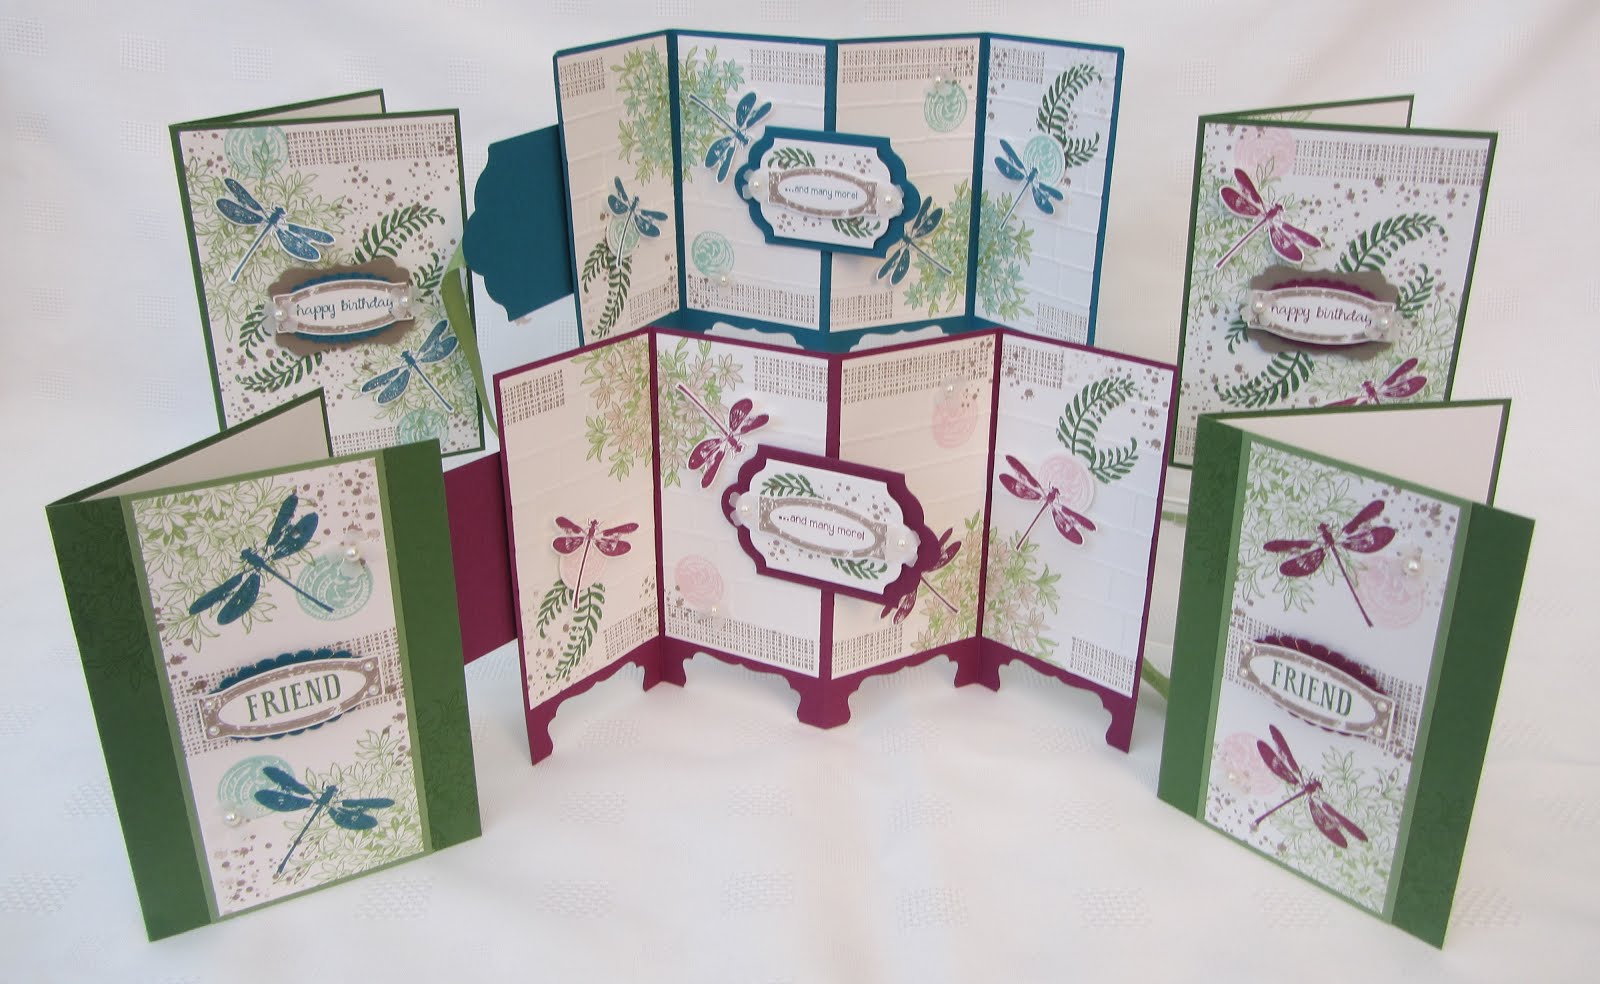
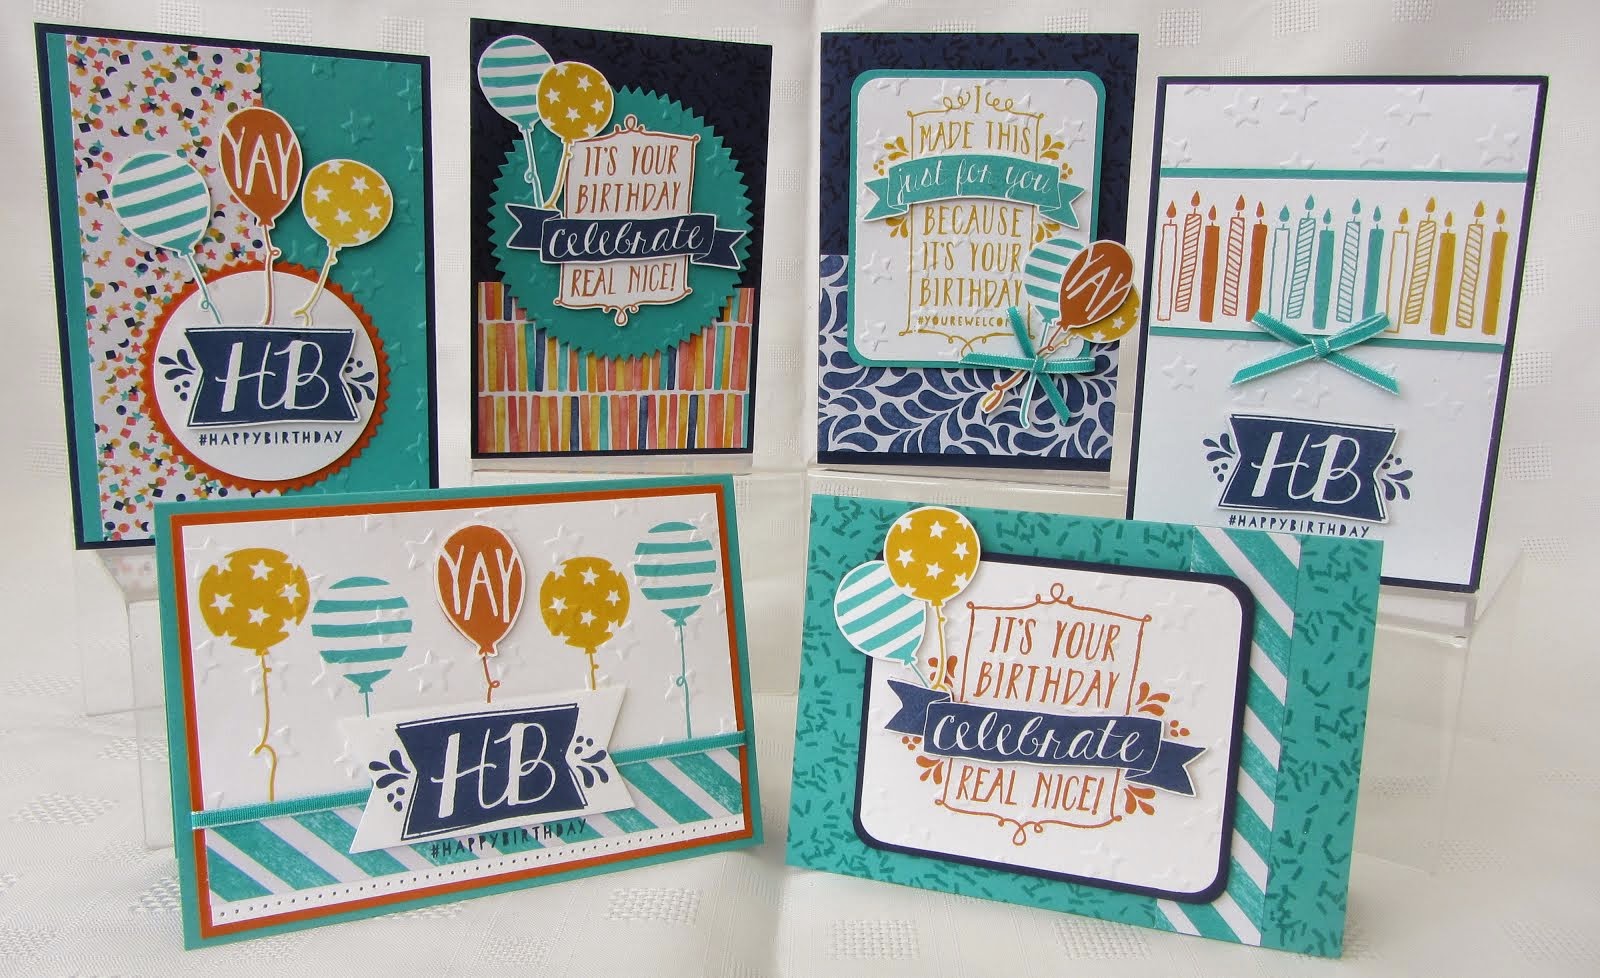
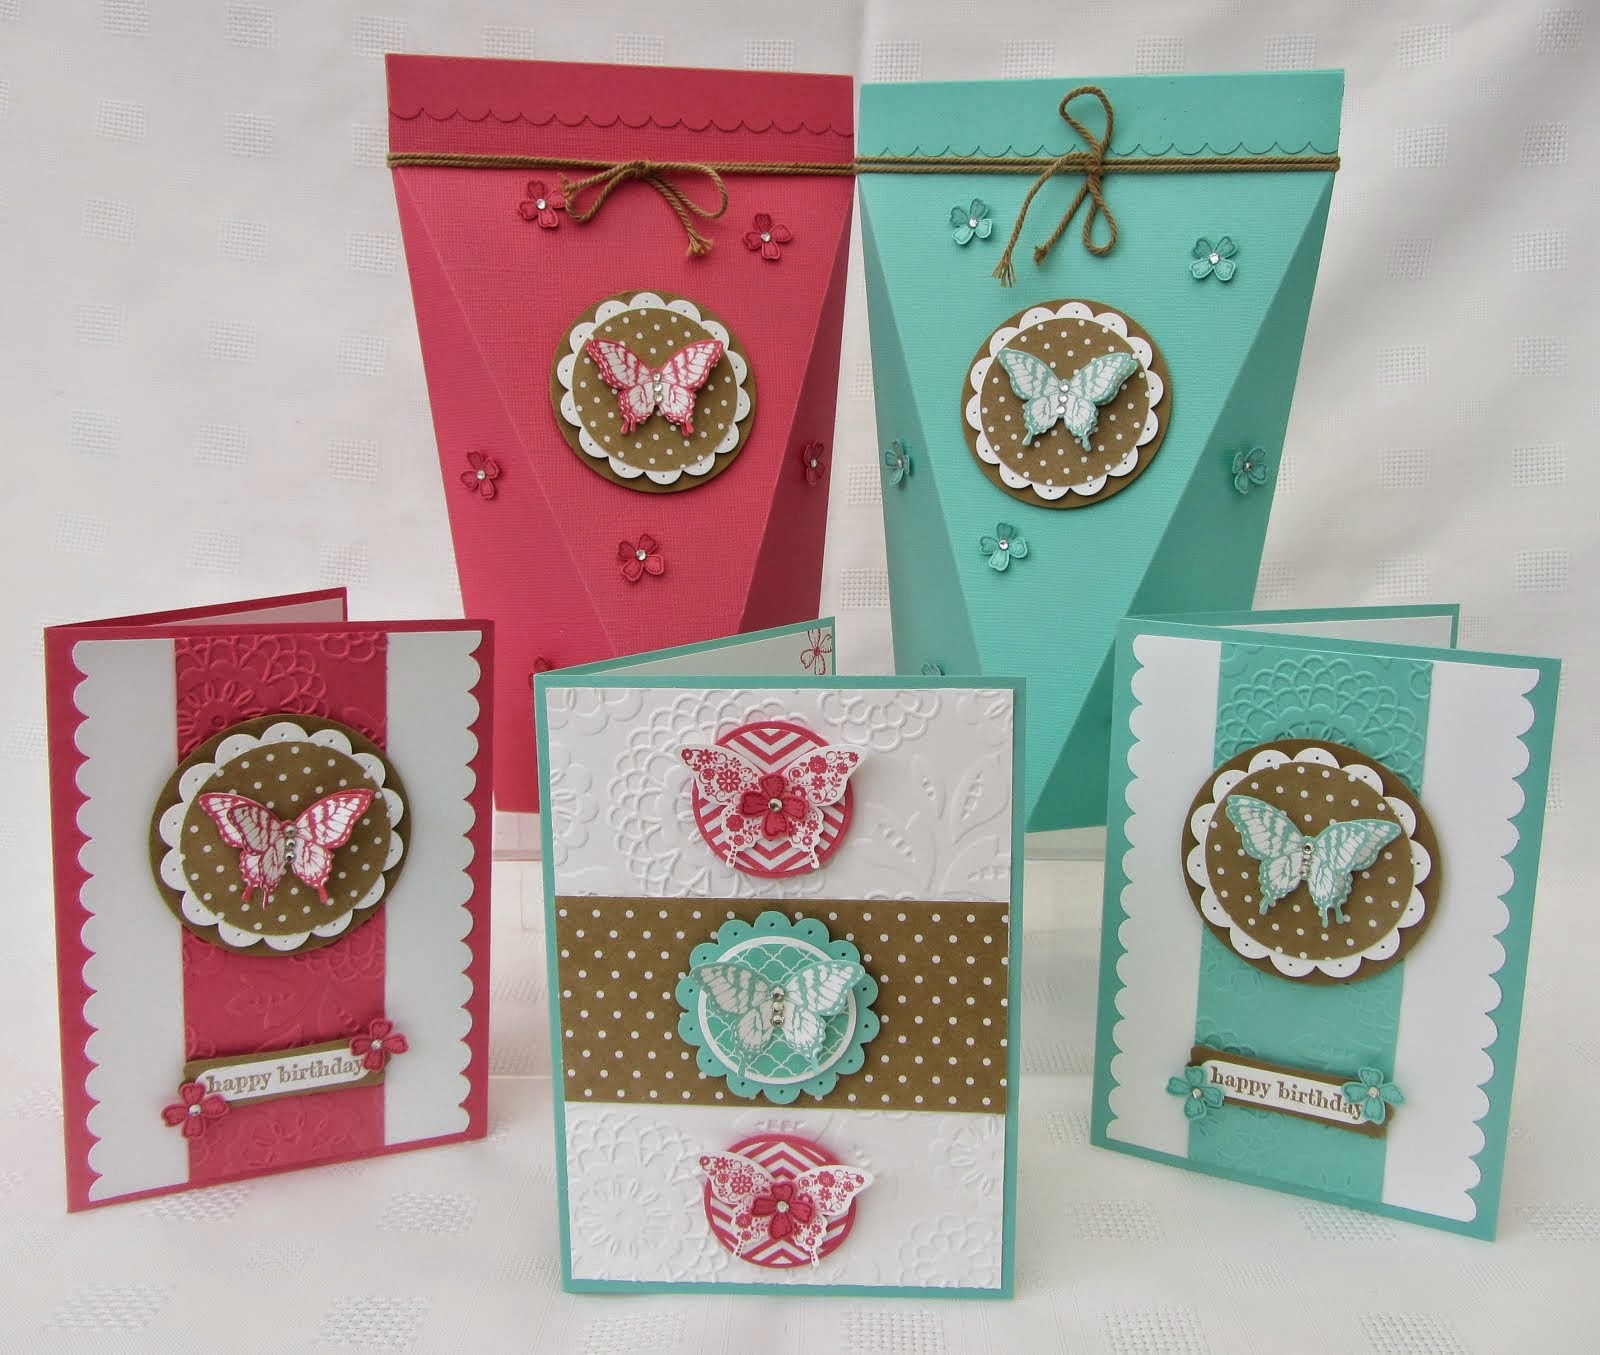
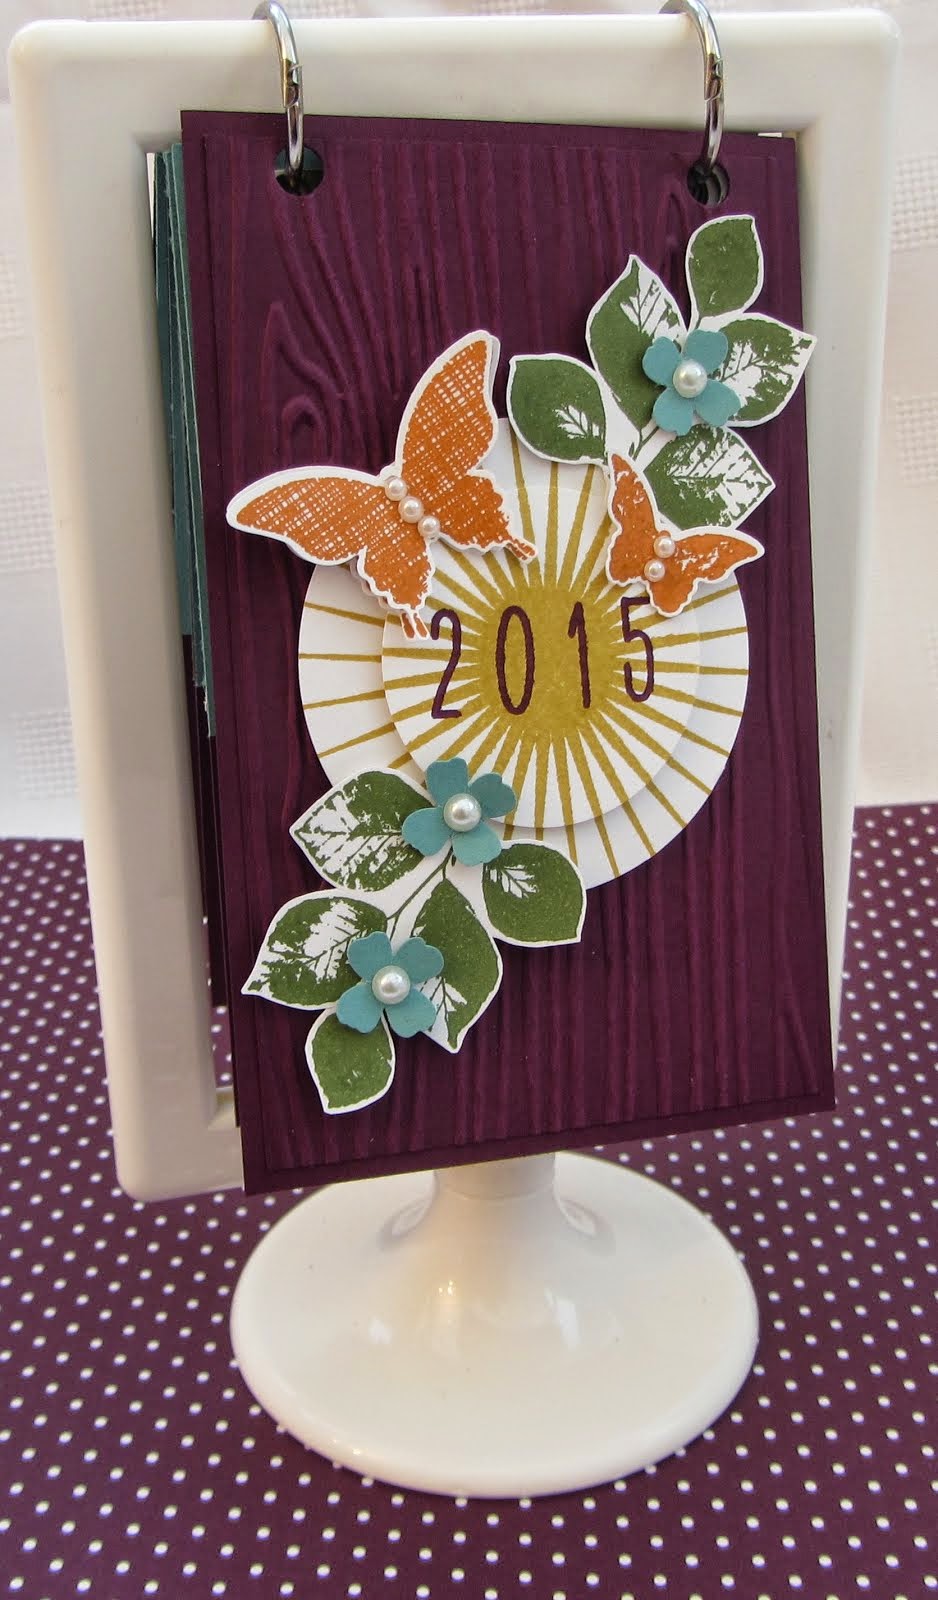
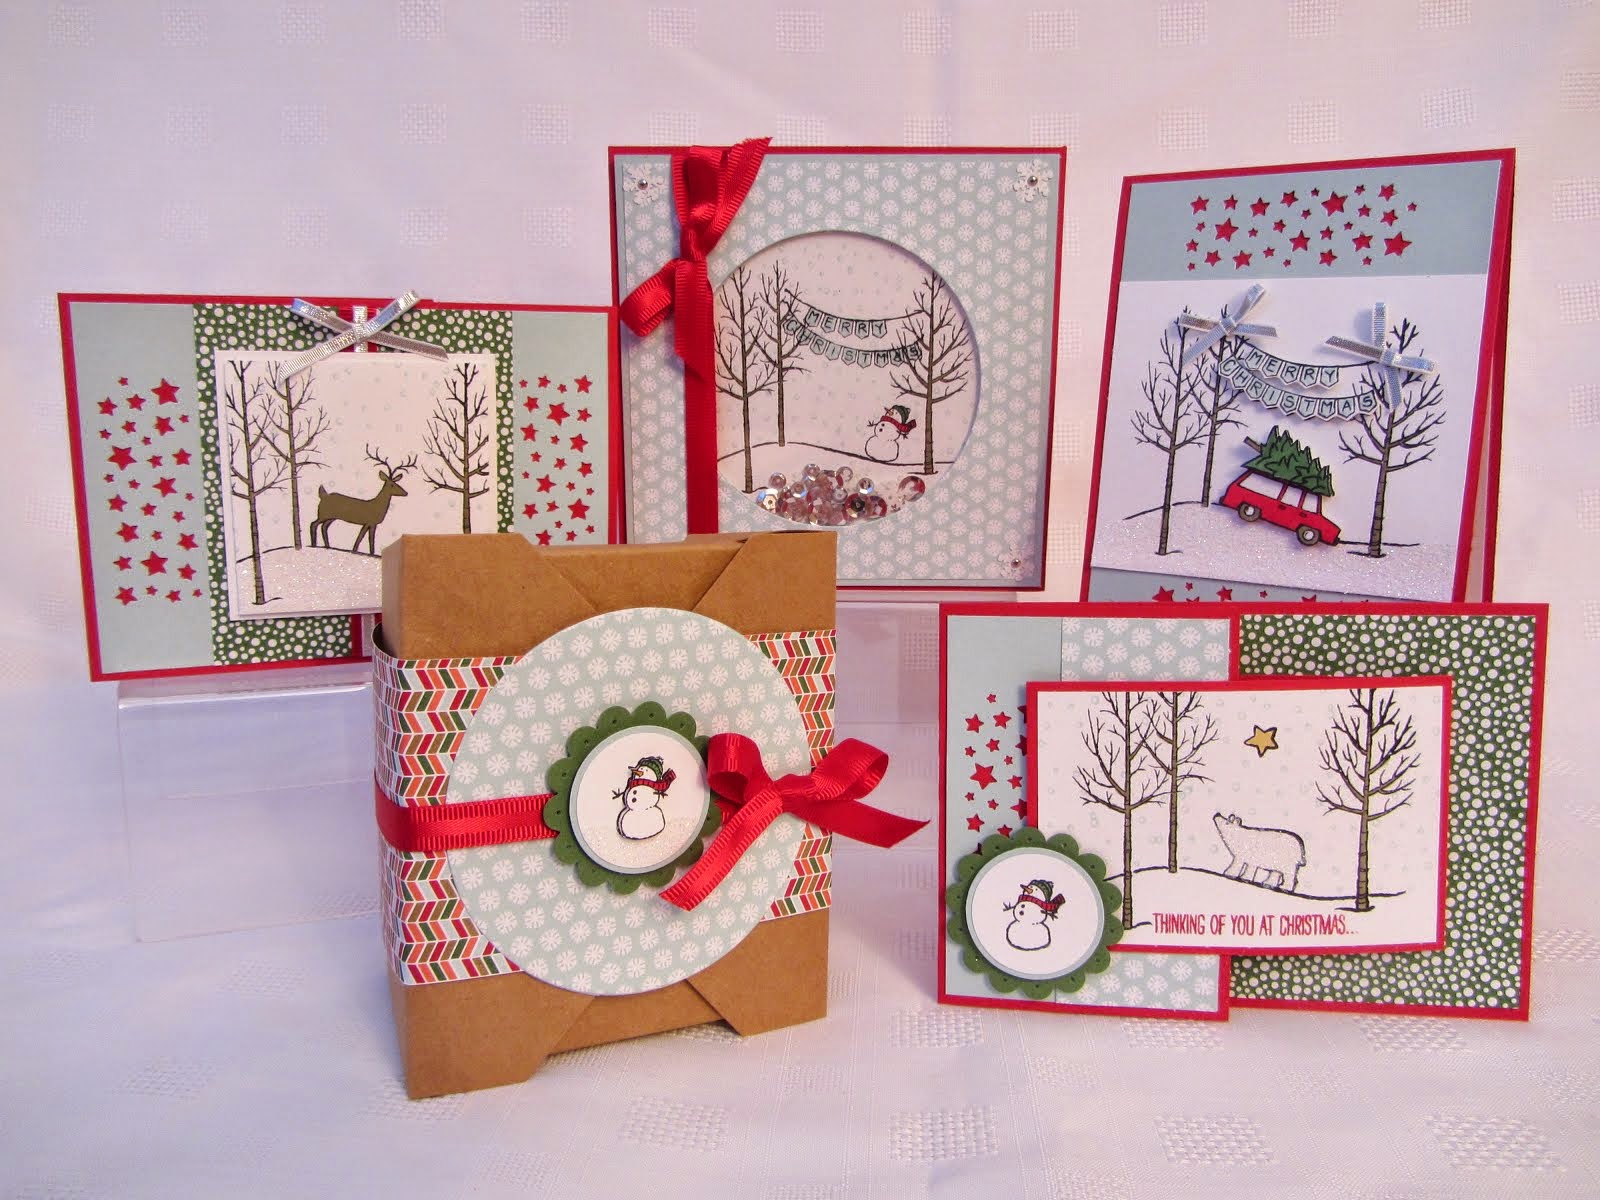
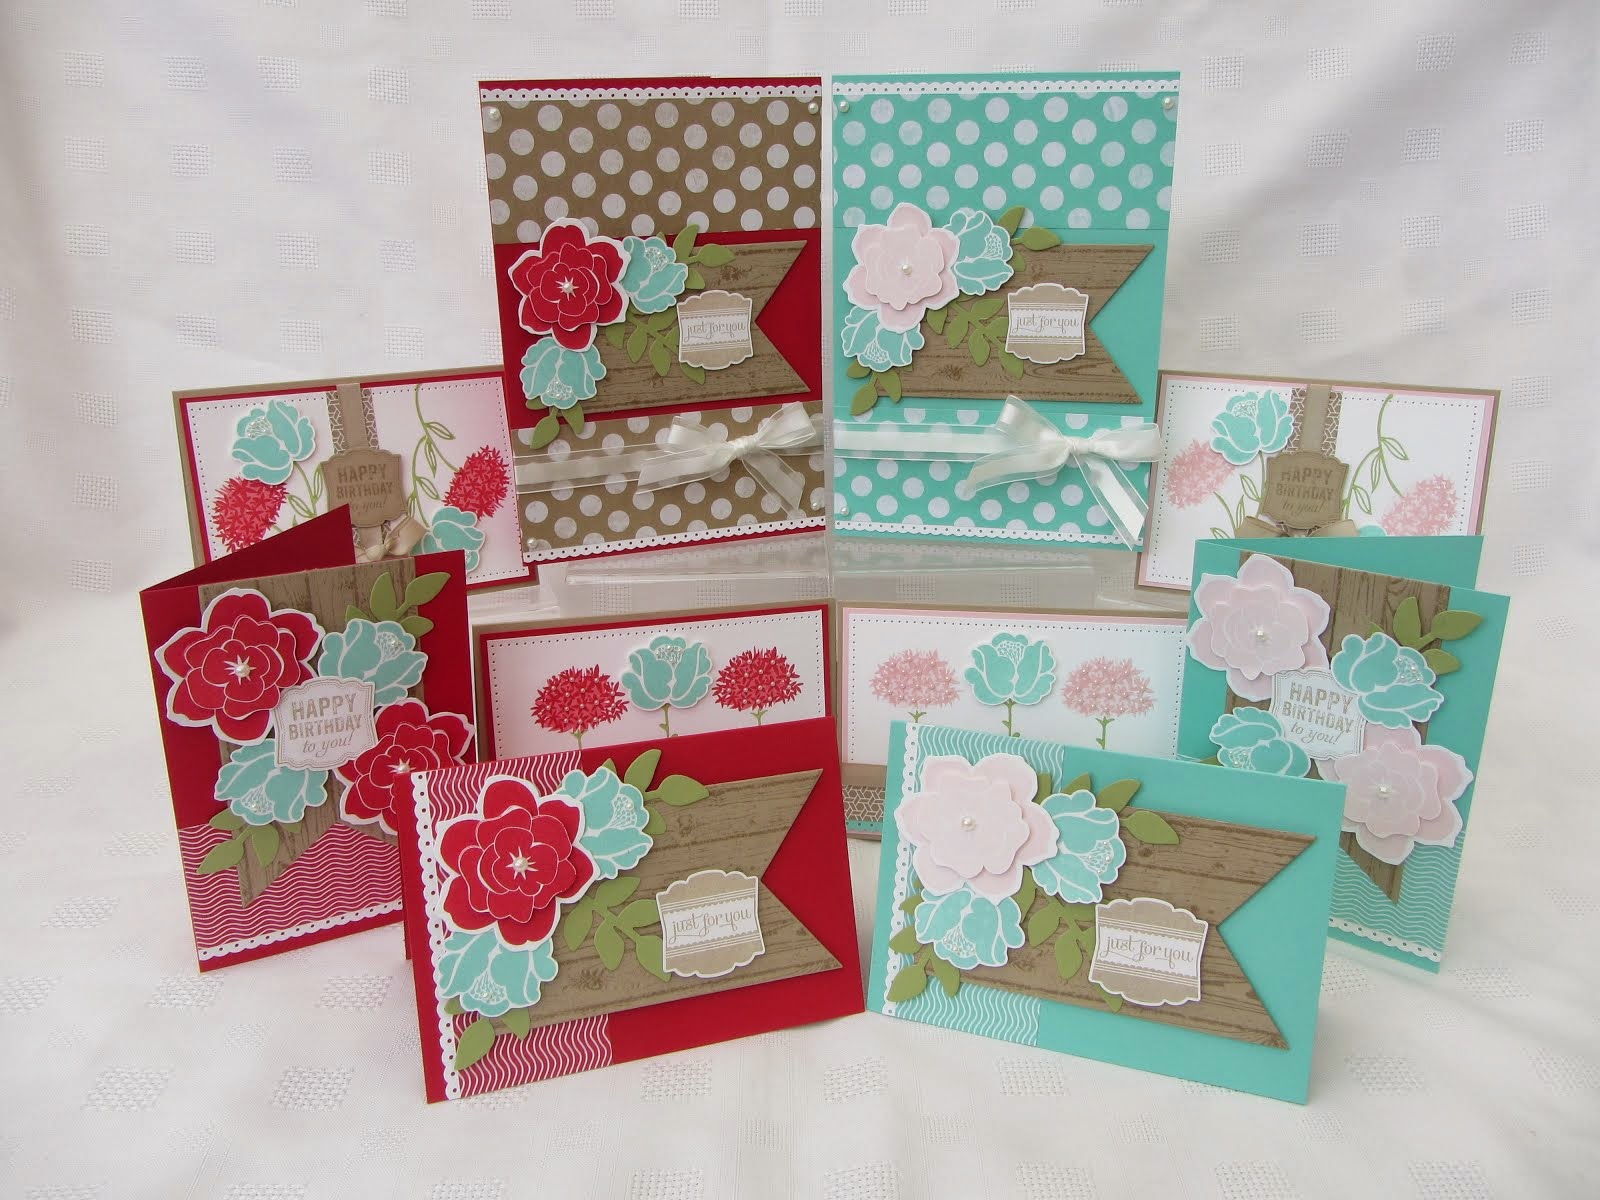
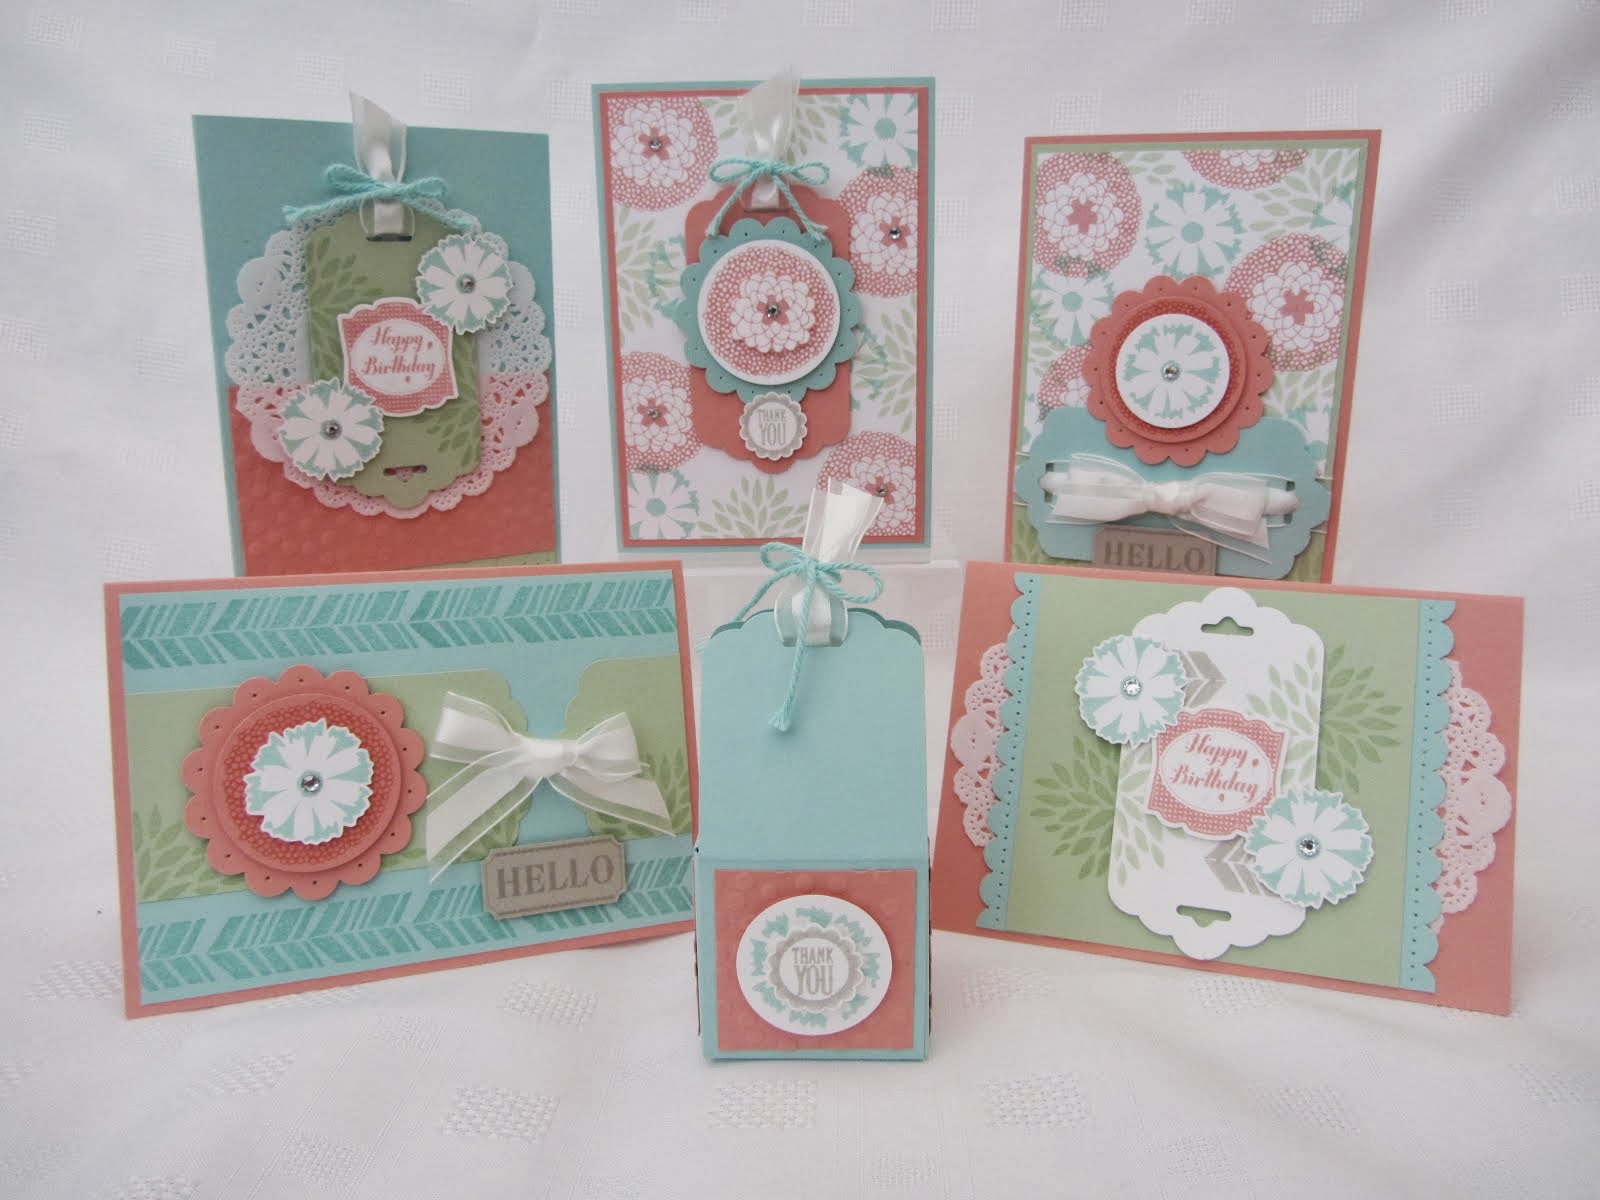
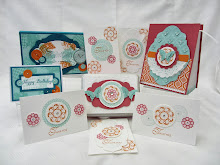
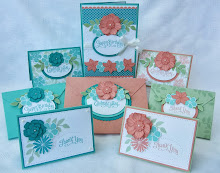
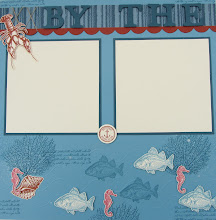
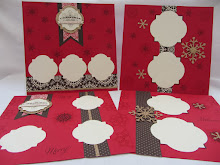
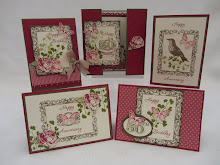
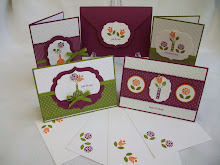
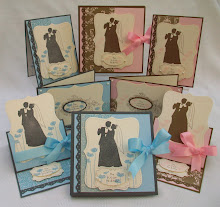
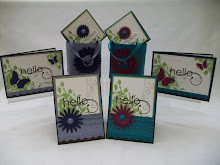
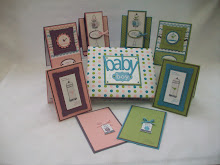
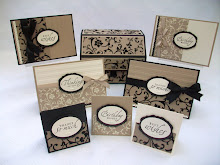
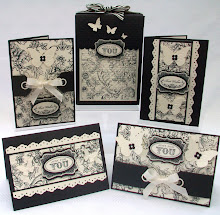
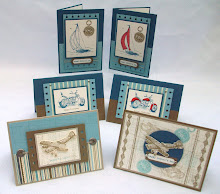
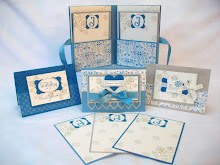
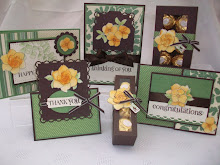
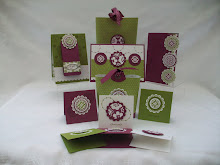
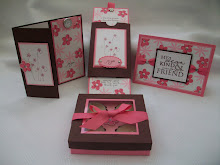
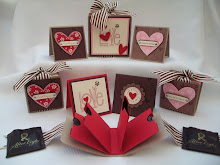
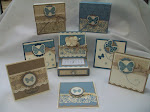
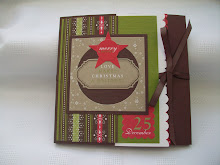
Being a demonstrator, we were allowed to purchase a few Sneak Peaks. I made this Flip Album before the Summer using the I Wish Scrappin Kit. It only uses half a pack so its fantastic value.

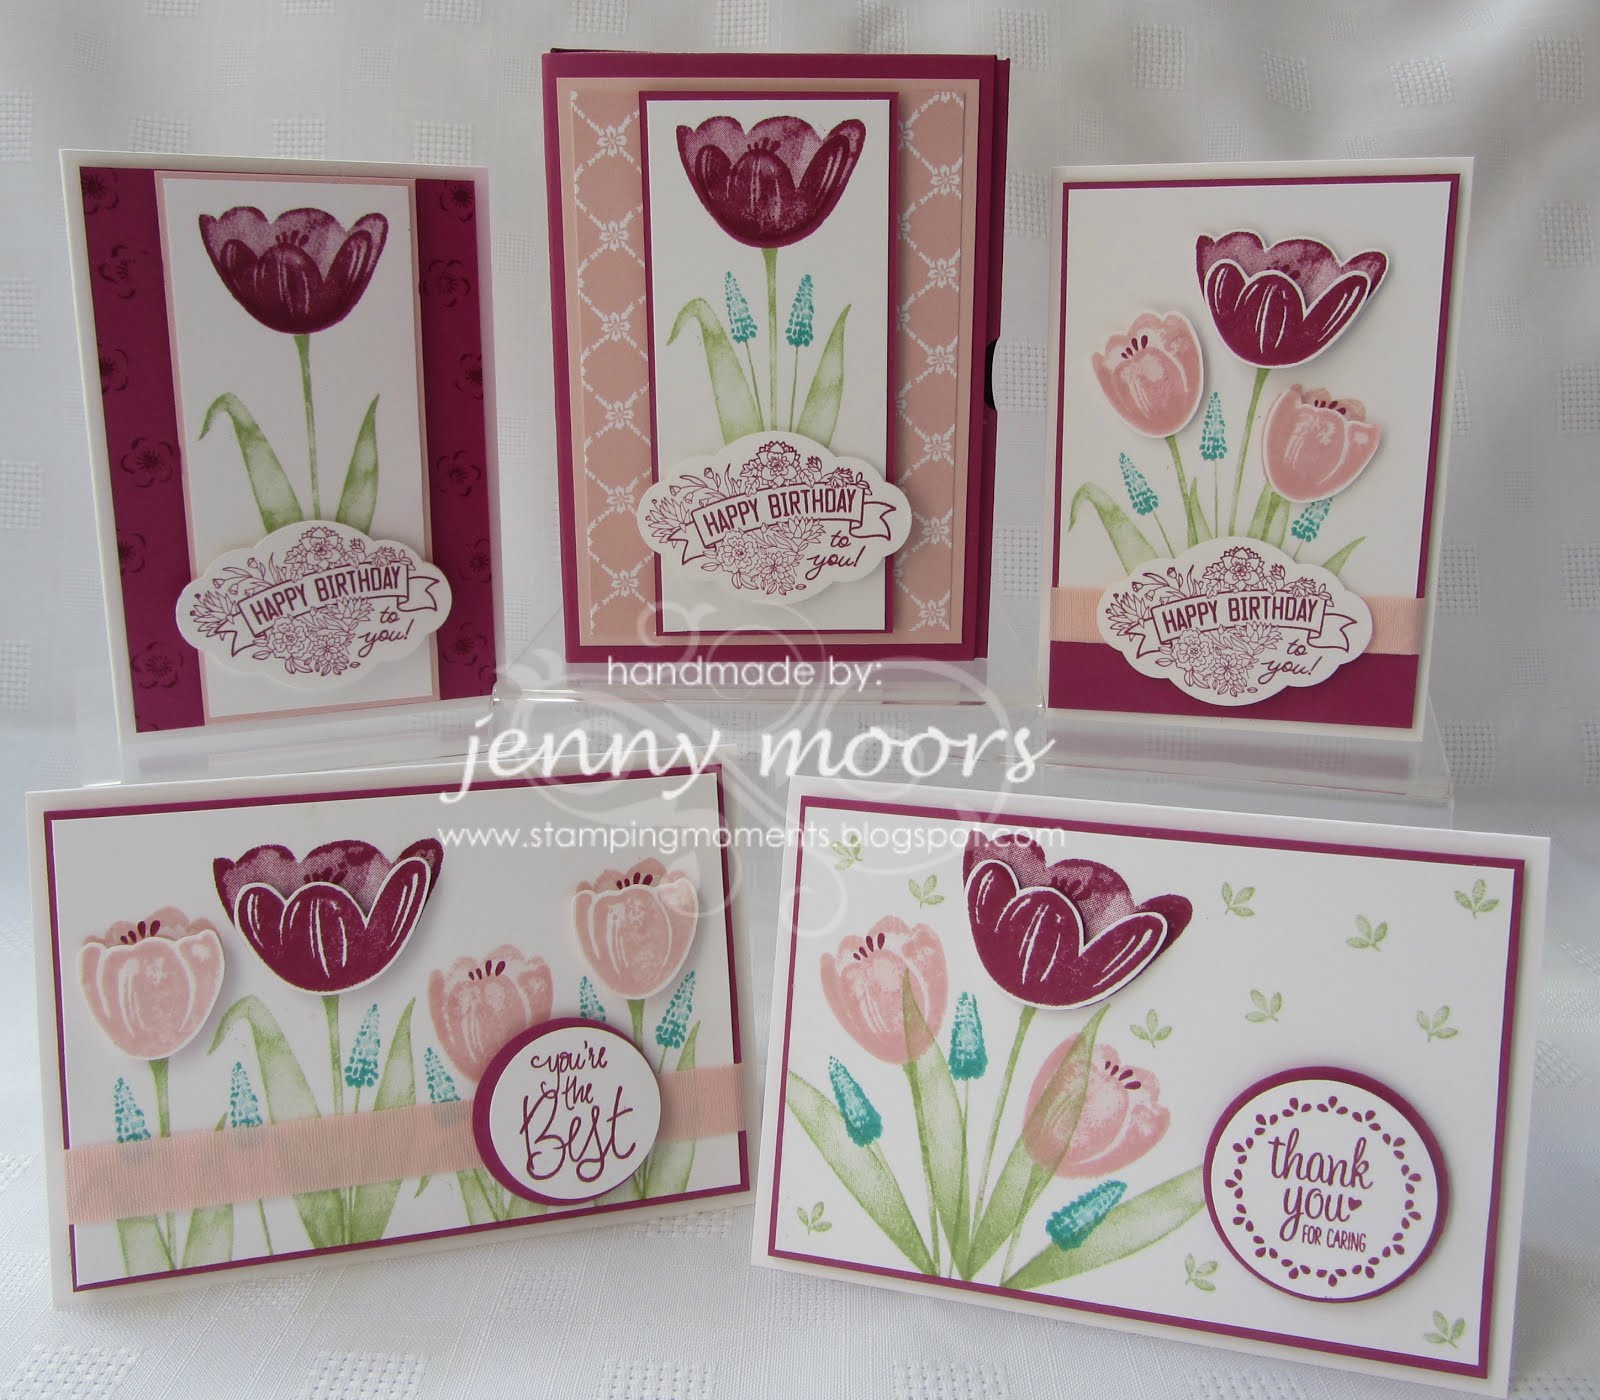
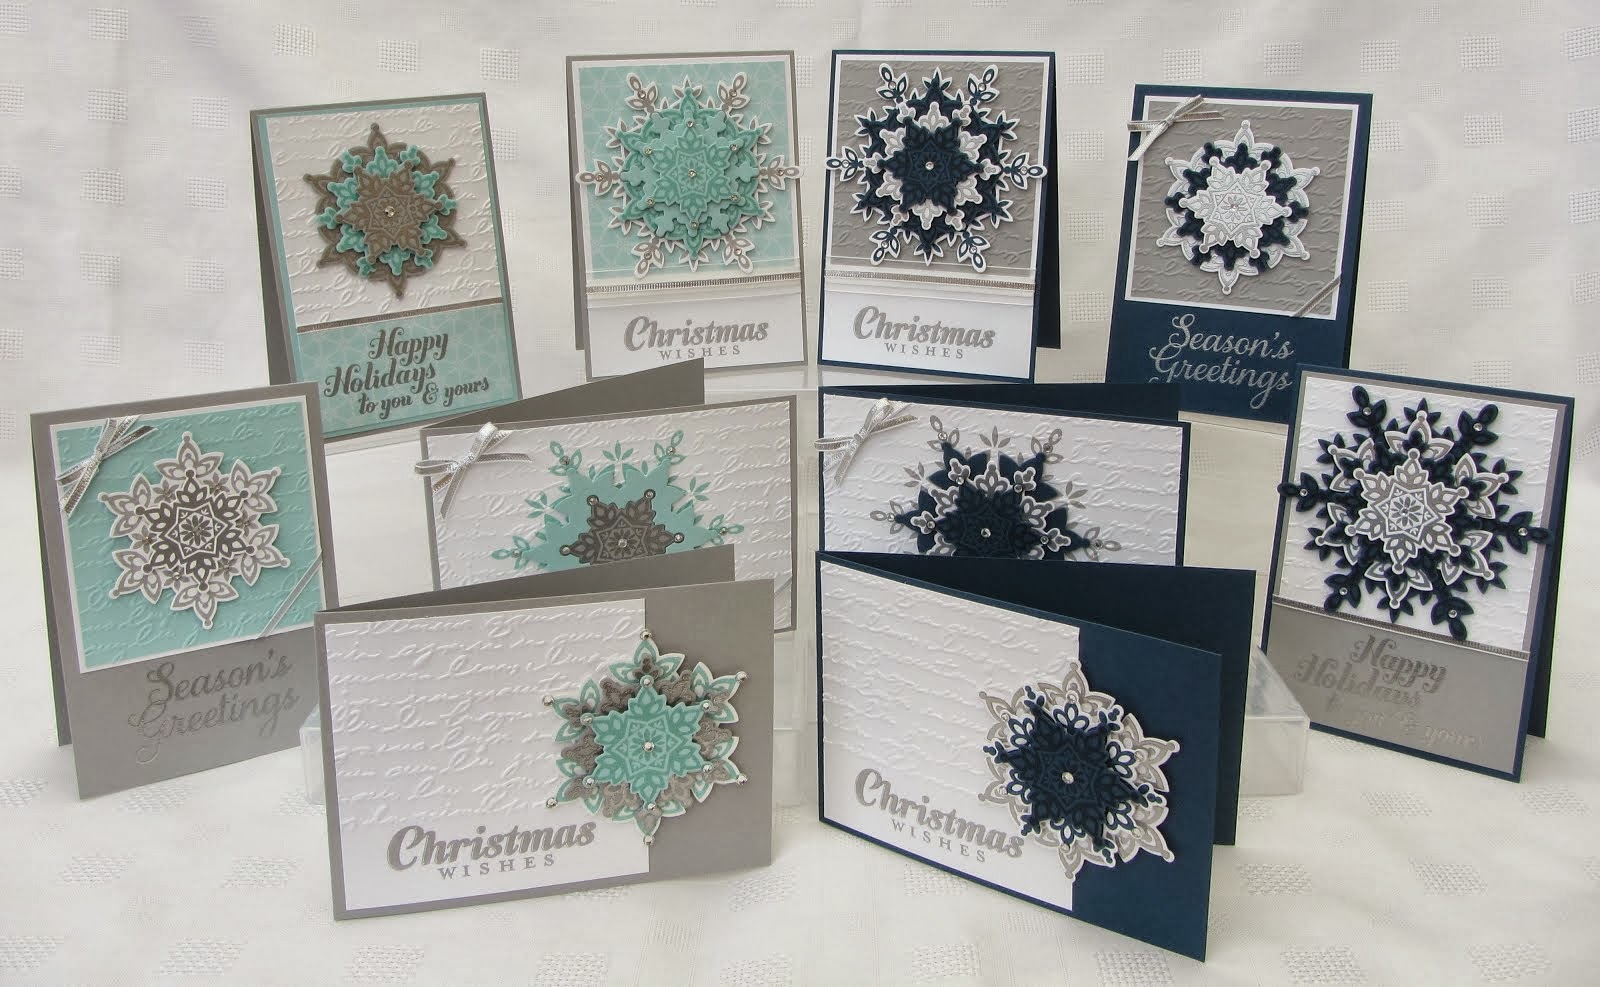
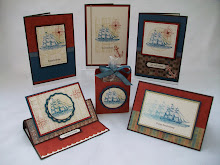
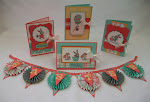
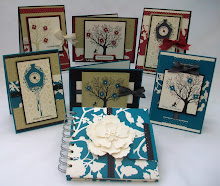
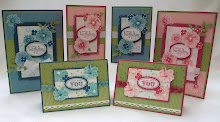
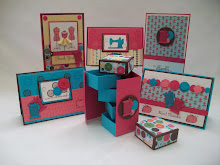
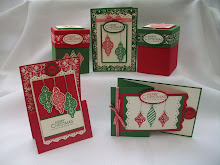
I Wish won't be available after today but it is being replaced by a New one called 'Christmas Jingle'. So I made a new Flip Album using the new Scrappin Kit.

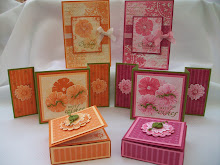
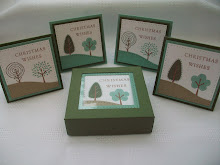
For those of you that brought the I Wish Stamp Class from me, I have used exactly the same layout and the measurements etc are all exactly the same. So if you wanted to make another using the Christmas Jingle Scrappin Kit, heres what I did with it.

If you want to purchase the Stamp Class for the step by step cutting instructions etc, it is over on the right for £2.50. The colour of cardstock is the same so easy peasey.....

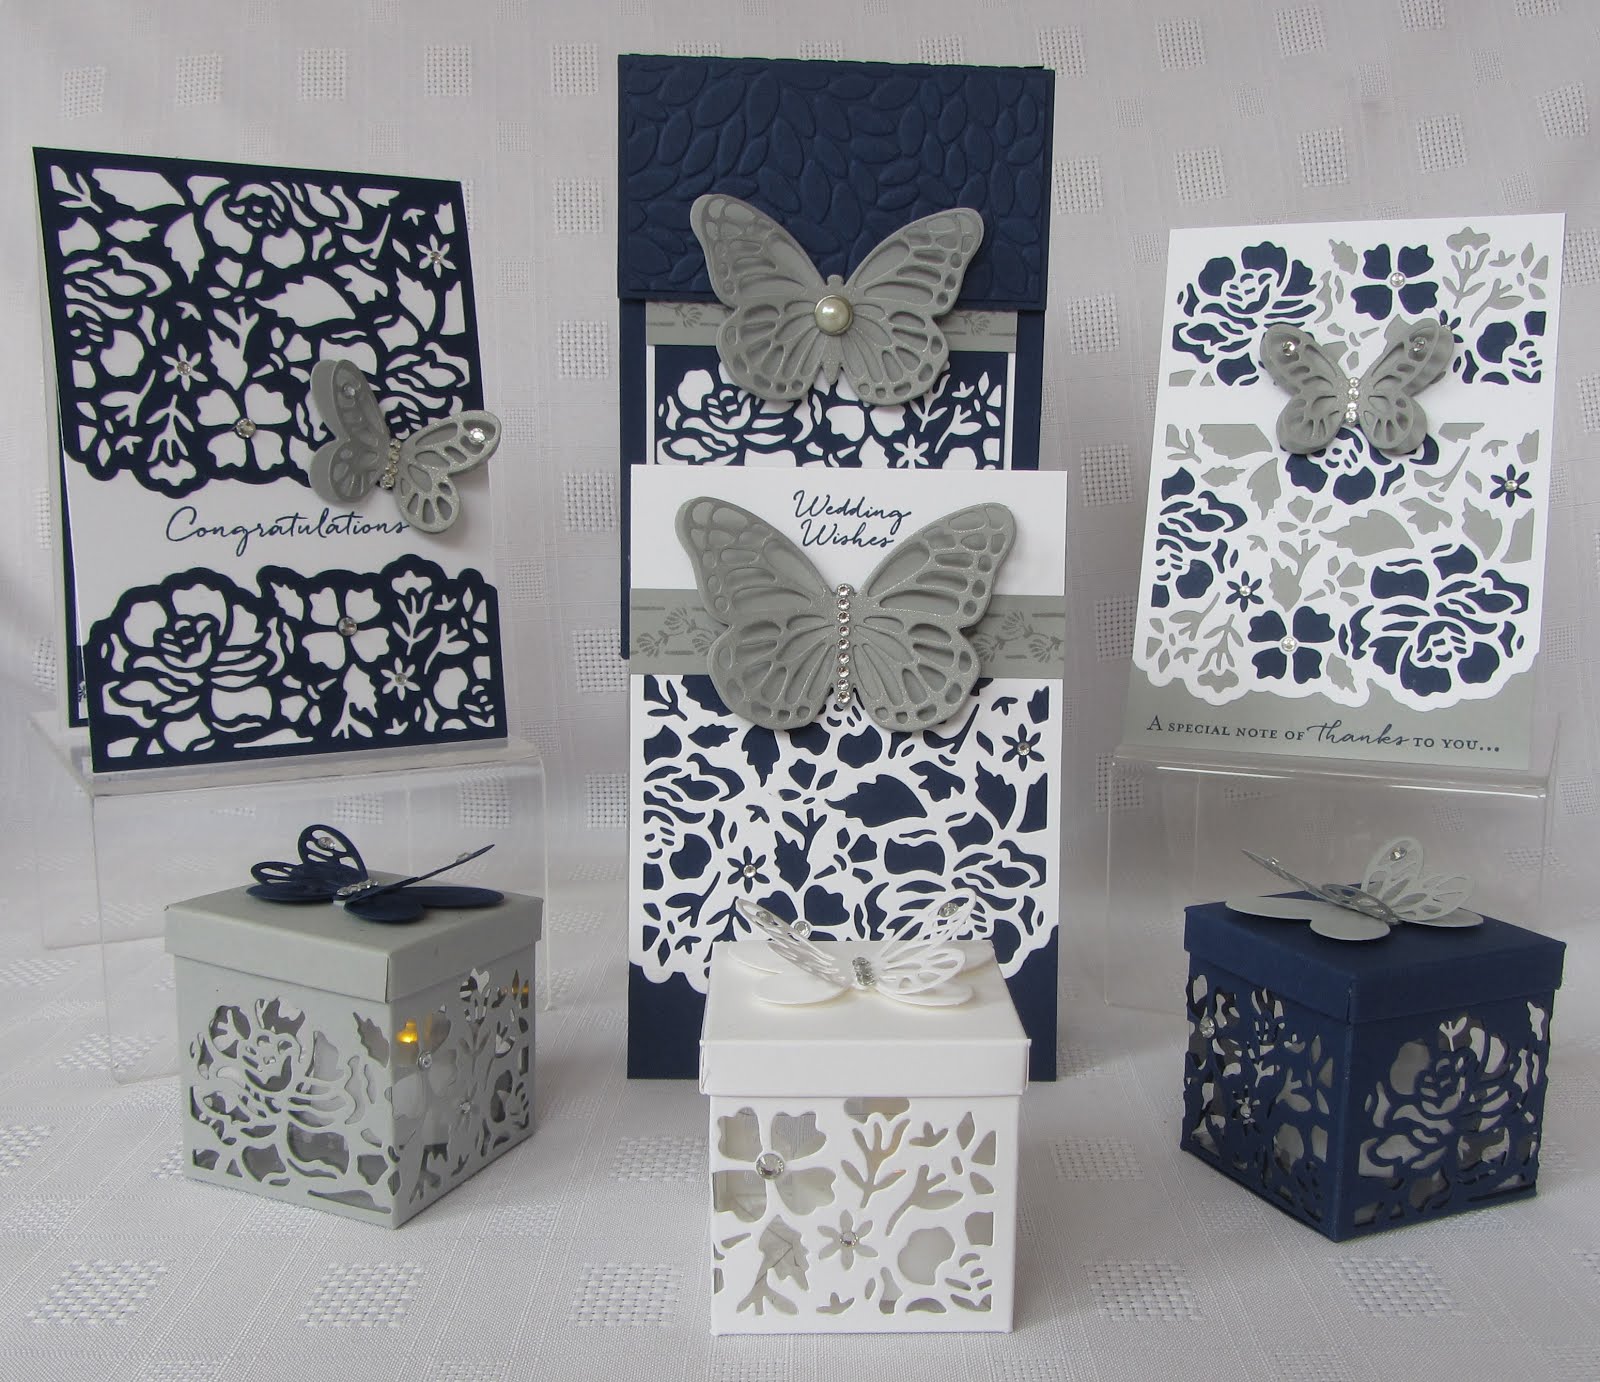
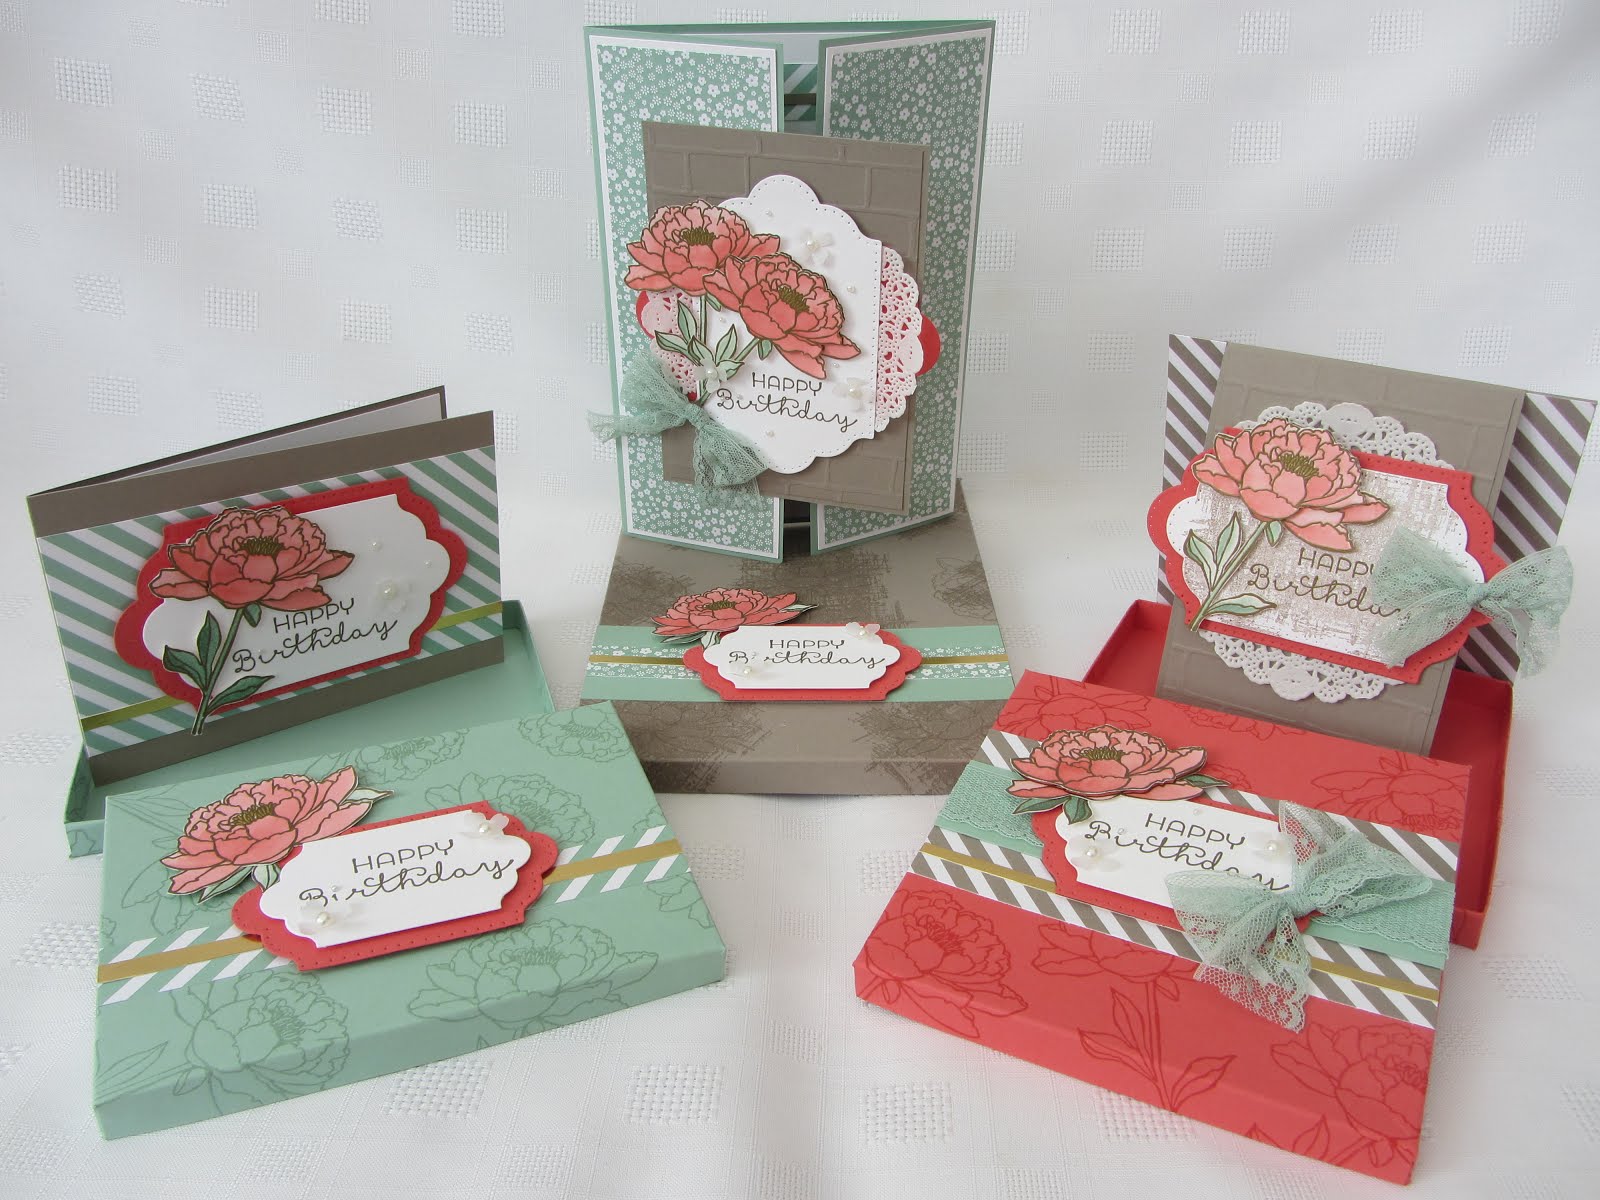
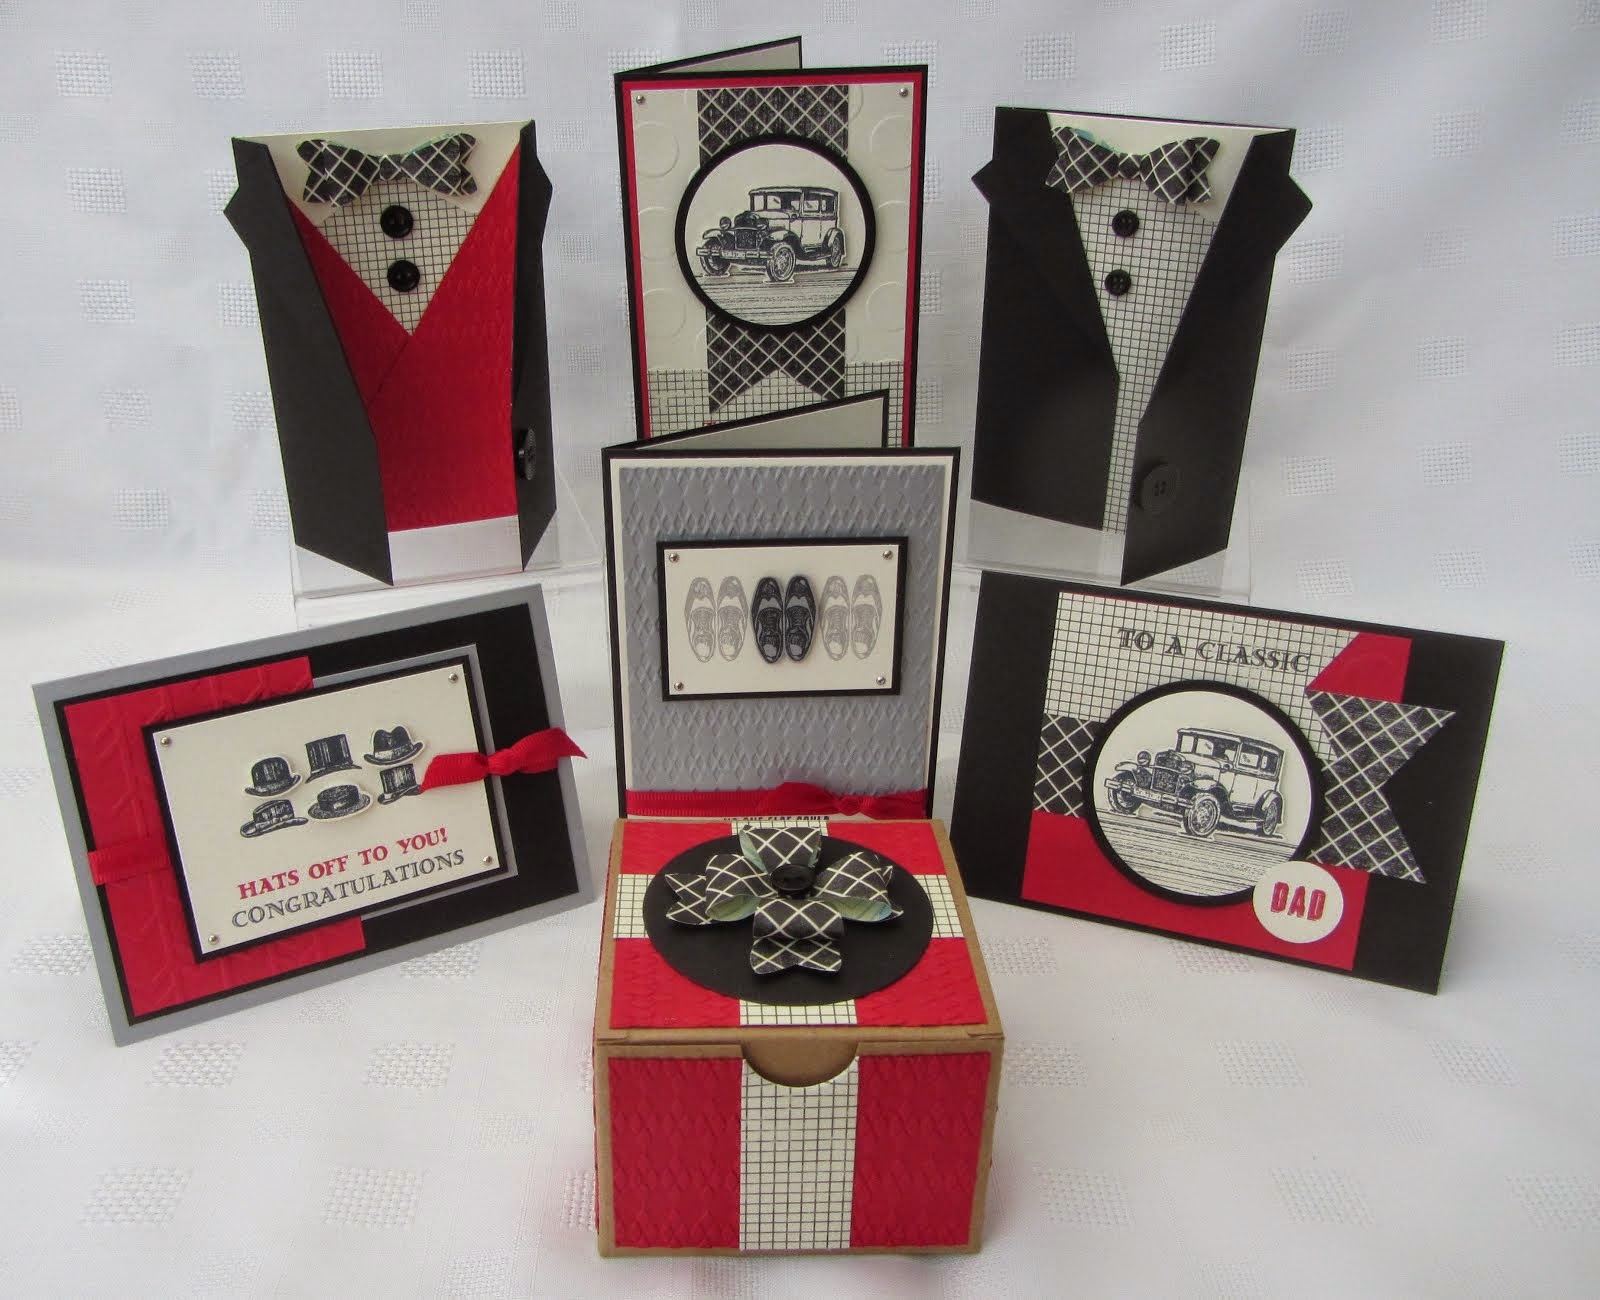
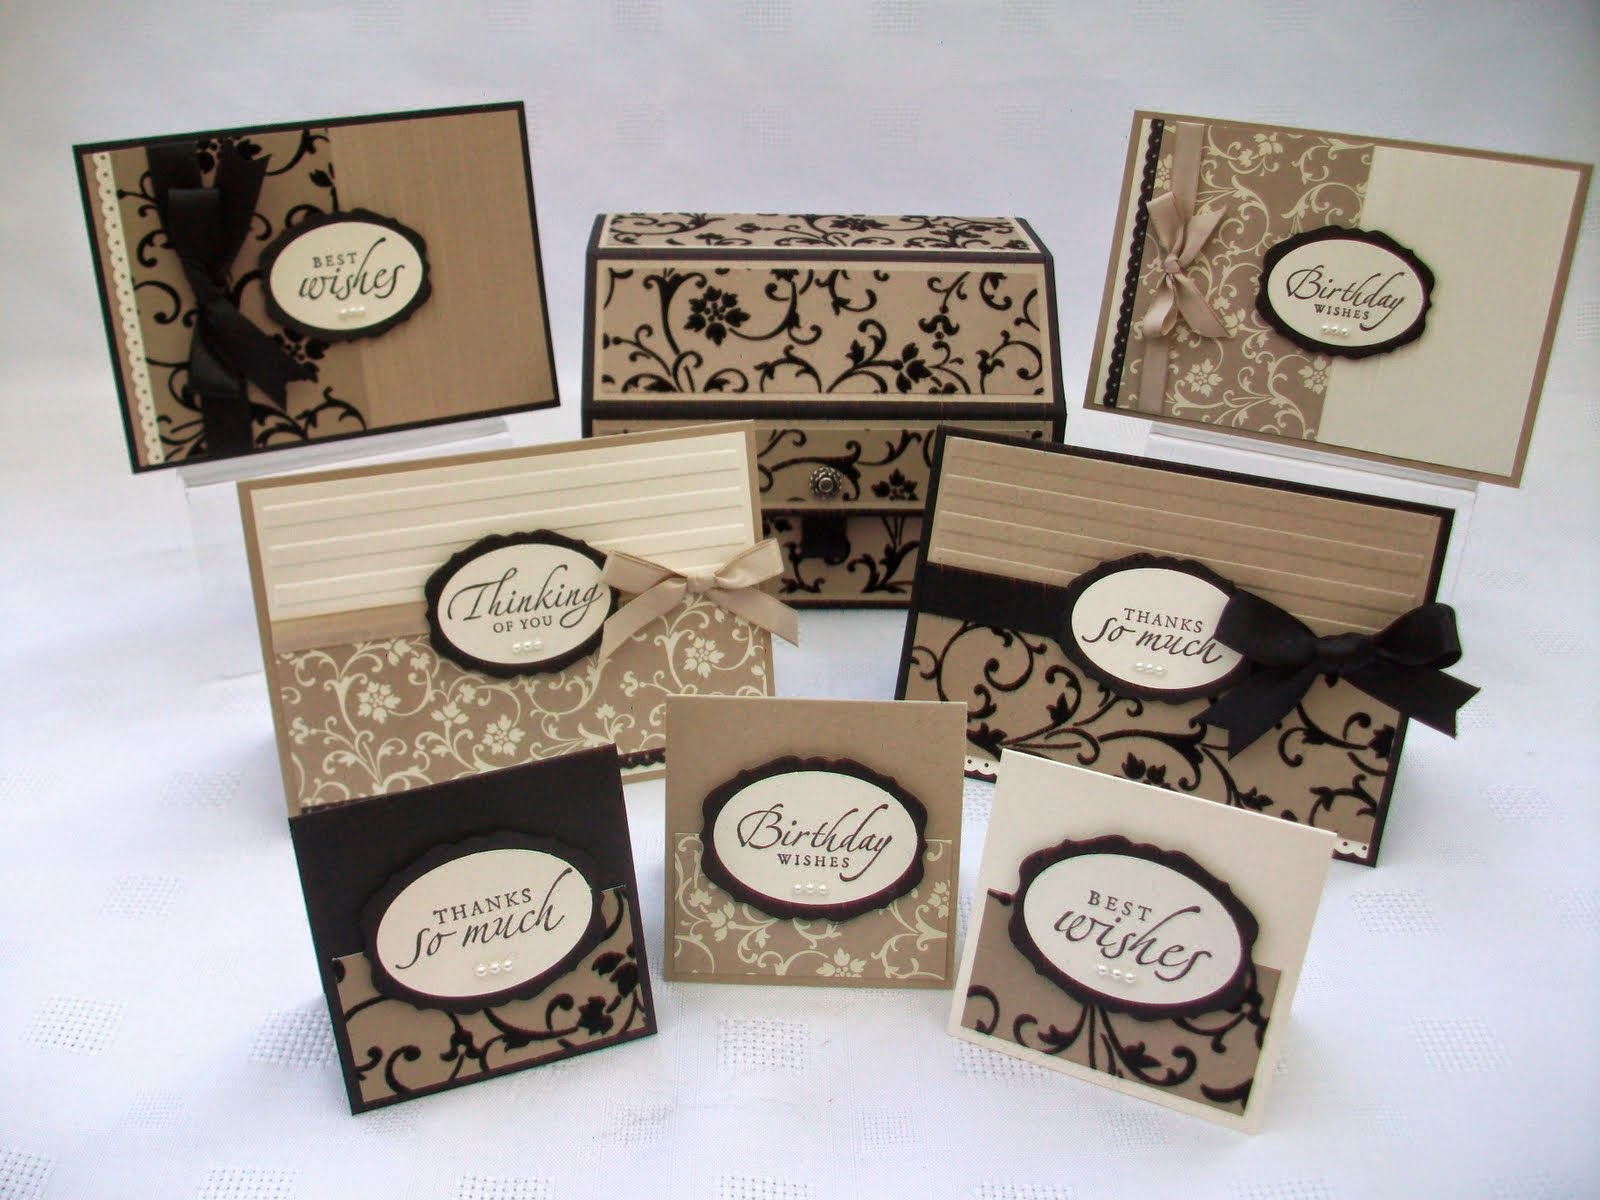
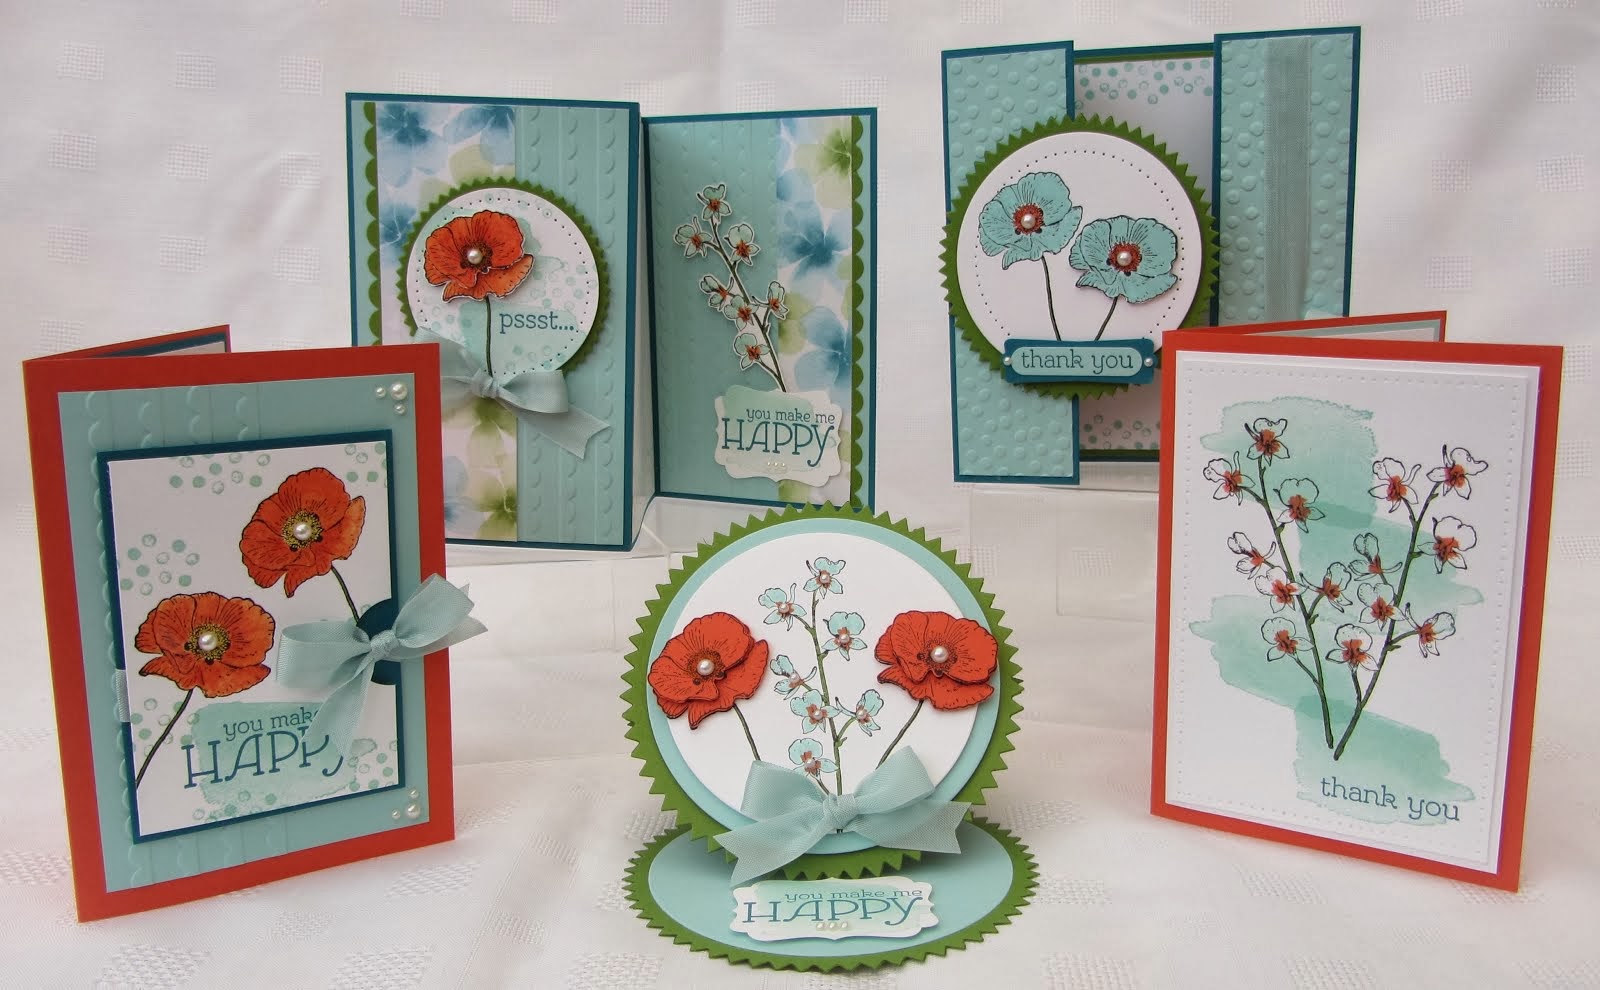
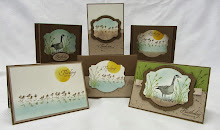
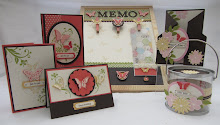
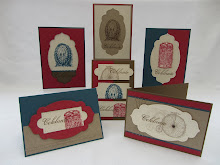
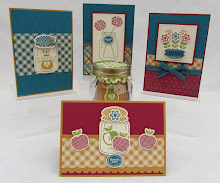
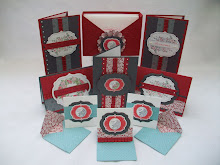
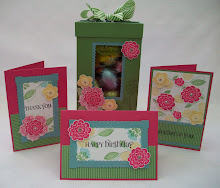
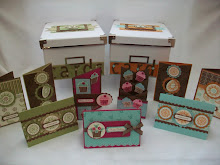
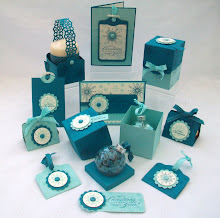
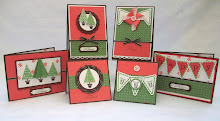
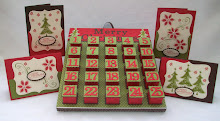
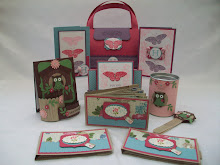
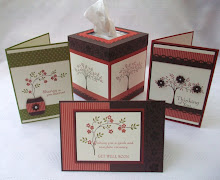
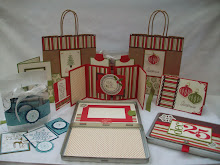
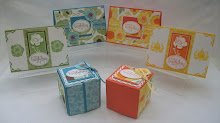
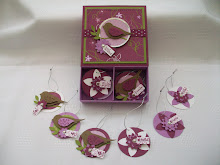
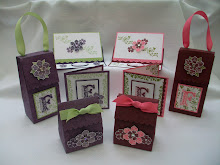
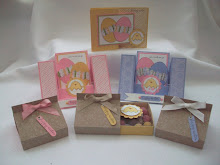
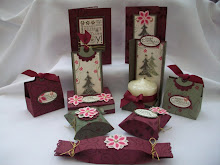
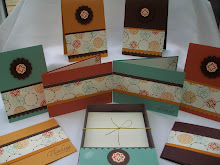
We were also allowed to buy the new Window Sheets. I thought I would put my new Flip Album into a gift box, I have done you a tutorial.
I used the medium window sheets, to make the lid. Oh! My the photos don't really do the box justice. The window sheets are so strong that my hubbie didn't believe that I made this box, he said I had brought it.......OH! Bless him.

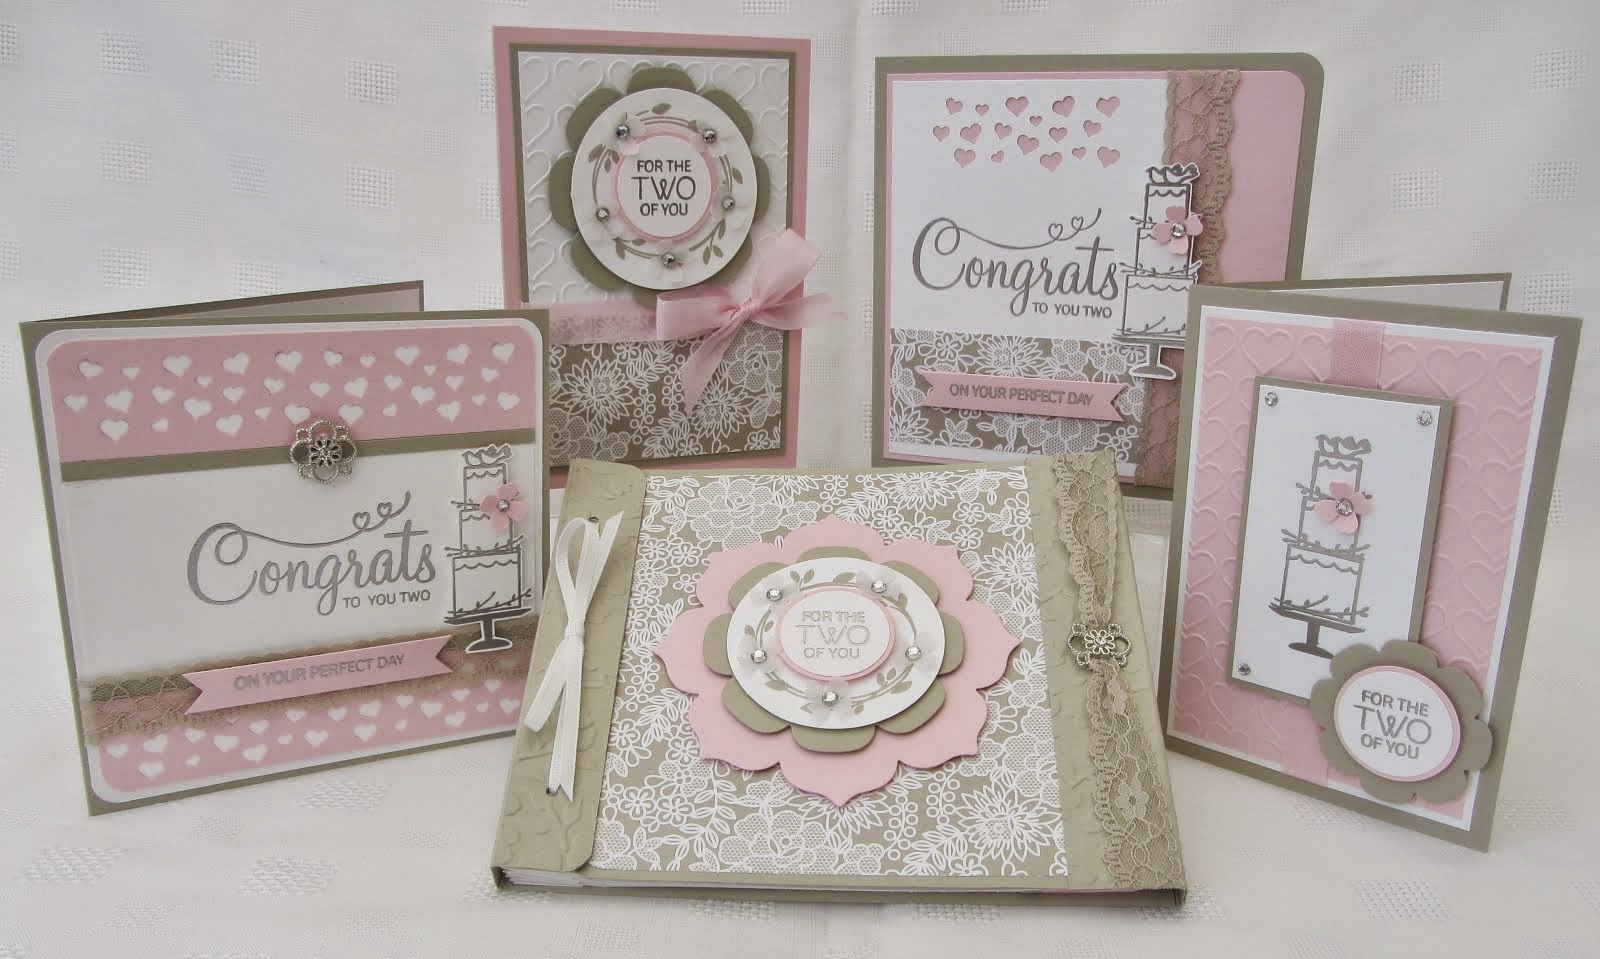
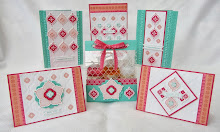
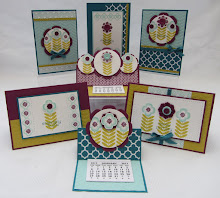
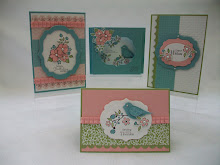
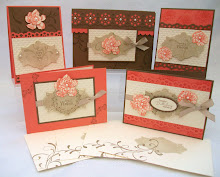
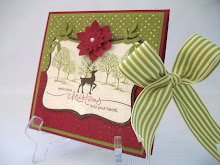
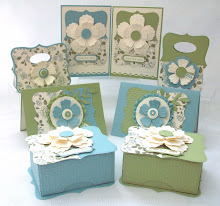
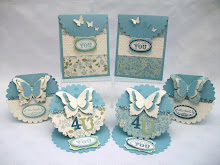
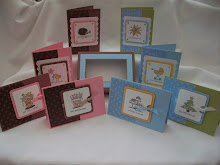
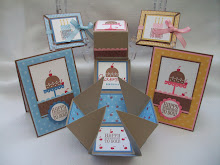
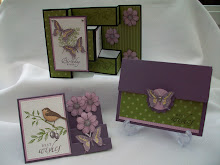
This is the first page and inside cover.
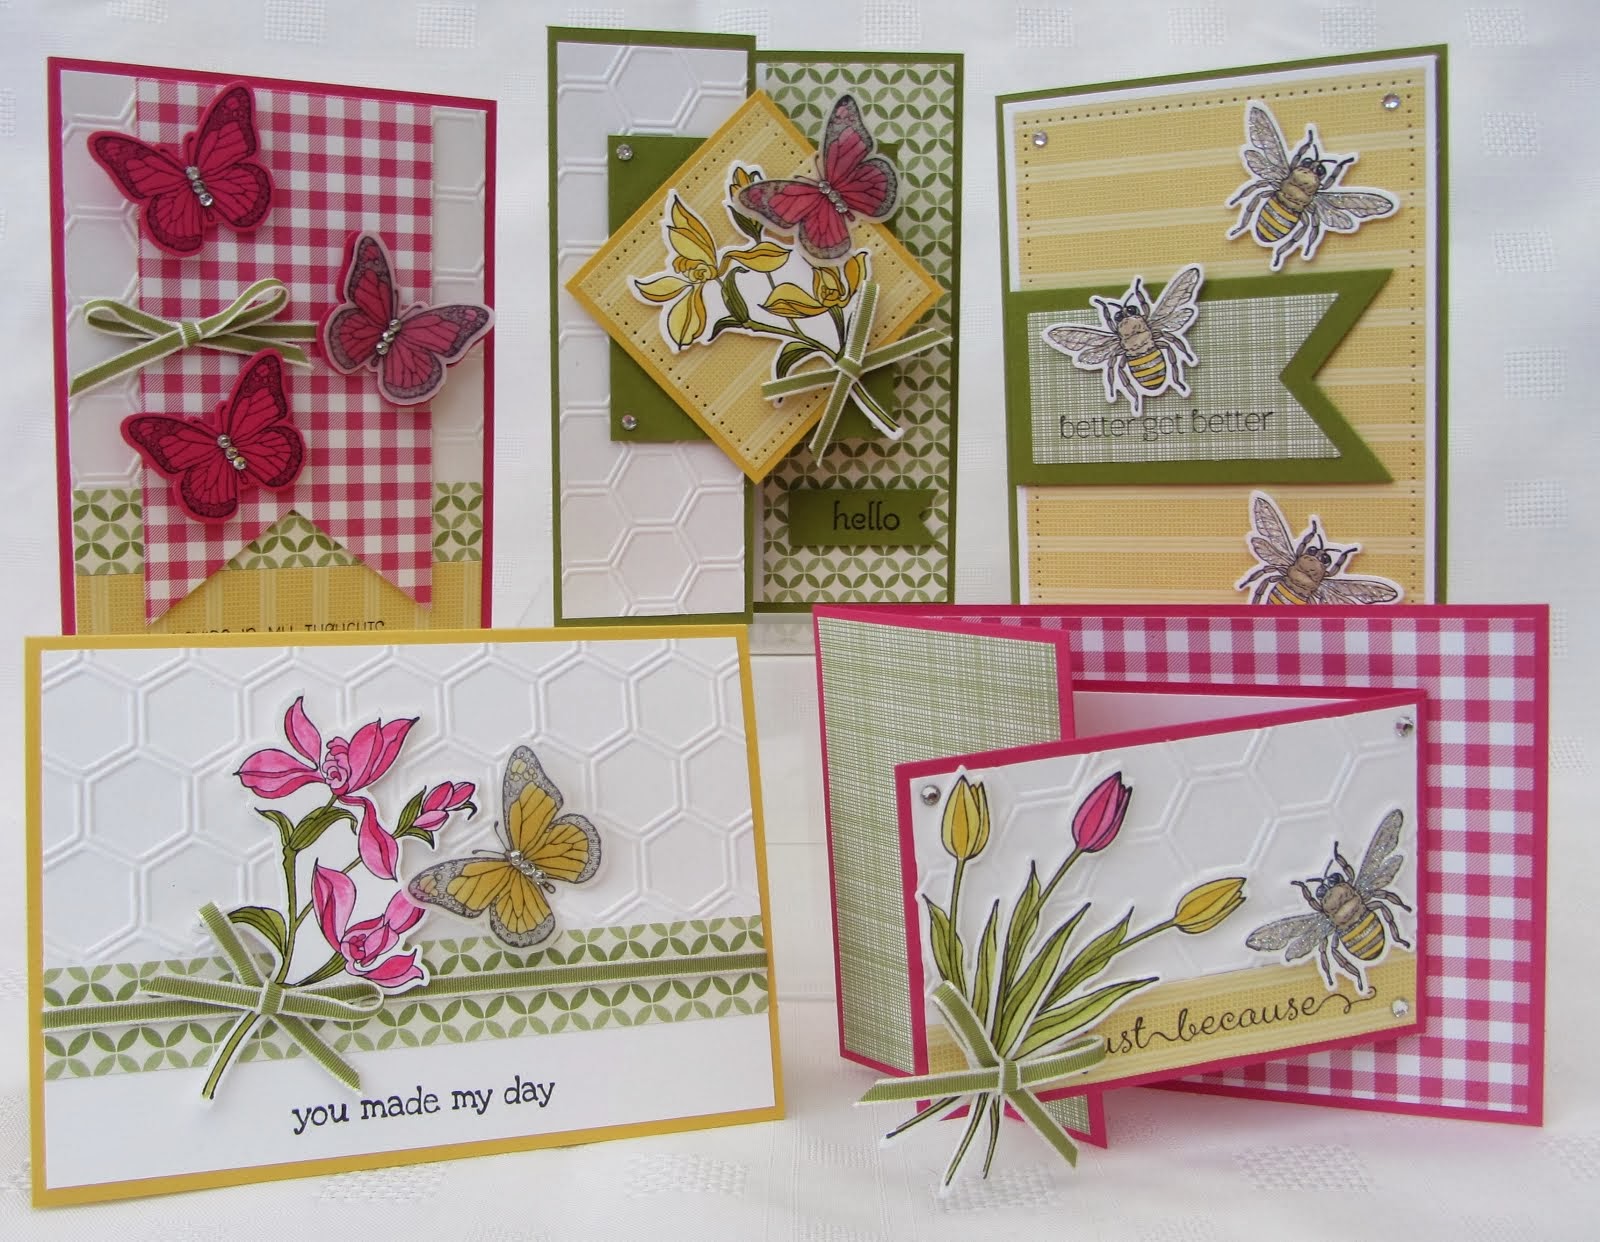
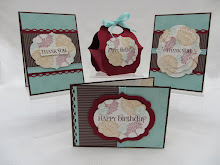
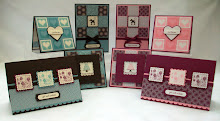
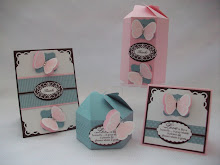
This is the cover open.
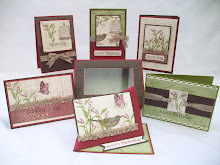
When you turn the first page, this is what I did.
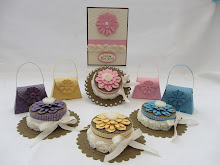
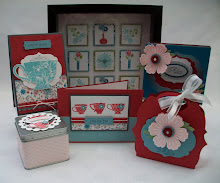
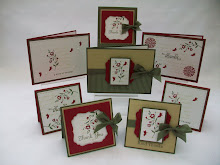
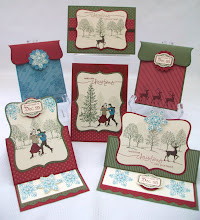
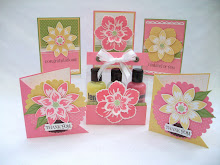
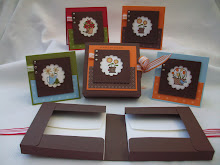
This is both sides open.
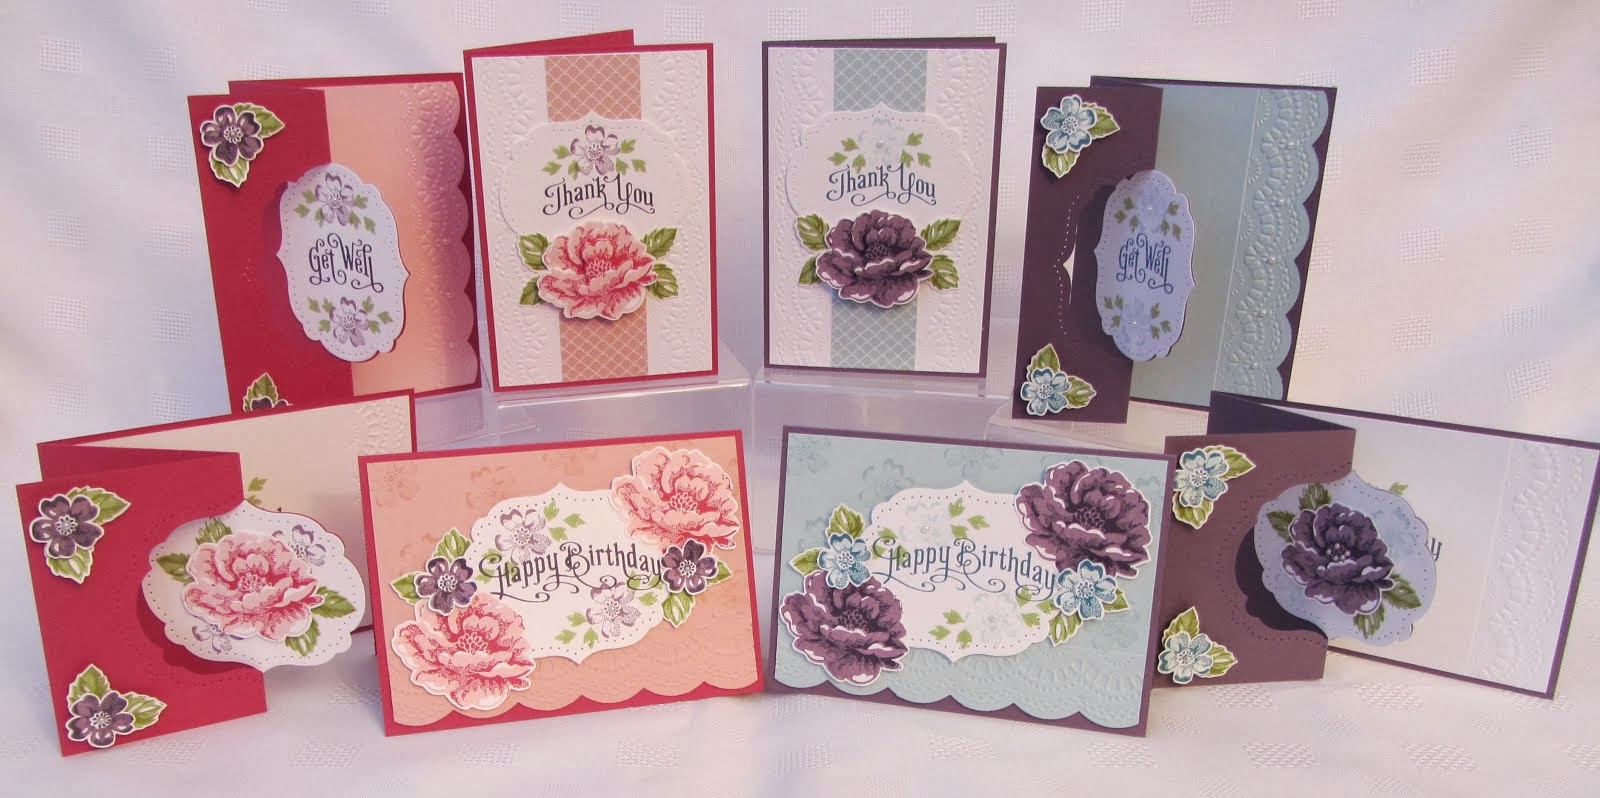
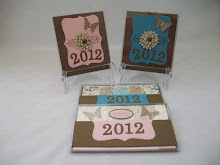
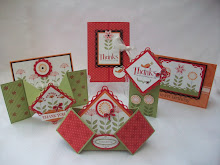
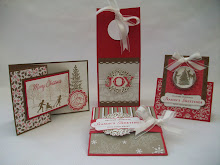
This is the centre sections.

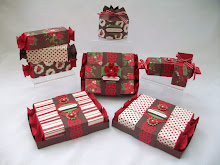
Window Sheet Box Tutorial.


Take a piece of A4 cardstock and cut it to 8 1/4" x 8 1/4" or 21cm x 21cm

Score at 1/2" and 1" on all four sides.

Cut away the L shape on each corner as shown below.

With the mountains facing up. Cut up the score lines to make the tabs on each corner.

Add double sided tape on all four long sides. This is the inside of the box.

Turn the cardstock over and add double sided tape on just the tab sections.
Use your bone folder to crease all the score lines and start putting your box together. Start at one corner as below,
When all four corners are put together. Take the tape of each side now and fold inside.
Use your bone folder to crease each side to make a nice crisp edge.
Your box base is complete.
For the window sheets Lid.

Cut a piece of Window sheet

7 5/16" x 7 5 1/6" and score at 1/2" on all four sides. Cut at each corner to make a tab as in the base box. Add some double sided tape or one mini glue dot and use your bone folder to crease all the score lines.

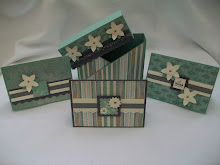
Its hard to get a good photo of just the lid.

There, I know what I will be ordering more of tomorrow!!!

Thanks for looking, Sorry for the long post,

Jenny:-)xx

Tuesday 29 September 2009

New Stamp Class Member Today!


What a little Monkey! There was a spare seat today and Sid decided to join in!!! He was eyeing up the biccies on the table and helping Mary with her cards. Then he licked Val on the elbow!

Little Monkey! He loves Tuesdays.

Thanks for looking,
Jenny:-)xx

Circle Circus One Sheet Wonder Notelet Box.....

I chose lovely autumn colours for todays stamp class. It's using one of the new stamp sets from the NEW Catalogue which goes LIVE on the 1st October......YES This Thursday its October!

Circle Circus goes perfectly with lots of the circle punches - How clever is that?

The stamping technique used is a One Sheet Wonder. This is a quick set of notelets but in a gift box with an acetate lid, all wrapped up with some gold elastic cord.

There is only 2days left for the Last Chance List, so if theres anything on it you have your eye on order it now through your Stampin Up Demonstrator before its too late.

If you would like to see a New Catalogue, Email me for your Copy. Its also a perfect time to join Stampin UP as a Demonstrator, all for £139 you could become a Stampin Up Demonstrator.

I am busy making projects using the New products and I will start uploading them on the 1st October.

Hope you have a good day,

Thanks for looking,
Jenny:-)xx

Monday 28 September 2009

New Catalogues Have Arrived........

It was such a busy week last week!
Friday was busy - Some of my Downlines came over to play. We had our very own Mini Convention, Hi Girls! Hope you all had some fun.

The UPS Man in Brown delivered all my NEW Stampin' Up! Catalogues at 3.30!!! They went in the post by 4pm. The poor Post Office lady was worn out. If you want to see a new Catalogue Email Me......

GOES LIVE ON THURSDAY 1ST OCTOBER!!!!!!!!!!!!! HEE HEE

Then we went away for the Weekend to Family in London. We went to Hever Castle...

It's such a lovely place and they allow dogs in the Gardens. Roys Sister came with us and we went in the Castle. They had models of Henry VIII six wives with some lovely outfits. They were so real! I was waiting for one of them to wink at me.


We all swapped cards on Friday and this was my one. Its an Easel card. The stamp is a NEW Level 2 one, which I used the SU Markers to colour and then stamp.

We all made a card. The style is a Double Slider Card and its using the Good Friend Stamp Set which is NEW in the next catalogue. As we were having our very own Mini Convention, I saw a similiar card on the video advertising Convention but it went by so quickley. I think its similiar. I thought is was nice for the girls who won't be going to convention this year to take part.
We played Stampin Up Bingo which I normally do at most of my home workshops. Great Fun! No Bones were broken!!!!


This is one of the flowers at Hever Castle in their Italian Gardens. I think its called Morning Glory.
I must get this weeks stamp class done today, I just didn't have time to do it last week, Hence No Posts!!!!
Thanks for looking,
Jenny:-)xx


Sunday 20 September 2009

Touch of Nature 3D Cards and Box Envelope Stamp Class

I love making 3D style cards but hate putting them into normal envelopes, as they get all squashed and the envelope looks all lumpy.....

In This Stamp Class we will be making the Shutter Card and a Box style Envelope for it to go into. These are very Special cards for that someone Special...
You can see that the Box Envelope is perfect for the Shutter Cards.


The Stamp Class Instructions also has a Bonus 3D Card - A Step Card.

This will also fit perfectly into the Box Envelope.
Right then, Must Dash,

We went to Wimborne Food Festival at Dean Court this weekend and watched some cookery demonstrations. We watched Valentine Warner and another cook from Market Kitchen Programme, can't think of his name right now. He had a Guest with him. The Sherrif of Nottingham from the Robin Hood TV Show - Keith Allen. He is so funny. There were lots of tee pee tents and different huts with lots of food produce in them. They had a Herb Garden as well!!!

So I'm off to cook this weeks Bedrock recipe. I am using Steak Mince this week, Cottage Pie, Mince and Shallots Pie (Our Own Shallots from the Potting Shed!!), the rest of the recipe will be using for wraps with veggies.

Not making any cakes as my boys keep eating them straight from the oven and they never make it to the cake box!!!!

Maria - They were using the Range Cooker.................:-( One Day, One Day......

Anyway, Enough of me rambling,

Thanks for looking,
jenny:-)xx

Wednesday 16 September 2009

Petal Party Criss-Cross Card Box

This is one of my project I made for UStamp. You can make this lovely Criss-Cross Card Box and cards using just HALF A PACK of a Petal Party Scrappin' Kit........

I used the Best Wishes & More stamp set for all the sentiments and the stamps actual match some of the Petal Party Papers as well, but most of the cards in the box use the super stickers that come in the Scrappin' Kits. They are more like cardstock than a paper sticker.


Thanks for looking,

Jenny:-)xx

Sunday 13 September 2009

Concertina Card & Gift Boxes Stamp Class.

I have been meaning to get more organised with my card supplies. I wanted to have a few cards and tags that all match but already made so I can just Grab & Go....

This is my Class on Tuesday, although we are only going to make the larger Concertina Box and a few tags. The instructions also include the Actual Small Concertina Box to hold the Tags and a Bonus Project, the Slider Card.

Must Dash as I am in the middle of cooking a shoulder of lamb, which I have never cooked before but the smell is out of this world! Smells like a cavery has been delivered to my house!!! I have been watching Economy Gastronomy Programme and they suggest making one Bedrock recipe and splitting it down into smaller meals. I have been doing this for 3 weeks now and this week I am doing a Shoulder of Lamb, which will be a Roast for 4, A Shepherds pie for 4 and Lamb Pasties for 8. It takes a while to make the other meals but its so nice to have 2 days meals completely prepared, MORE TIME TO CRAFT!!!!!!!! Hee Hee

If you fancy the instructions for yourself, Click on the Button on the right.

Thanks for looking,
Jenny:-)

Saturday 12 September 2009

Season of Joy Shutter Card....

Here you are Janette and Mary - A Christmas Shutter Card....

You are never going to guess but I have used a different GREEN!!!! I used the lush papers in the NEW Scrappin Kit which is a christmas one and the papers go with Old Olive and GARDEN GREEN!!!! These two colours are perfect together. I used the snowflake embossing folder from cuttlebug this time and the cardstock is Very Vanilla.

The swirl image was stamped of the centre section and some real red poinsetta flowers were added. I stamped 3 larger poinsetta flowers in Real Red on Very Vanilla and once in Old Olive, which I used for the leaves. Three silver brads were added to each centre and they were all popped up using 3D foam pads.

I had a quick visit from my Lovely, Funny Friend Lesley and she made me feel so happy yesterday. She brought around 3 shutter cards she had been busy making to show me. I could see in her face and hear in her voice, just how much she had enjoyed making them. I was so pleased that someone was really enjoying using all her Stampin Up Products that she had brought and wasn't just popping them in a drawer some where. Because I can honestly say that since I changed all my craft products to Stampin UP, that I use everything in my craft room and nothing in drawers are forgotten as everything goes perfectly together.

Another Fabulous Demonstrator has a signature on her blog and She says :-

A Card is a HUG with a Fold in the middle.....

What a lovely saying and Thats how I felt, when I saw, How much Lesley was enjoying Cardmaking. I hope this inspires you to make someone Happy by showing them, How Brilliant this Cardmaking Hobbie can be and also to send someone a card today to send them a HUG with a Fold in the middle.....

Have a good weekend,
Thanks for looking,
Jenny:-)xx

Friday 11 September 2009

Sneak Peak of New Catalogue Paper.....

We were allowed to order a few bits from the new catalogue last week and they came on wednesday....

This is my first item I have made so far. The papers are called Tall Tales and they match a Stamp Set Animal Stories. My class next week is making concertina boxes so I decided to make one using these new papers while I was at it.


I decorated the inside of this one as well. I was really pleased how the tab of ribbon turned out with the jumbo eyelet. The ribbon is the chocolate chip double stitched one and it comes in Chocolate Chip, Rose Red and Bashful Blue.

Anyway must dash,

Thanks for looking,
Jenny:-)xx

Tuesday 8 September 2009

Shutter Cards......

It was my turn to Demo at Craft Club last night. I had asked my friend Janette, for ideas of something to Demo and she requested a Shutter Card.

So here's the ones I made to Demonstrate. The first one is using the Live Your Dream stamp set, as we were using that Stamp set in my Class today. The tall flowers were coloured in using Stampin Up Markers, Pretty in Pink and Always Artichoke. I have a couple of spaces left in my Marker Club if anyone is interested. Email me for all the details.

The papers are Tea & Crumpets.

You can watch a video over at Beates Blog - Fresh & Fun Here.

Or you can see step by step photo's over at SCS Here.

The next two Shutter Cards are using the Soft Summer Stamp Set which is only available until 30th September when the mini catalogue finishes. The papers are also from the mini called Tea Party. The sentiments are Oval All (Punched out using the Large and Scallop Oval Punches) and the Curvy Verses.
For these two I decided to add a back section, which I edges with the Scallop Edge Border punch.
This one is also using the Tea Party Papers plus The Playful Petals Stamp set. I stamped the flowers on the cardstock using versamark and embossed them with white embossing powder. Then they were layered up to make a medallion.
This is the inside with Sincere Salutations sentiment. The two white buttons are from the mini catalogue.
Saying Good Bye to FLAKY FRIENDS.......AND............WINTERGREEN PAPERS.

This was the Make & Take card our Club made last night. One of my favourite Z fold cards.

You need half a sheet of A4 cut lengthways. Fold in half and then fold the front back to the left and crease with the bone folder. The Flaky Friends were stamped on whisper white and coloured in using the Stampin Up Markers - 8cm x 7cm.

The papers were Wintergreen and measured 10cm x 6.9cm.

The Real Red layer was 10.5cm x 7.5cm, each side was edged with the scallop edge border punch. The circle of friendship sentiment was stamped on whisper white in Real Red and cut out using the 1" circle punch, then layered on to 1 1/4" & 1 3/8". 3D foam pads are only added to the far side of these circles layers, that way the front section can slip behind them........


This is the inside. The whisper white layer is 14.3cm x 10cm and each side was stamped with the snowflakes in Sage Shadow. The sentiment was stamped in Real Red.

The Stamp Set and Papers are only available until 30th September and none of the Last Chance List will go in the New Catalogue this Year.

If you have paid for your copy of the NEW catalogue, they will be sent out hopefully by the 30th September. Email me if you want to go on the list.

Thanks for looking,

Jenny:-)xx

Saturday 5 September 2009

Live Your Dream.....Scallop Bag & Cards.

My Stampin Up classes start back on Tuesday. My boys go back to School on Tuesday as well - Seven Weeks off!
We are making this little scallop bag and 4 diddie cards. The Stamp set is Live Your Dream and the papers are Tea & Crumpets.

Although I made the smaller bag using Nesties but you can make the larger one with the Carousel Notes in our Stampin Up Catalogue. You can hold 4" x 4" cards in the larger bag. Carousel Notes come in packs of 12, 4 of each three colours. So you can actually make 6 bags using the Carousel notes.

You can purchase the instructions for the class, they hopefully will be able every Tuesday, if you fancy making one for yourself.

Although we are only makin the smaller bag in class, I have included the full instructions for the larger scallop bag. The larger bag uses completely Stampin Up Products. The smaller bag using Nestabilities and Big Shot Daises Bigz die. The Pretties flowers fit on the smaller box if you don't have a Big Shot.


Hope you are all having a nice Weekend,

Thanks for looking,
Jenny:-)xx


Tuesday 1 September 2009

Last Chance List is Available..........

Hello Everyone,

We are back from our Holiday.....

Oh! My the Last Chance List is NOW Available and Stampin' Up! Have a Treat for you......

Some of the Products have 50% off.......................WOW!

You can view the Full List HERE.

Email Me to Place your order. Products will be only available while stocks last and they are going to go quickley at those prices, So Don't MISS Out.....

Thanks for looking,
Jenny:-)xx
 
09 10