


 Hello! Sorry its been a few days not updating the blog, but Jo and I were preparing for our Stampin Up Extravaganza Day, which was today......
A Big Thank You to all our Lovely Ladies who attended, 28 in total. Big Wave :-)
You alldid brilliantly with your Projects - Hope you all liked them and we know we worked you all so very Hard! What a way to spend a Saturday......
Want to come to our next one in July? Email Jennymoors@aol.com to get your name down.
We did two projects in the morning and One project in the Afternoon.
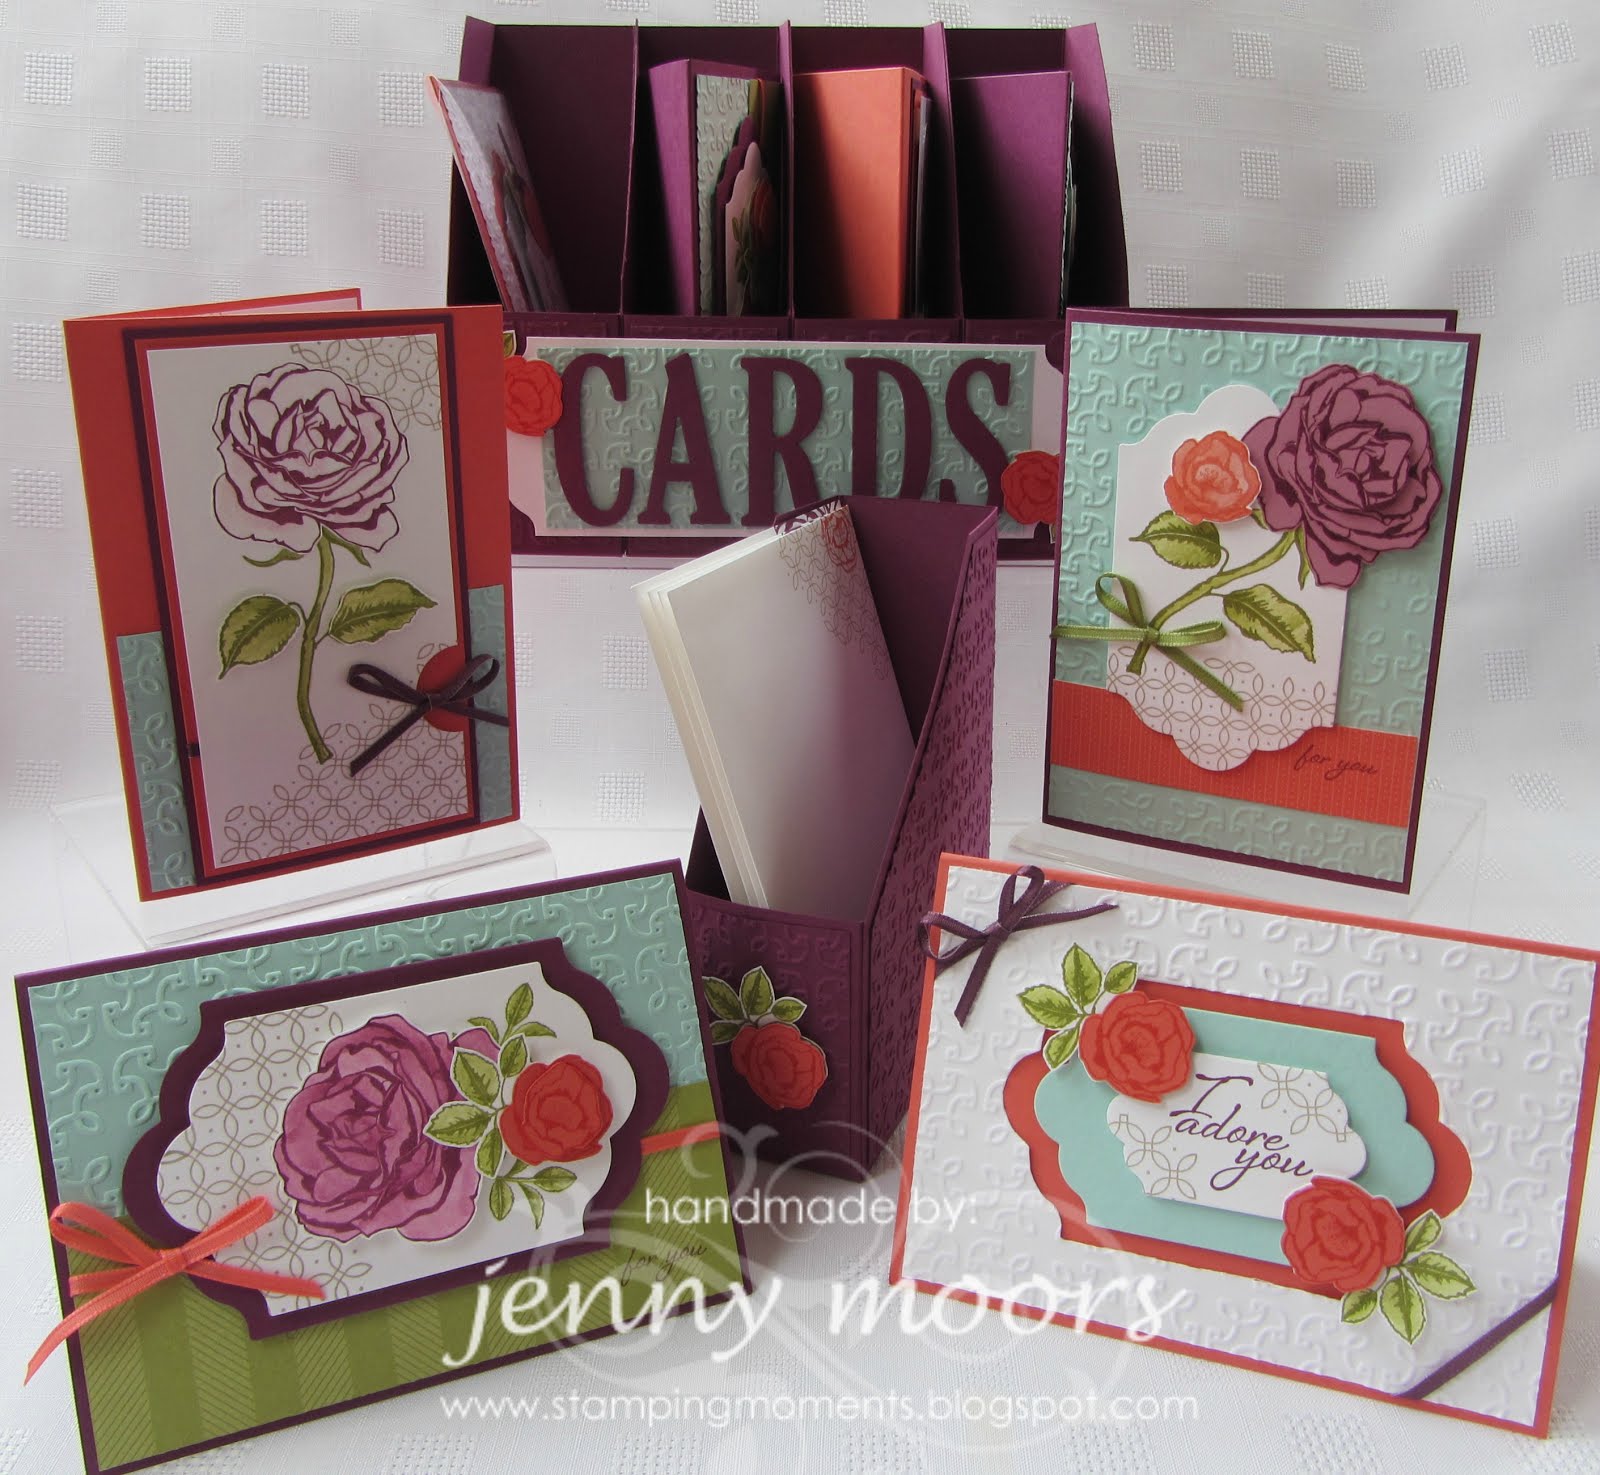
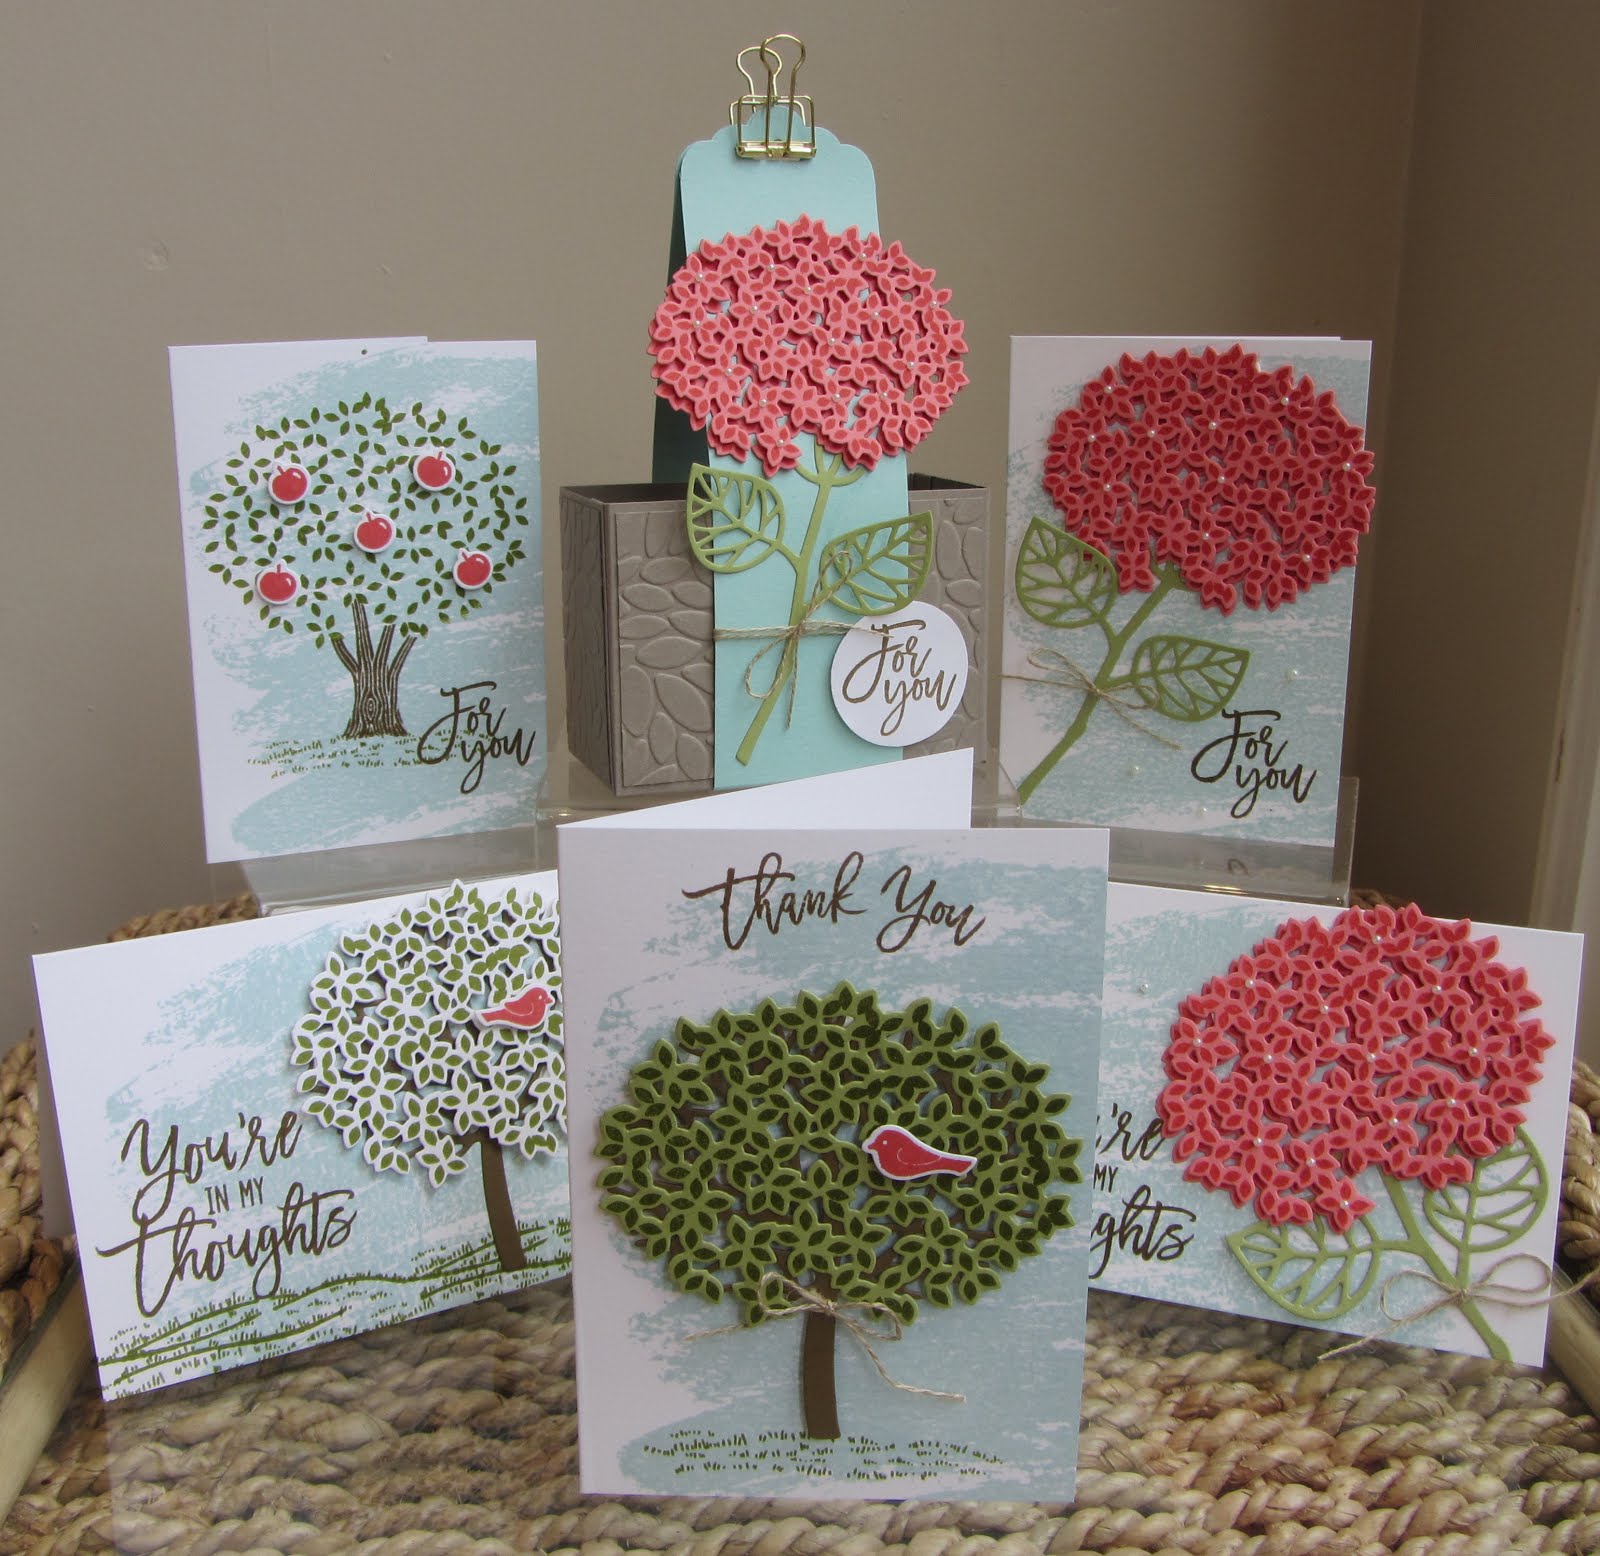
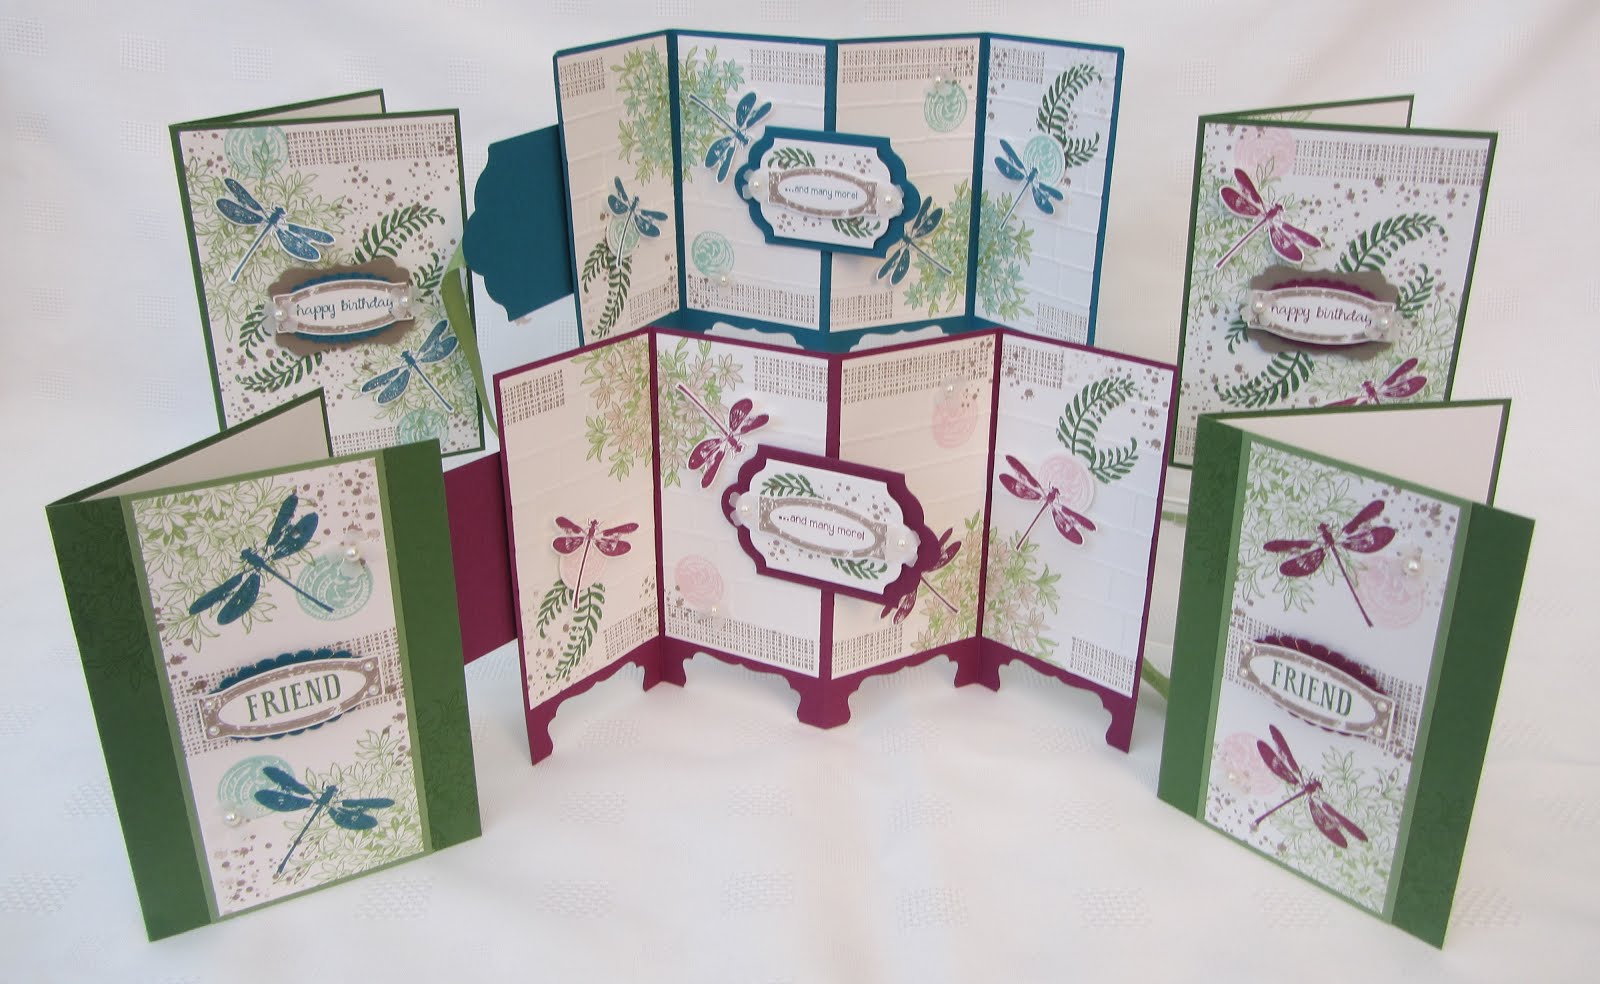
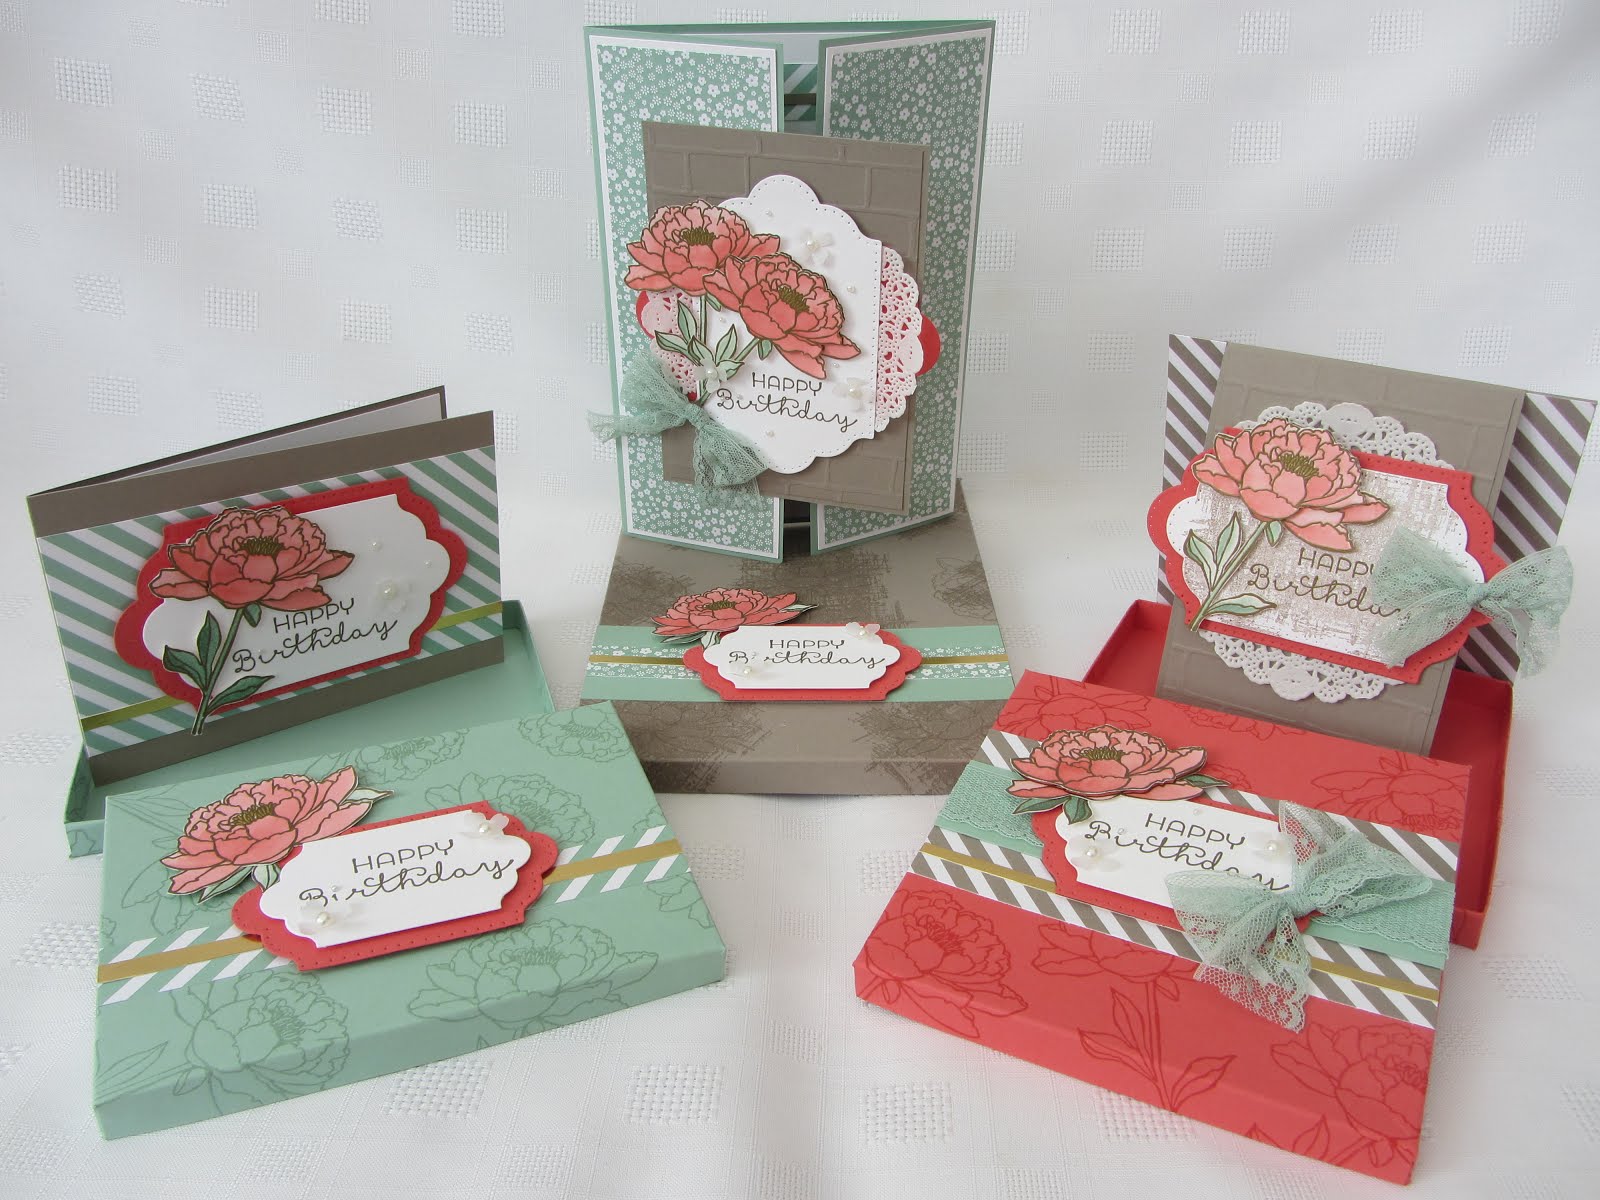
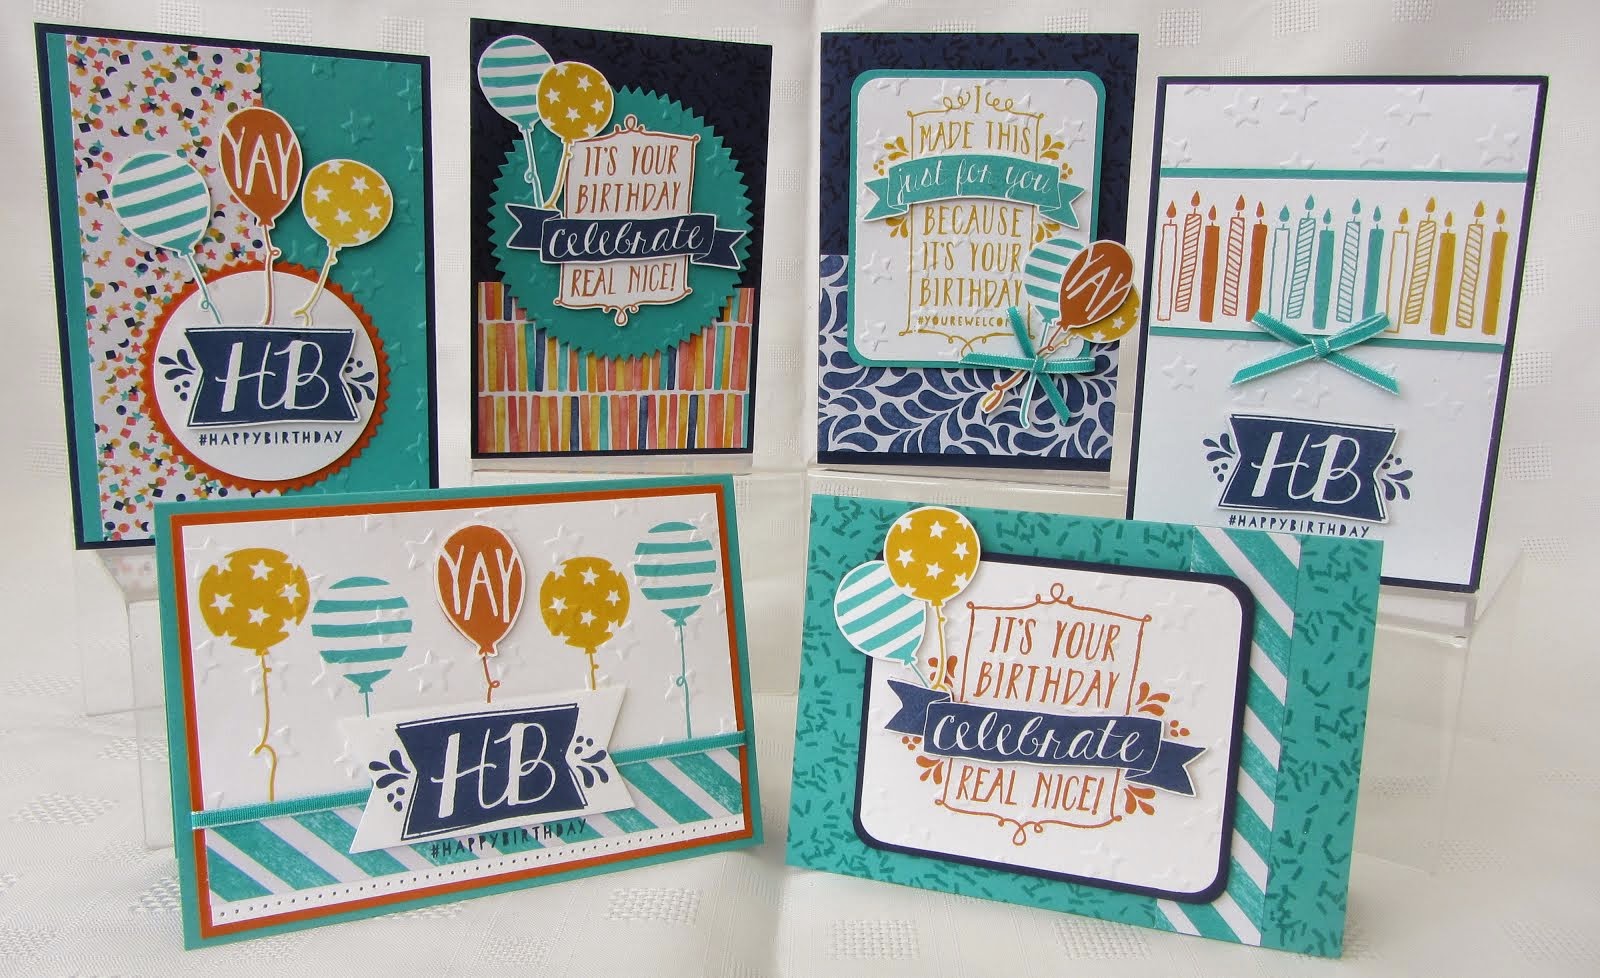
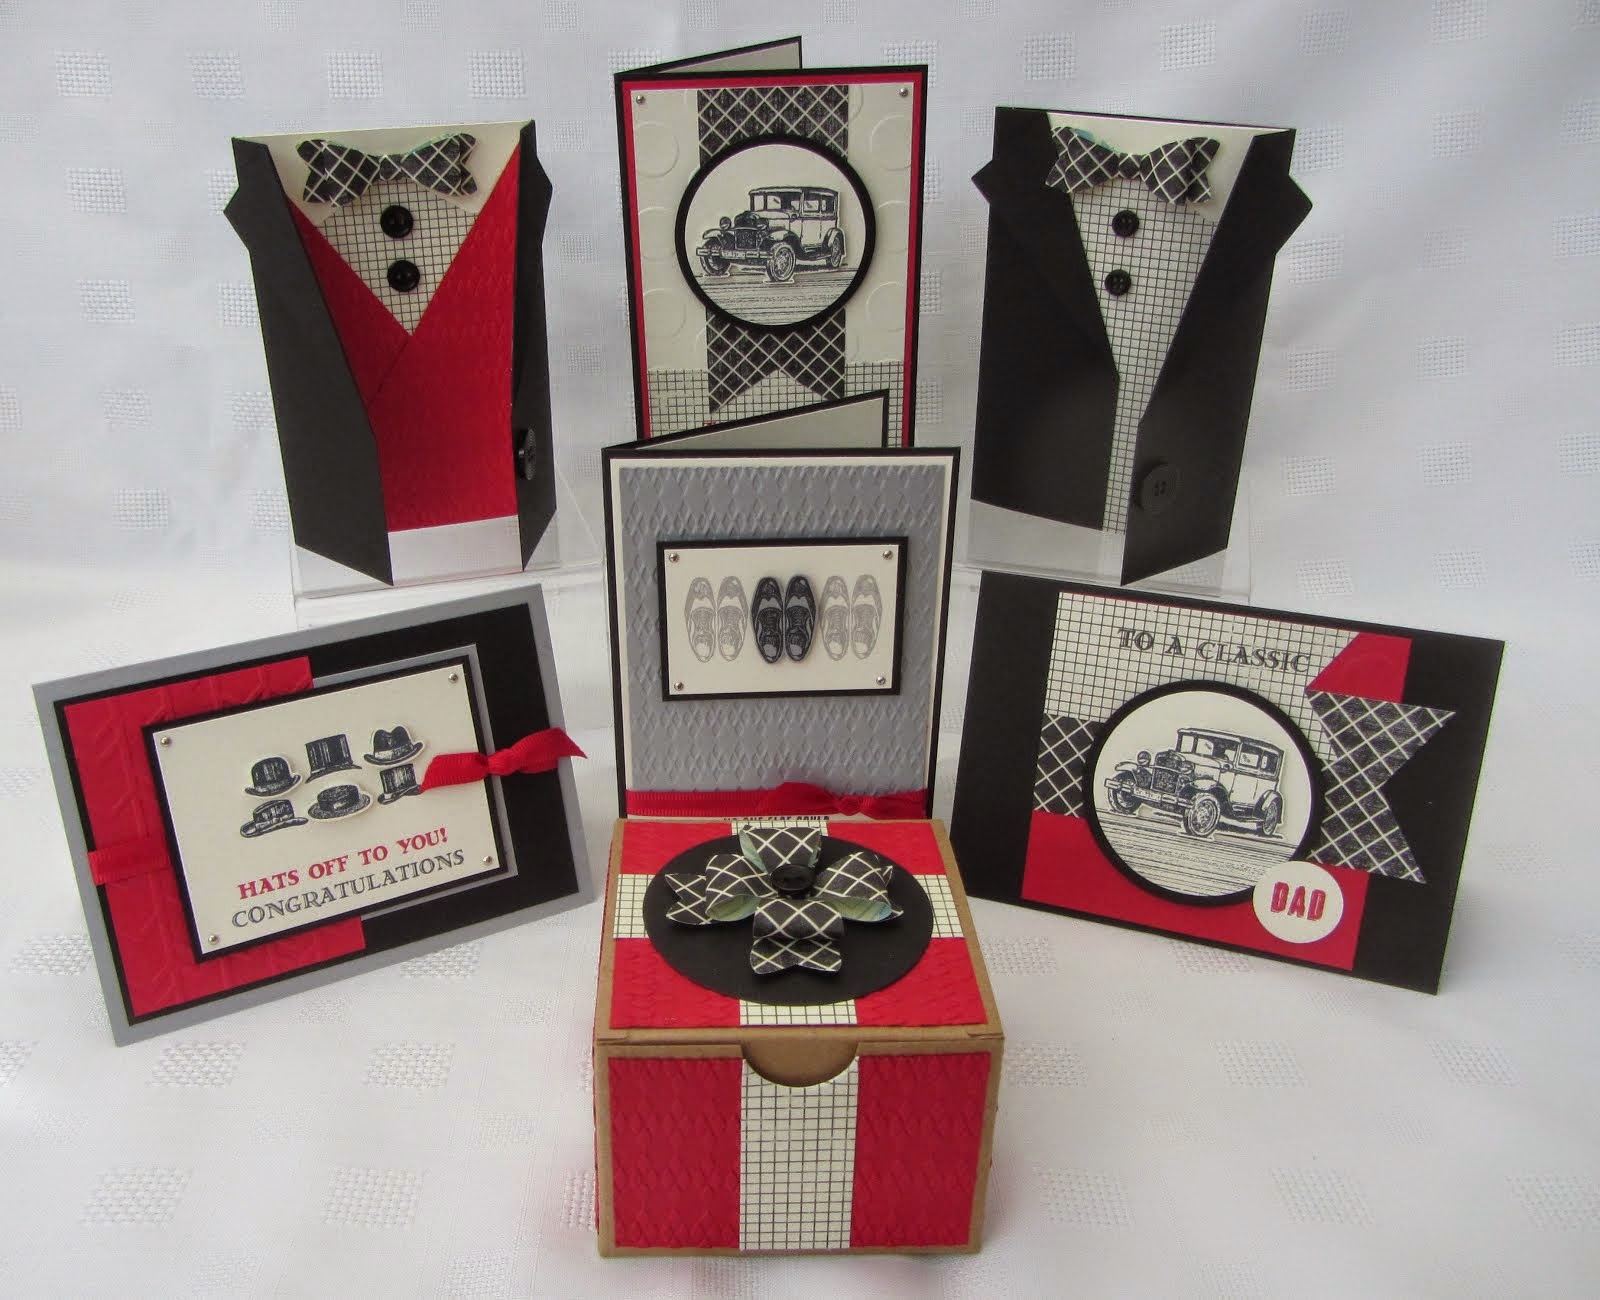
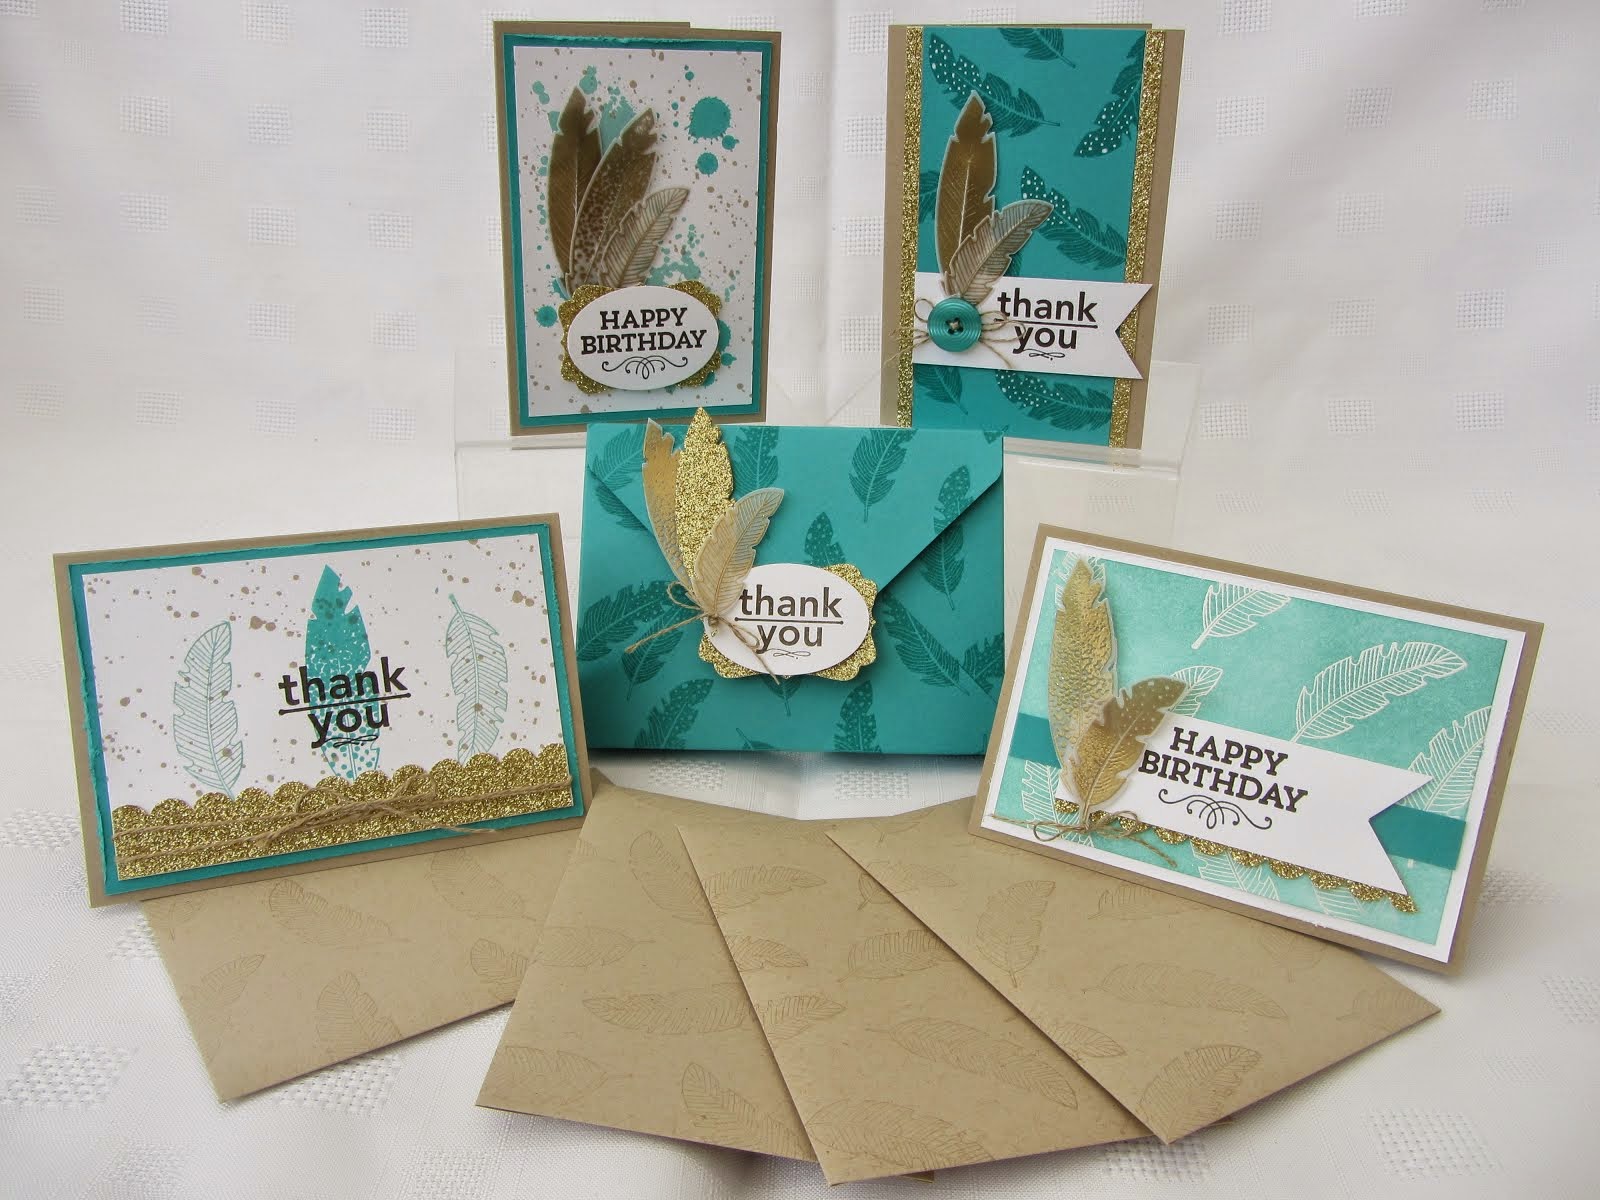
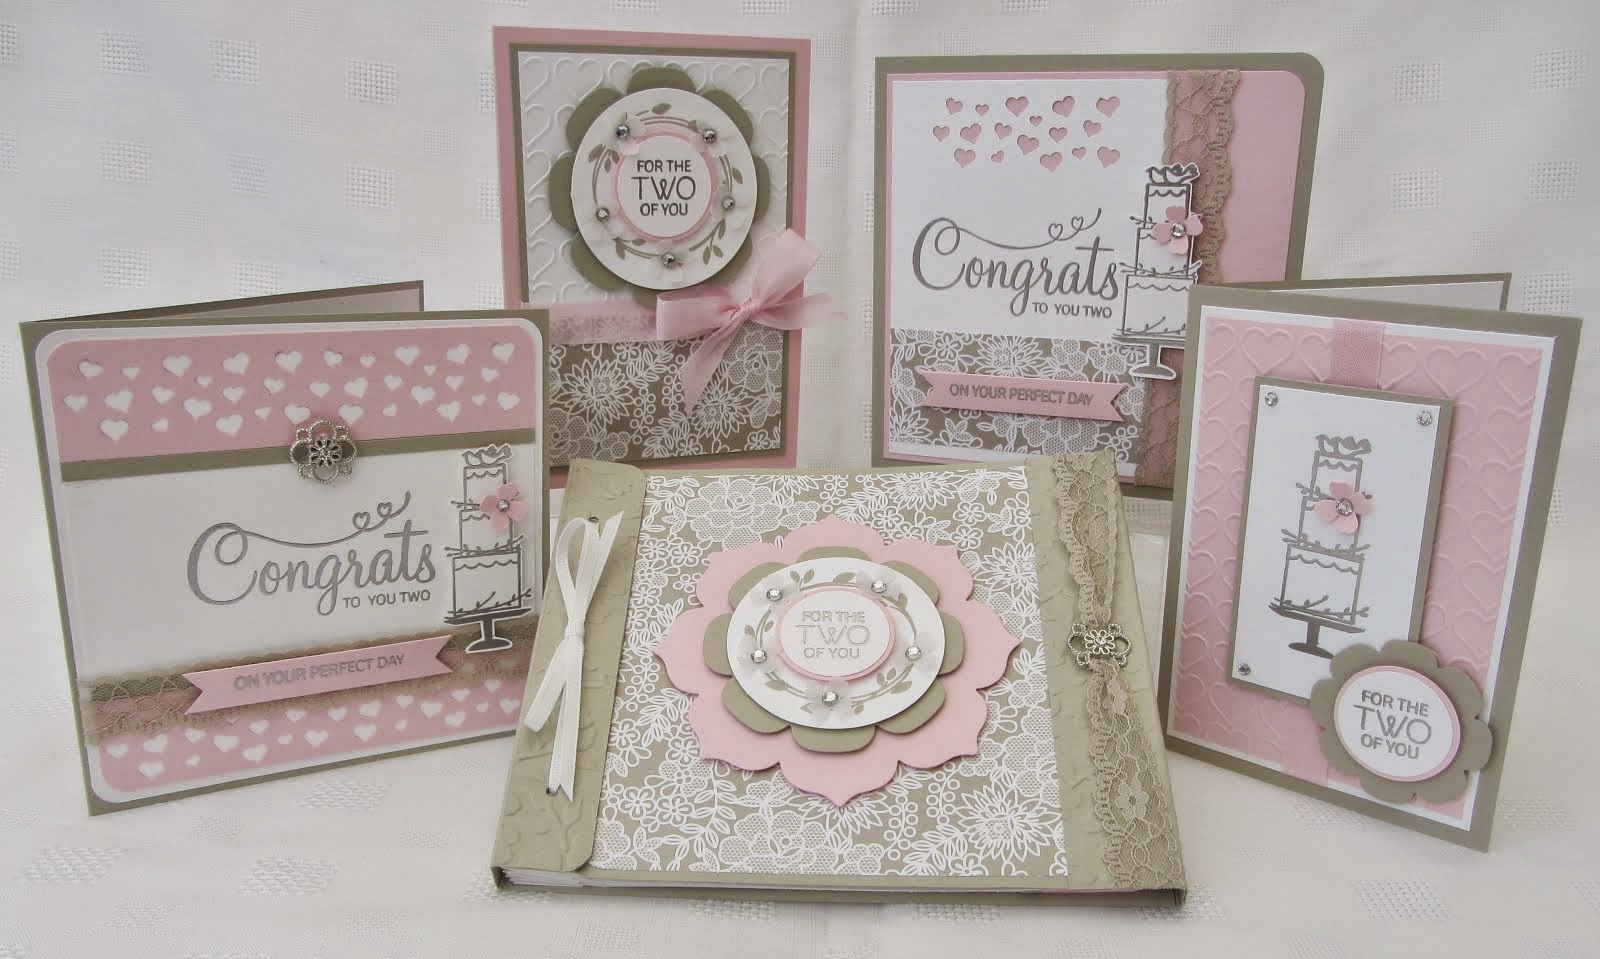
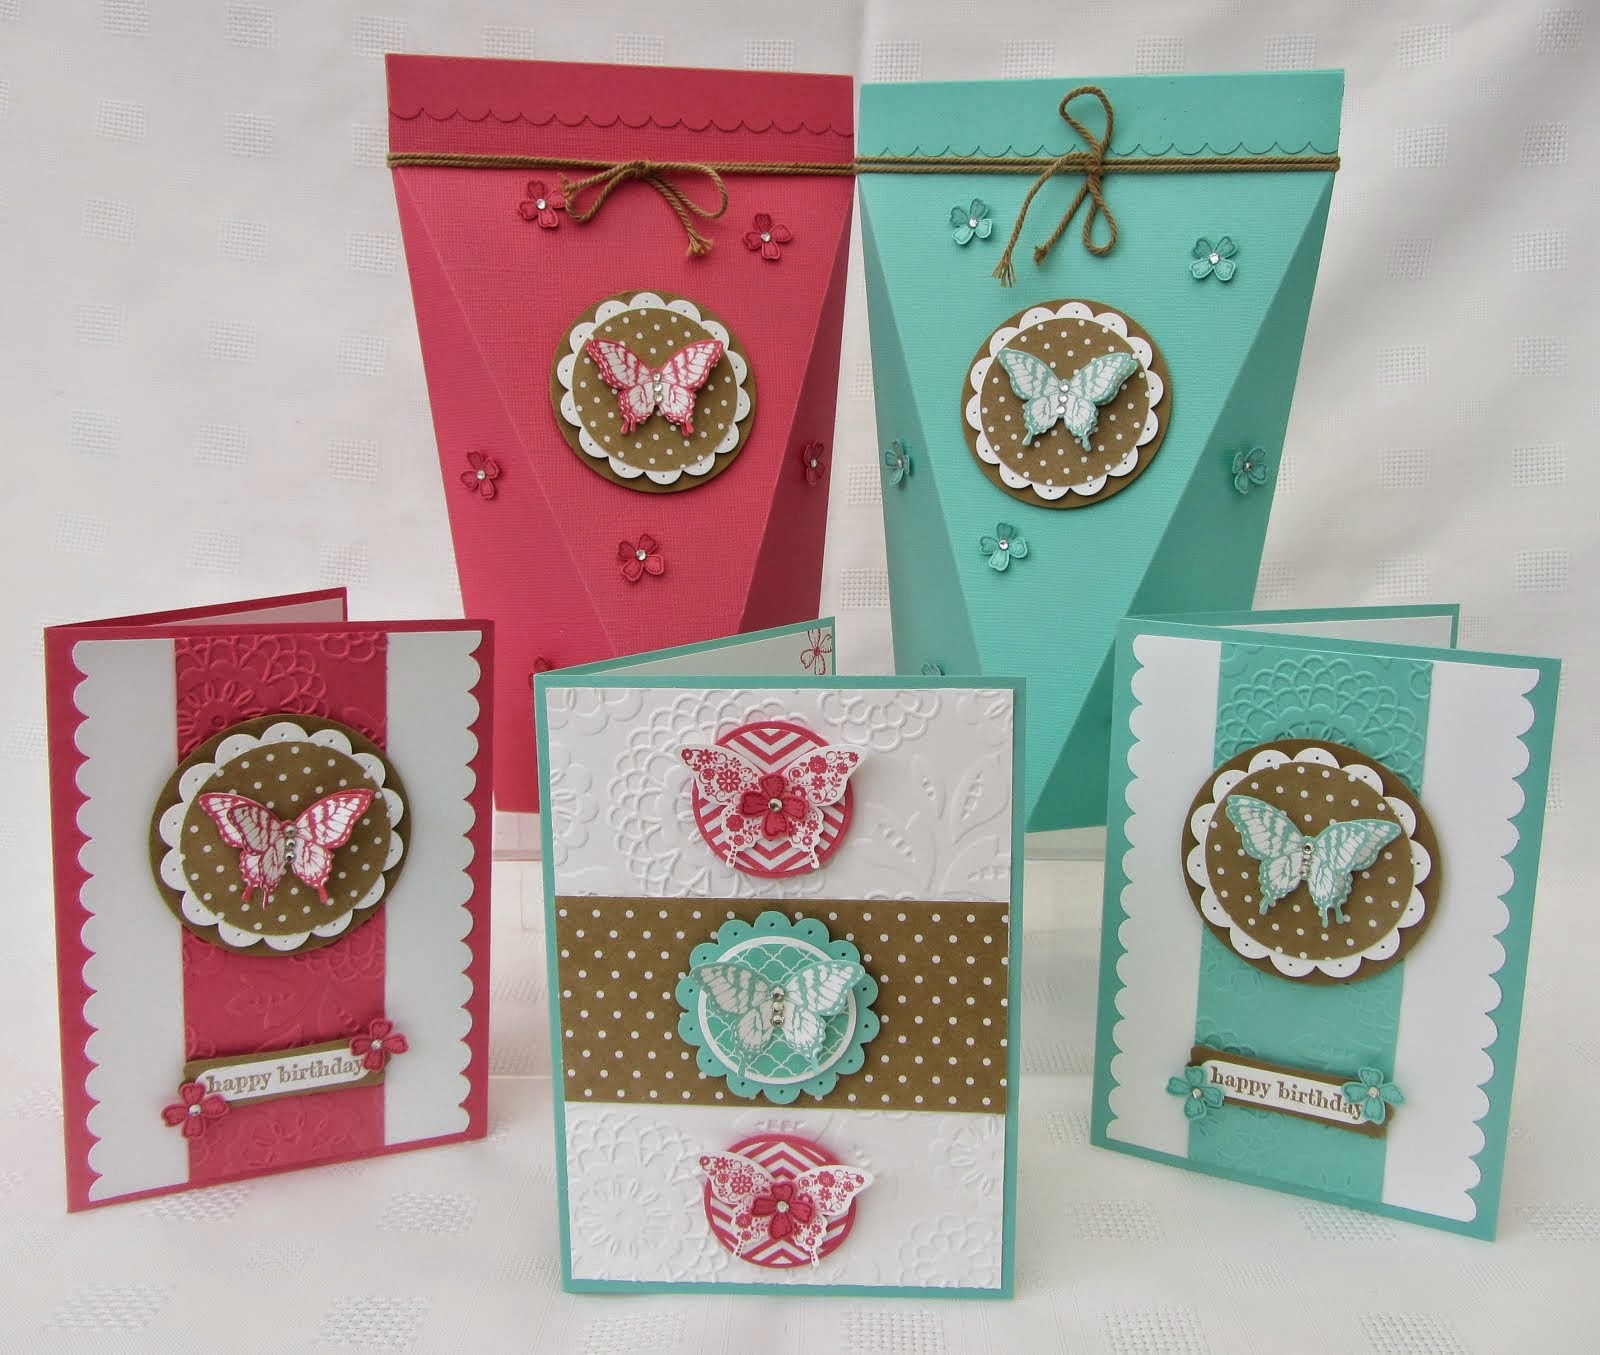
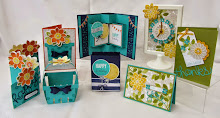
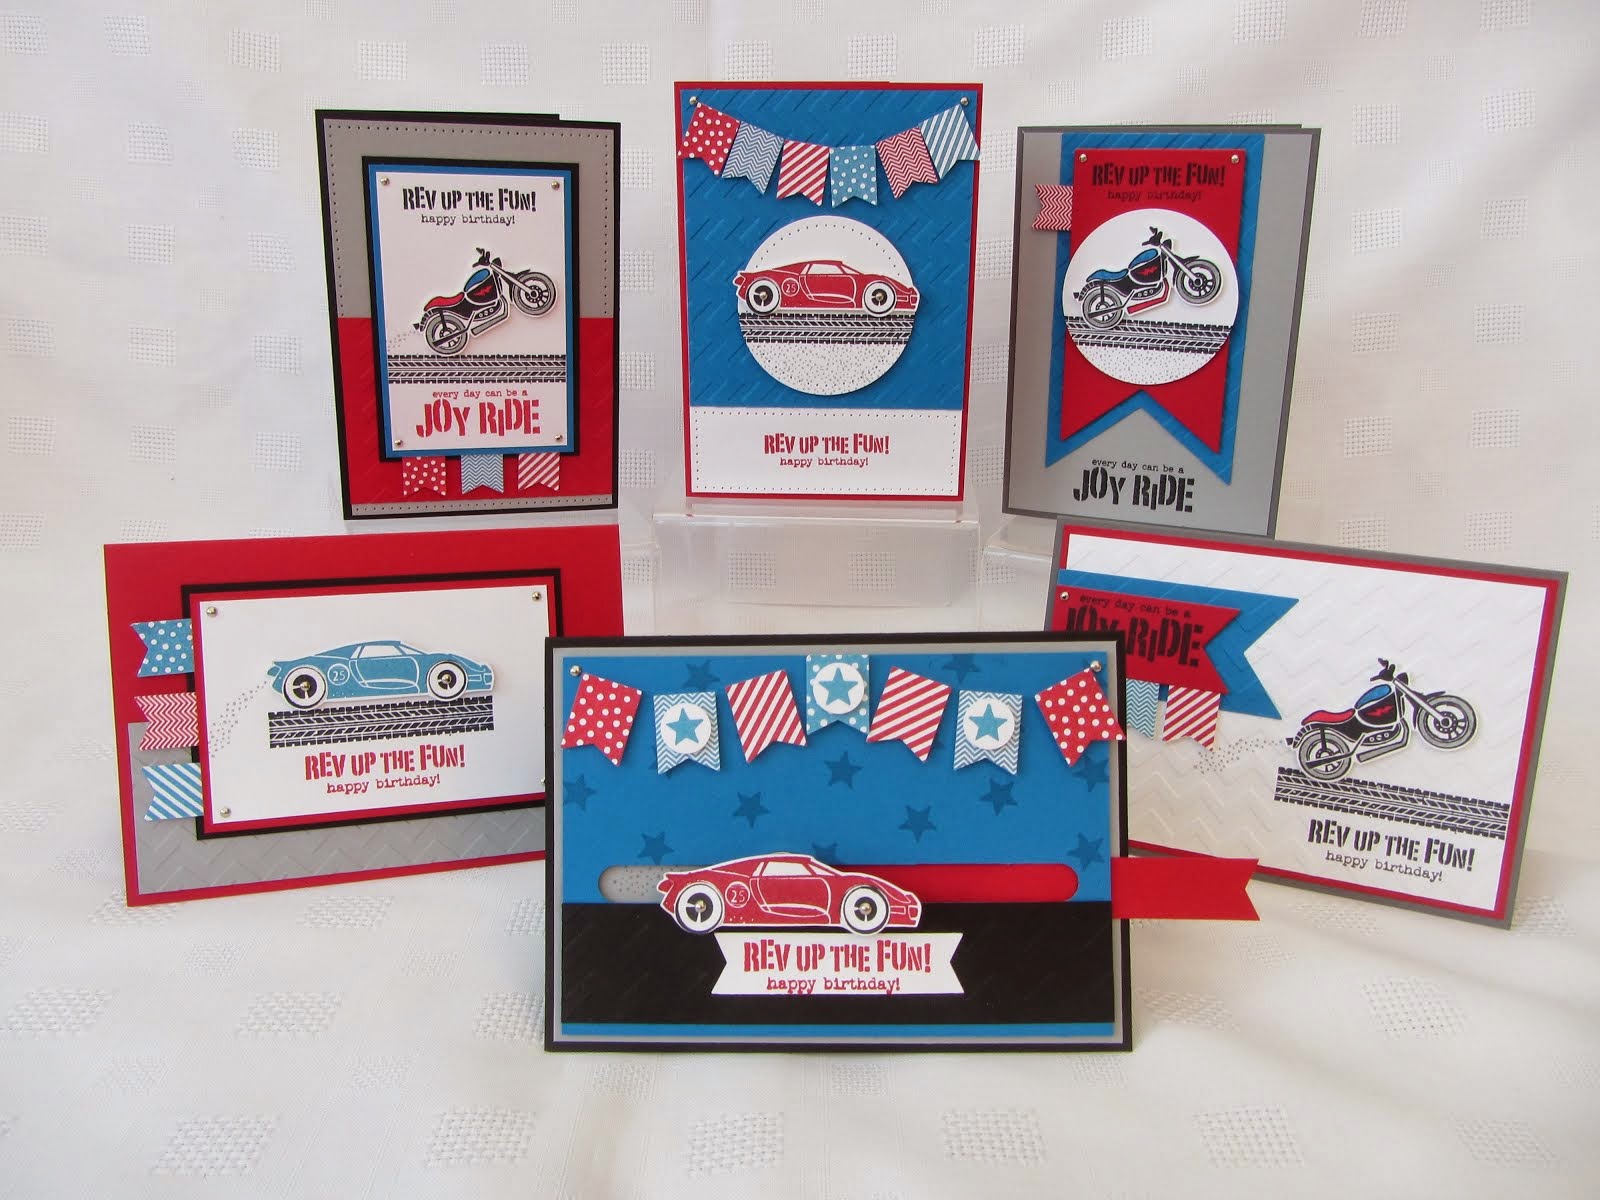
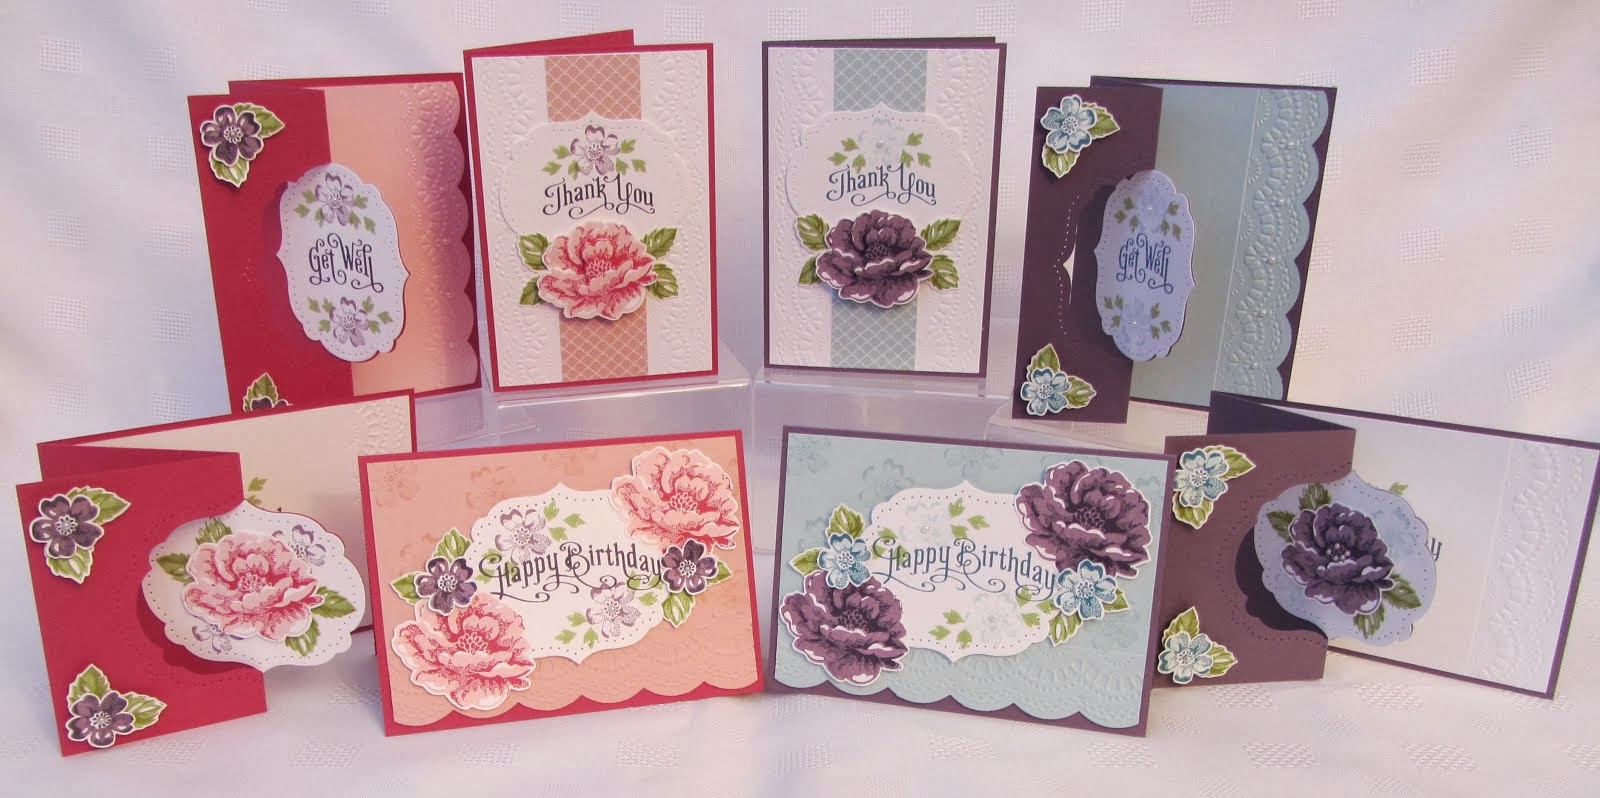
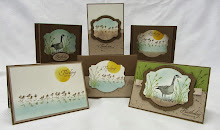
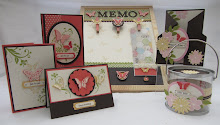
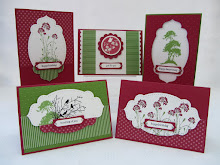
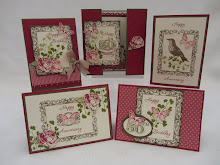
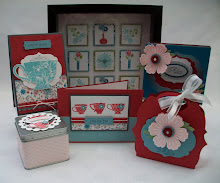
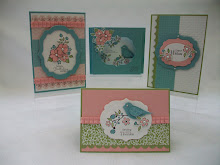
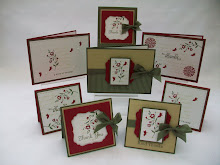
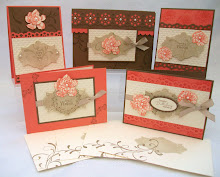
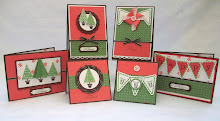
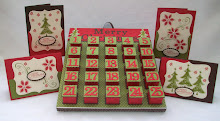
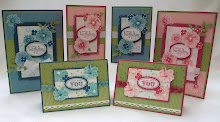
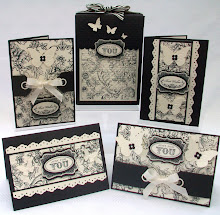
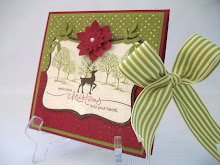
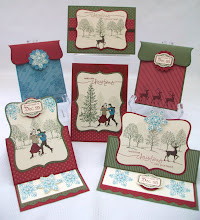
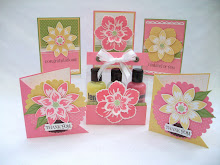
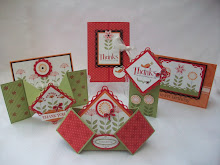
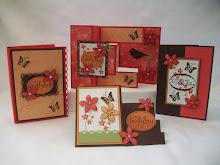
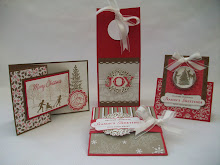
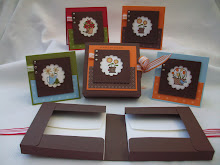
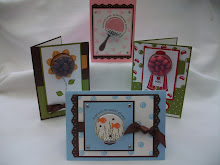
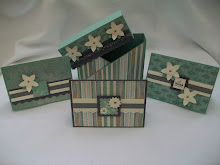
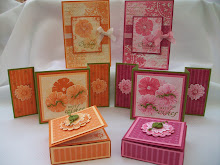
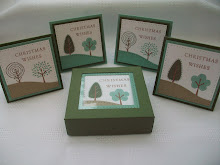
This is the afternoon Project. The stamp set is called On a Pedestal. We had four tables and each table did a different version of the same project. One is Bold brights, One is Earth Elements, One is Rich Regals, One is Soft Subtles.
 All the cards are exactly the same but the images were stamped in the different colour families.
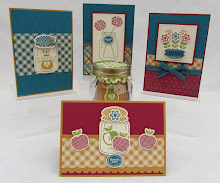
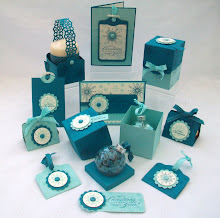
 This one is Bold Brights, using Tempting Turquoise, Gable Green, Pixie Pie, YoYo Yellow, Real Red.
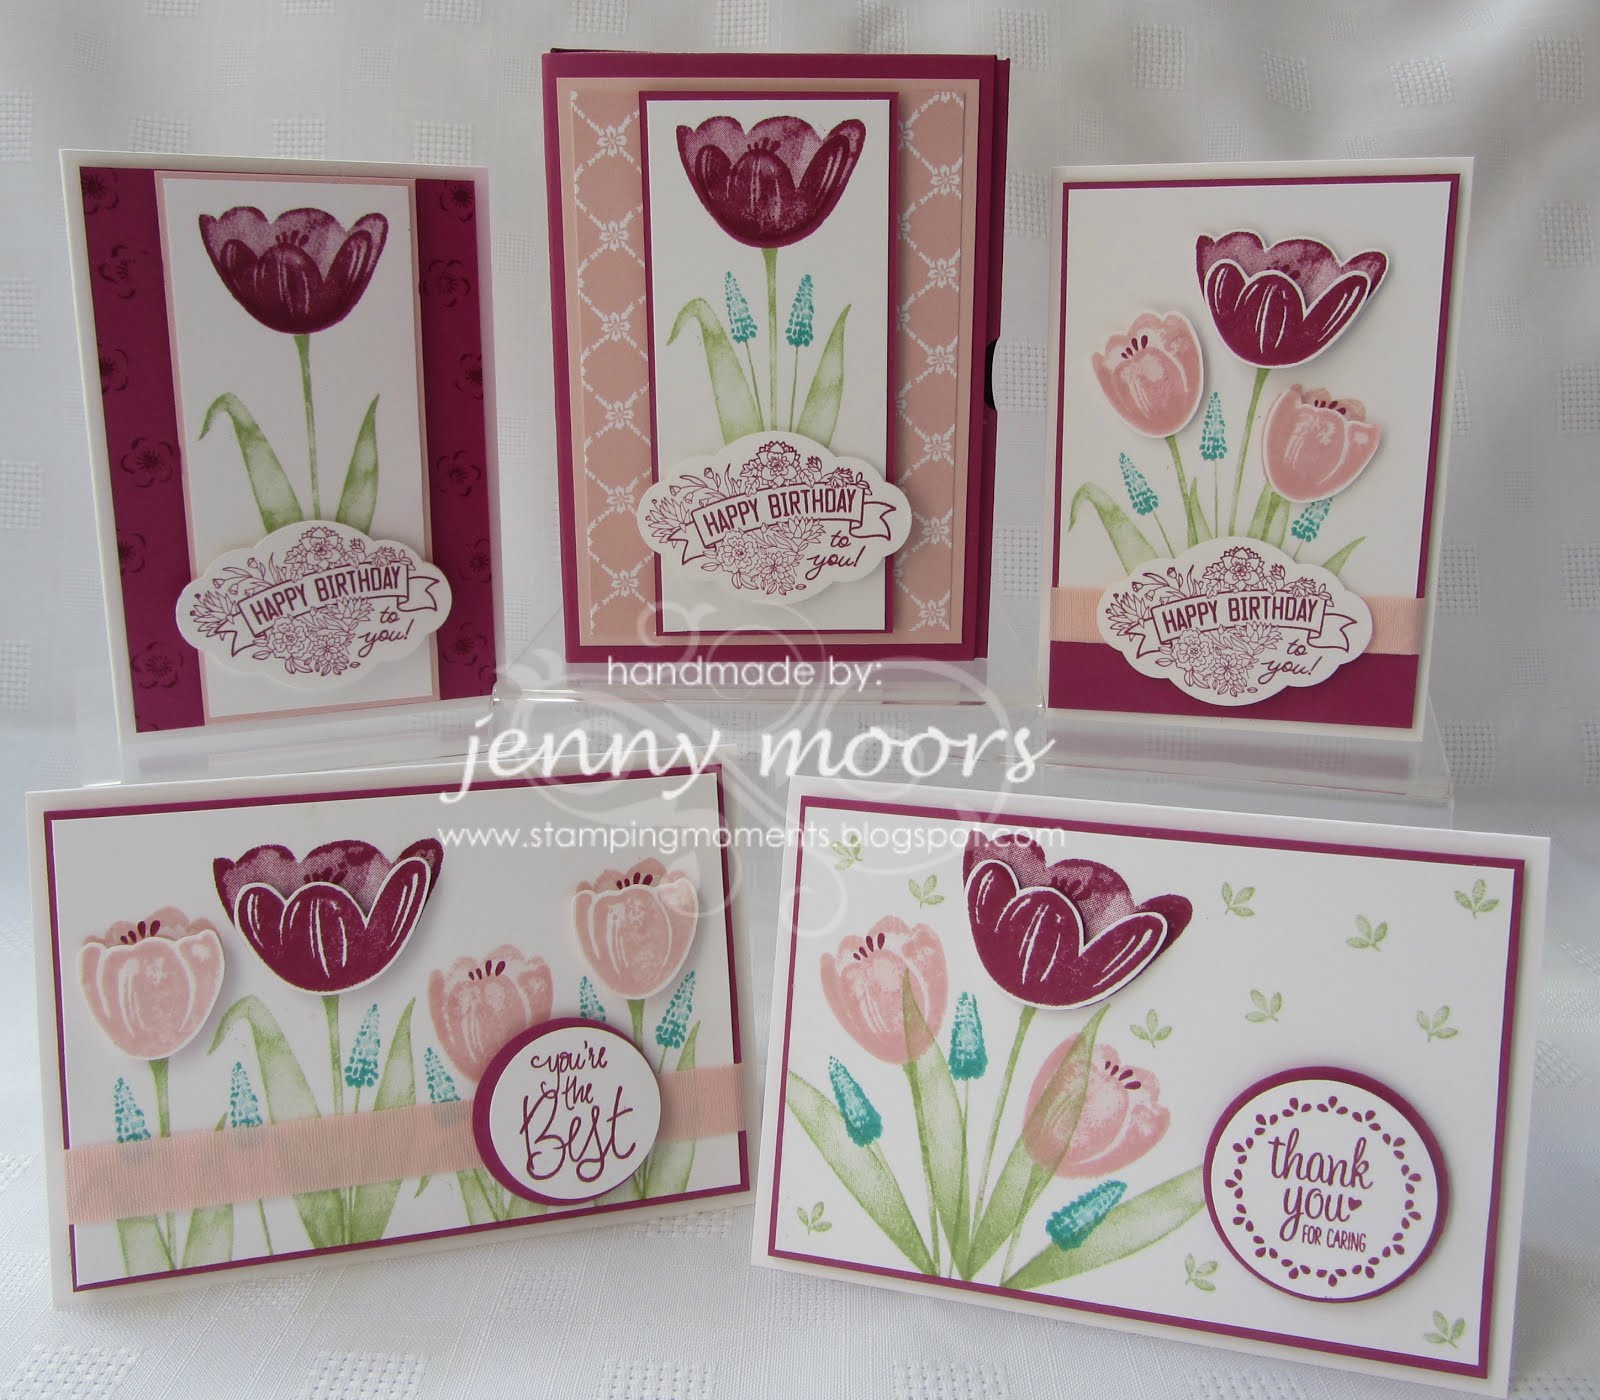
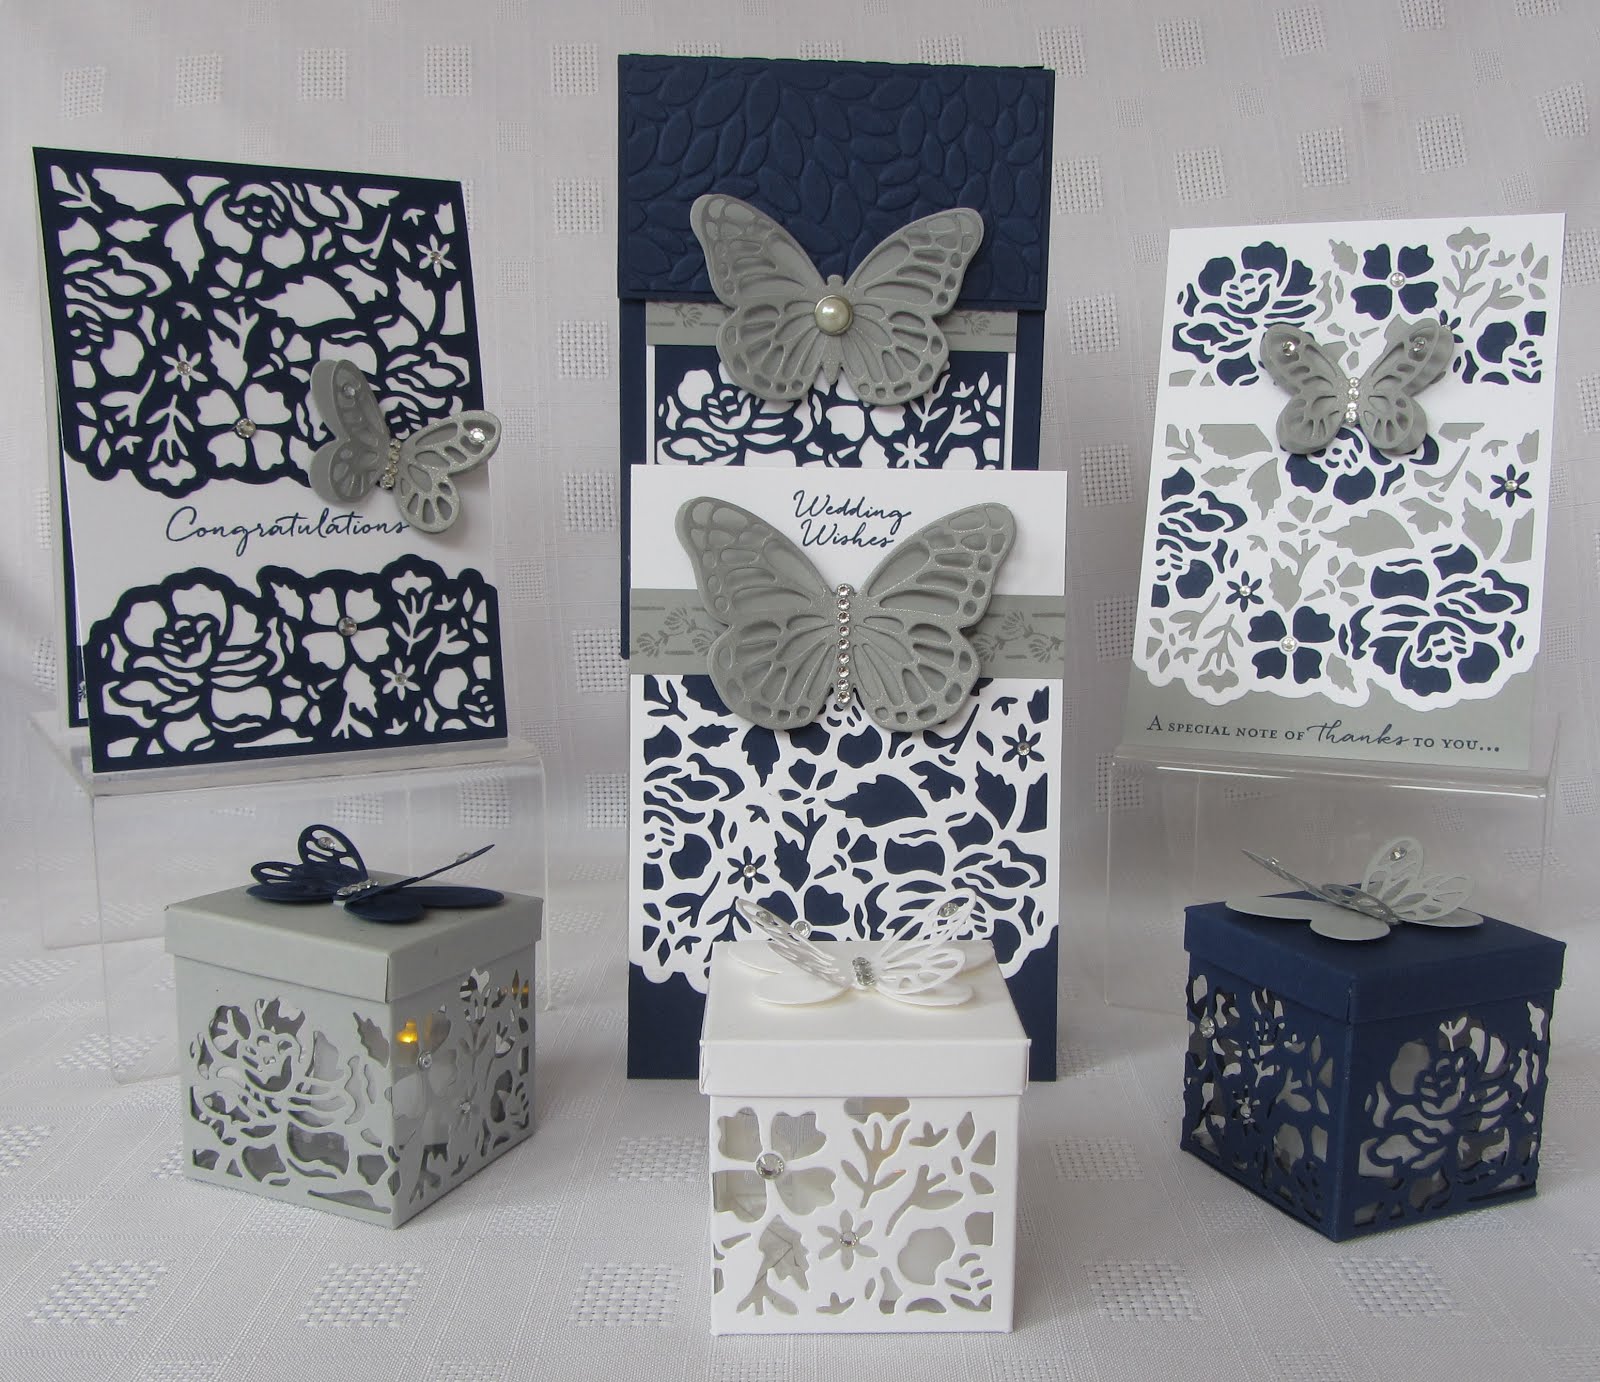
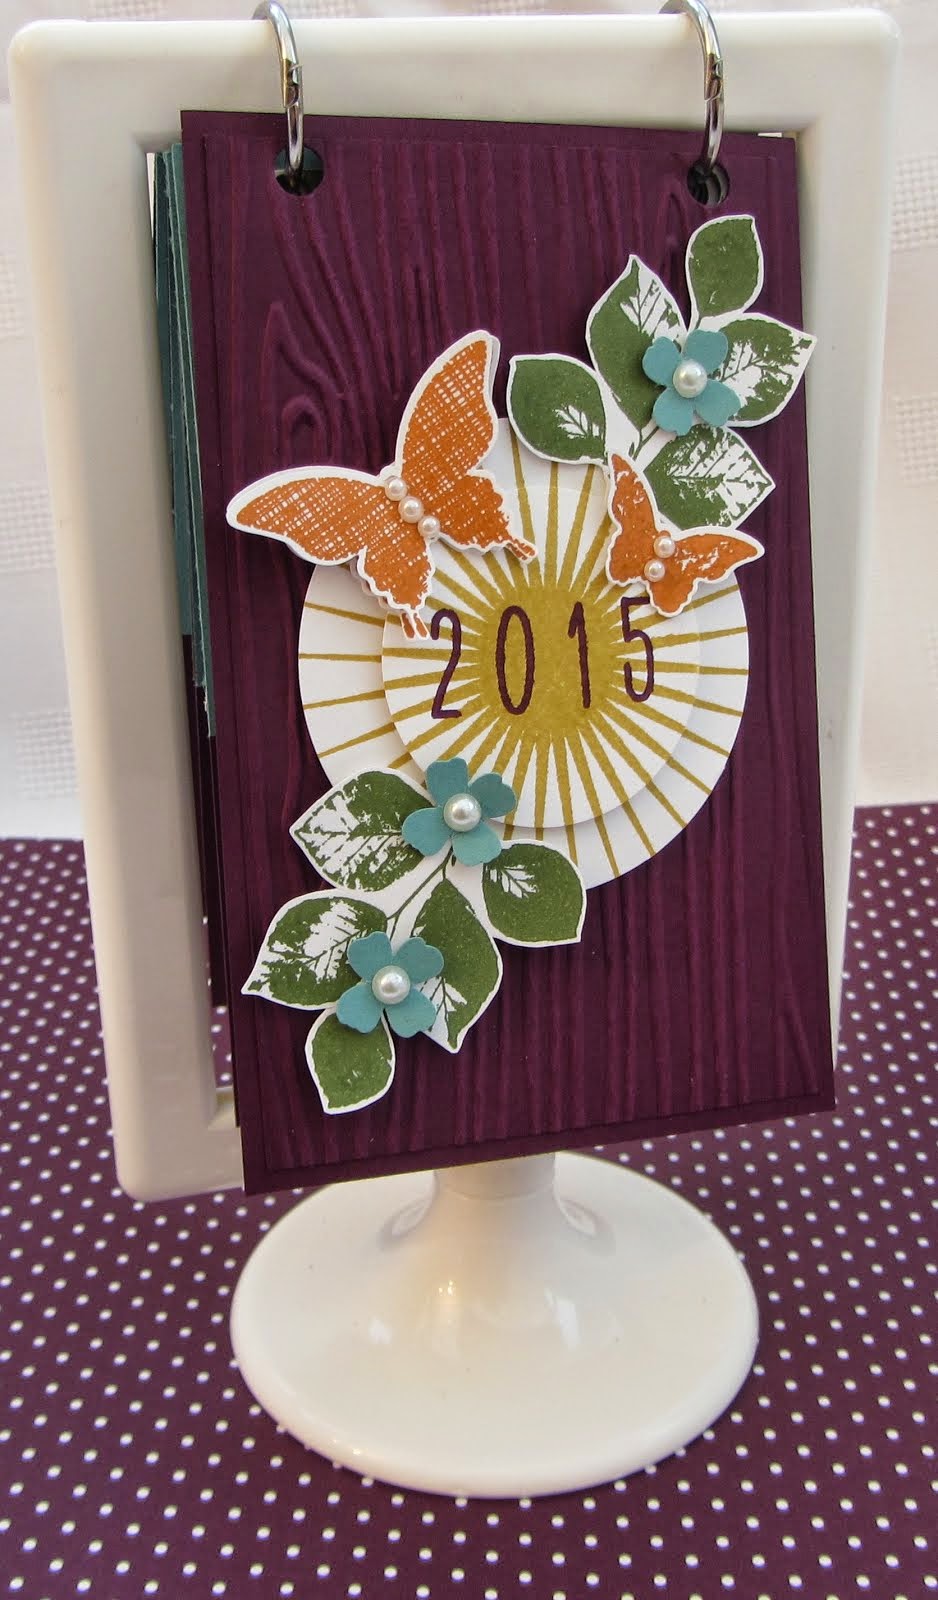
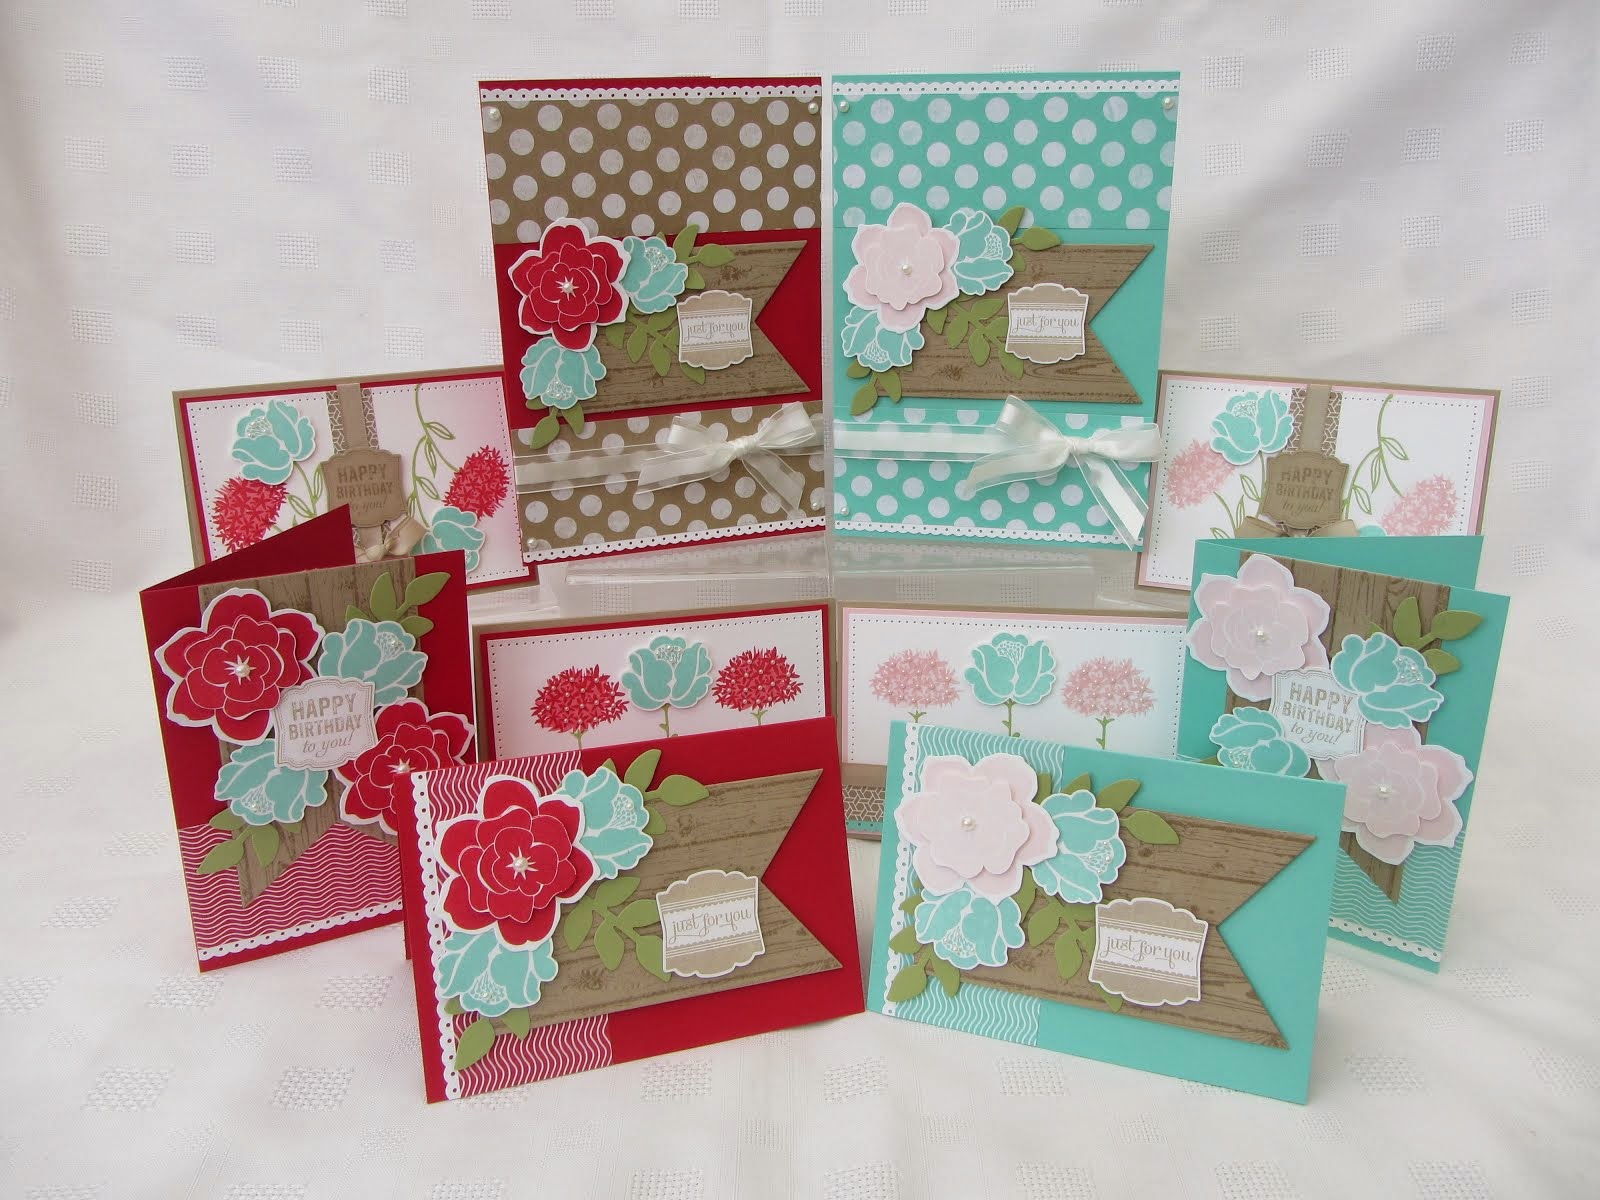
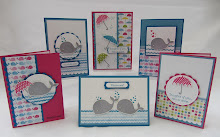
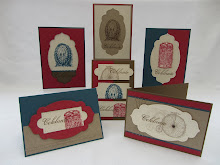
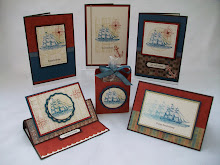
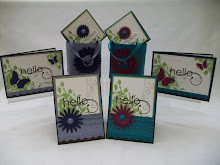
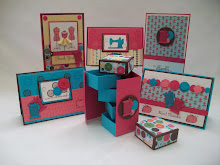
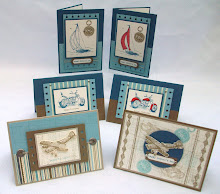
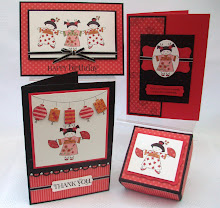
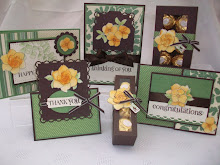
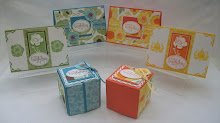
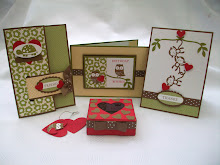
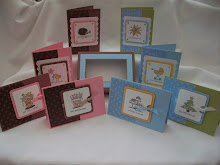
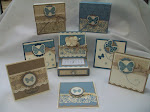
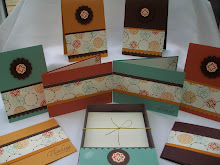
 This is the Earth Elements, using Not Quite Navy, Old Olive, More Mustard, Pumpkin Pie, Ruby Red.
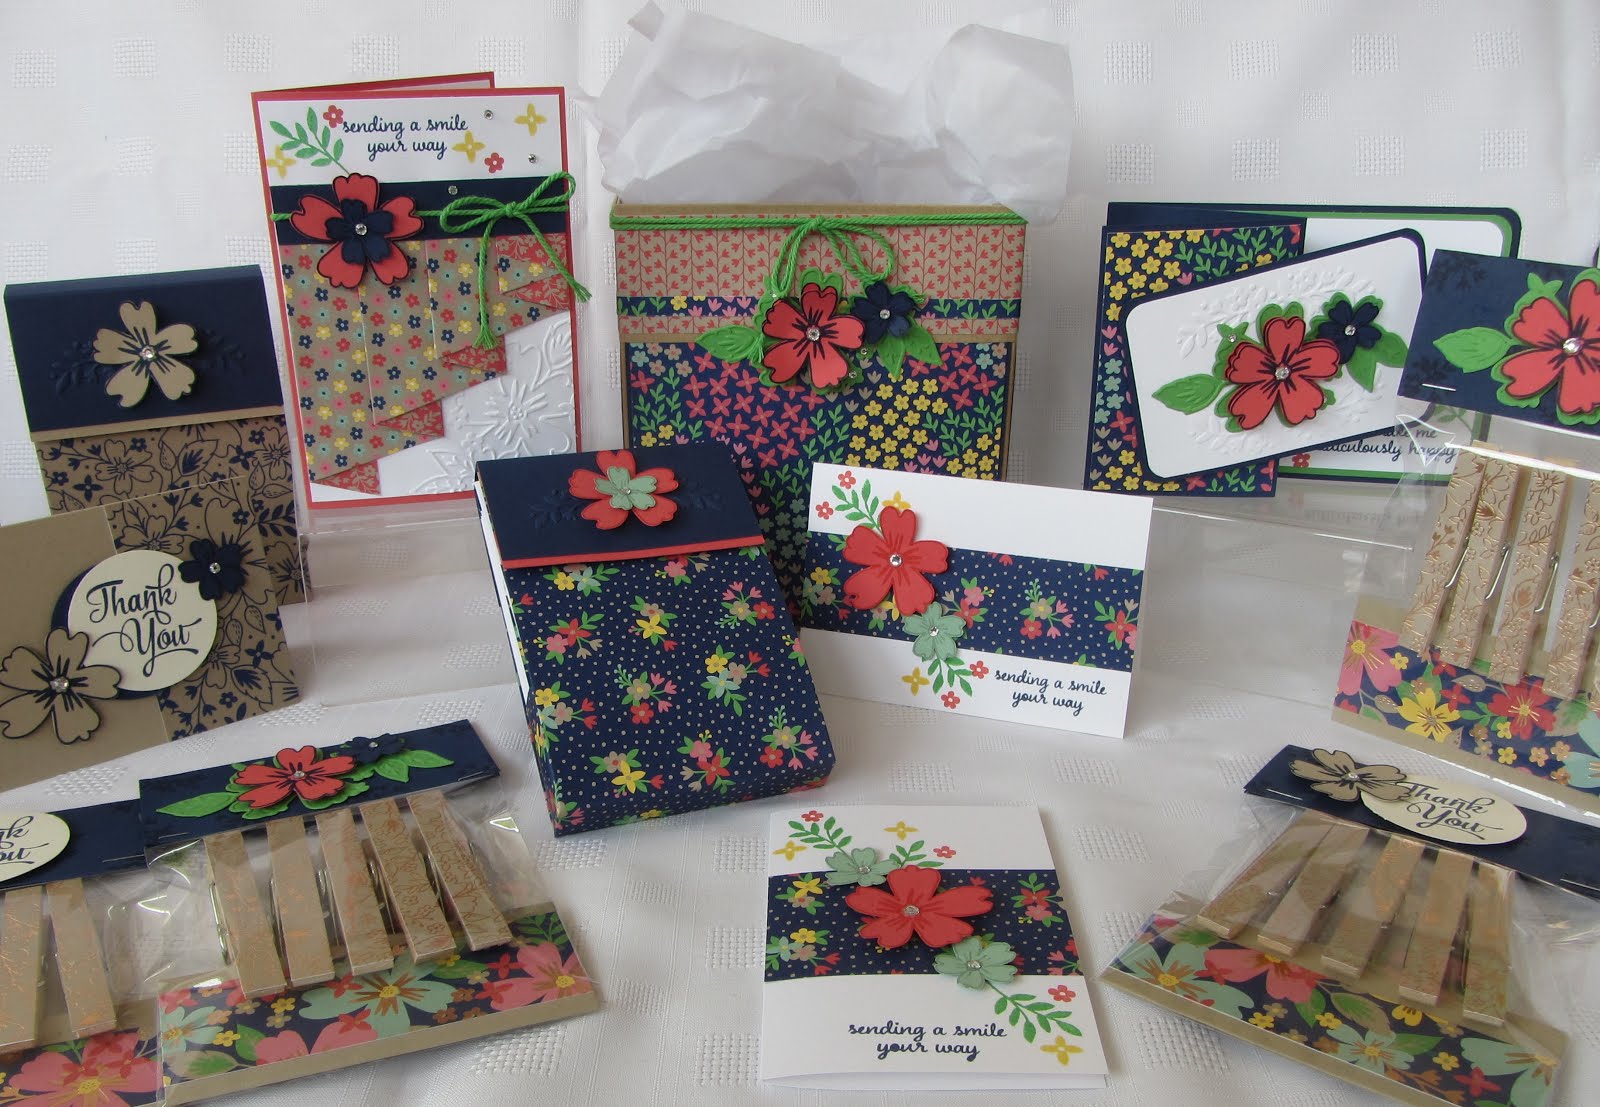
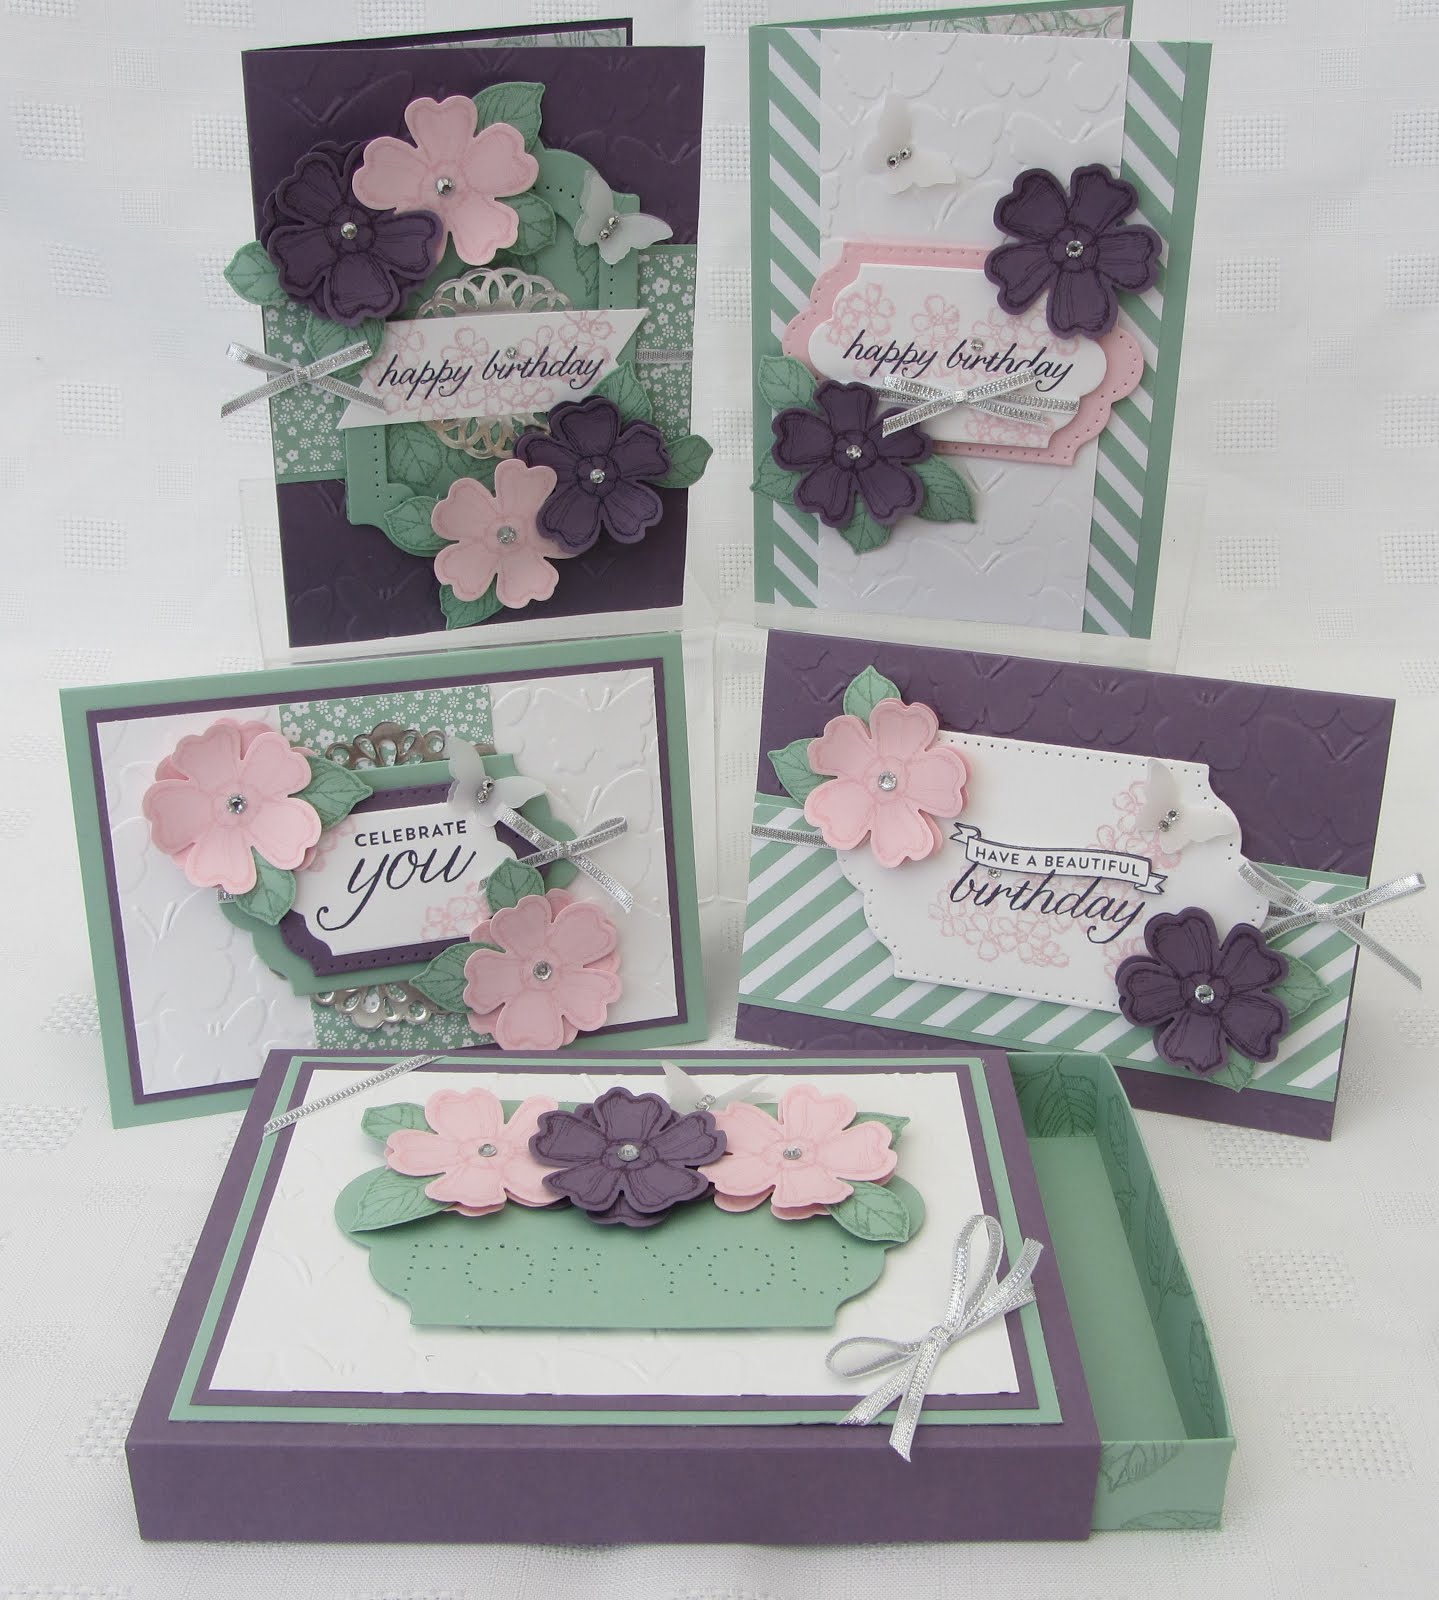
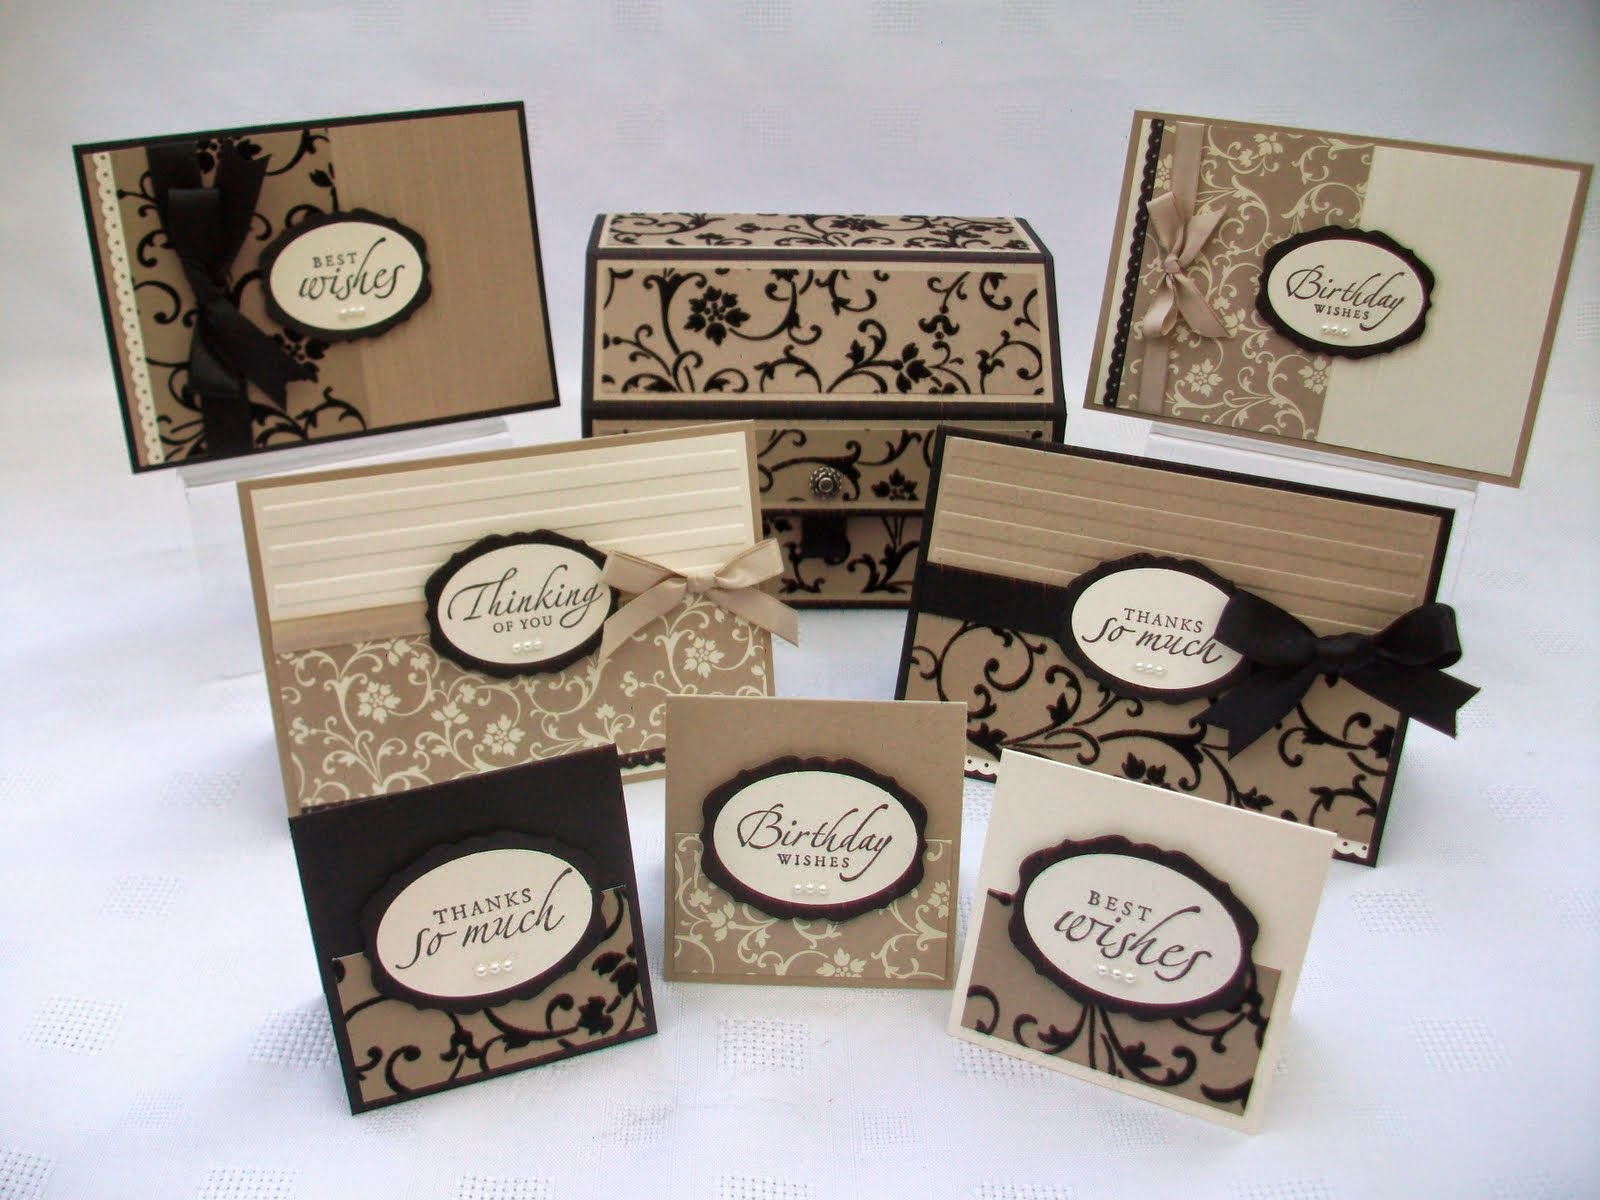
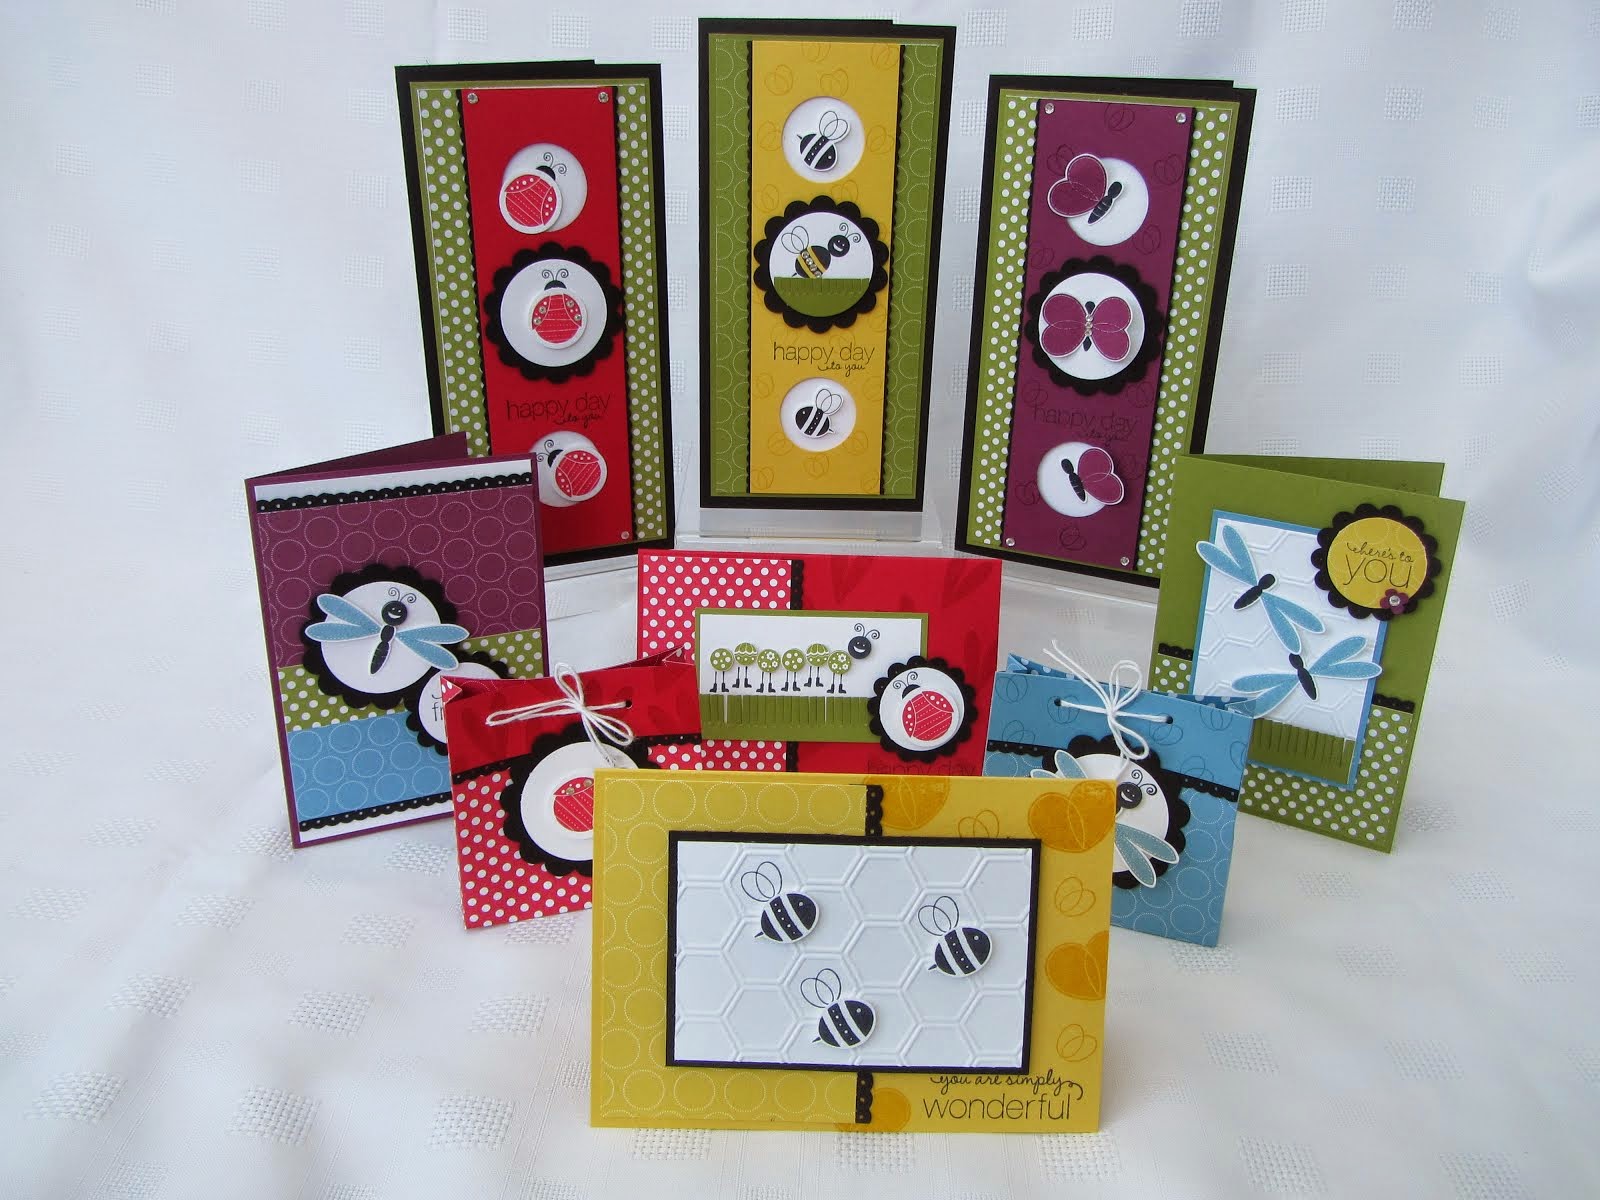
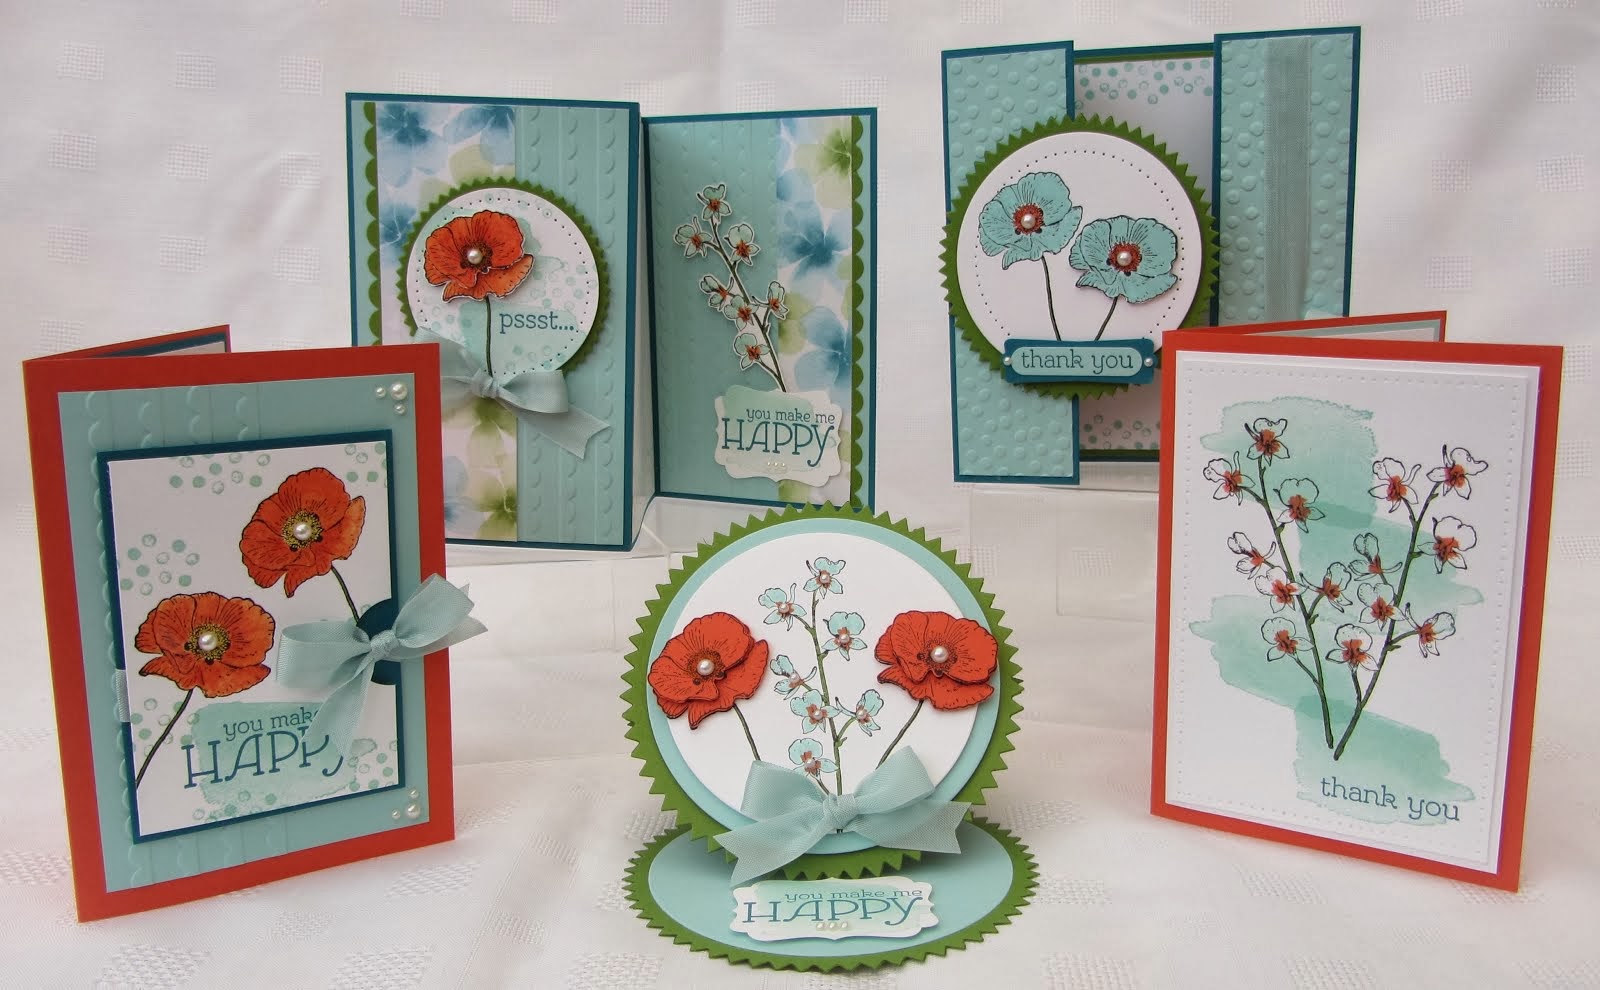
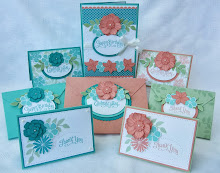
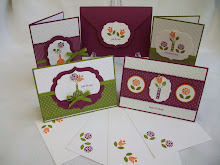
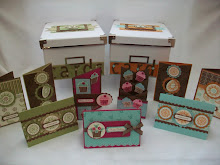
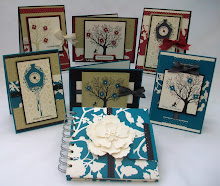
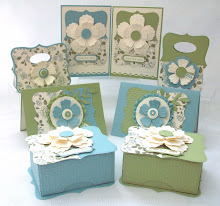
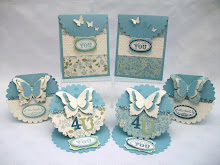
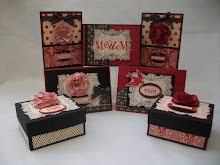
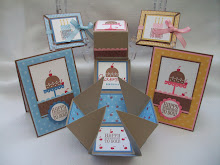
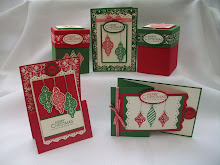
 This is the Rich Regals, using Taken with Teal, Chocolate Chip, Regal Rose, Rose Red, So Saffron.
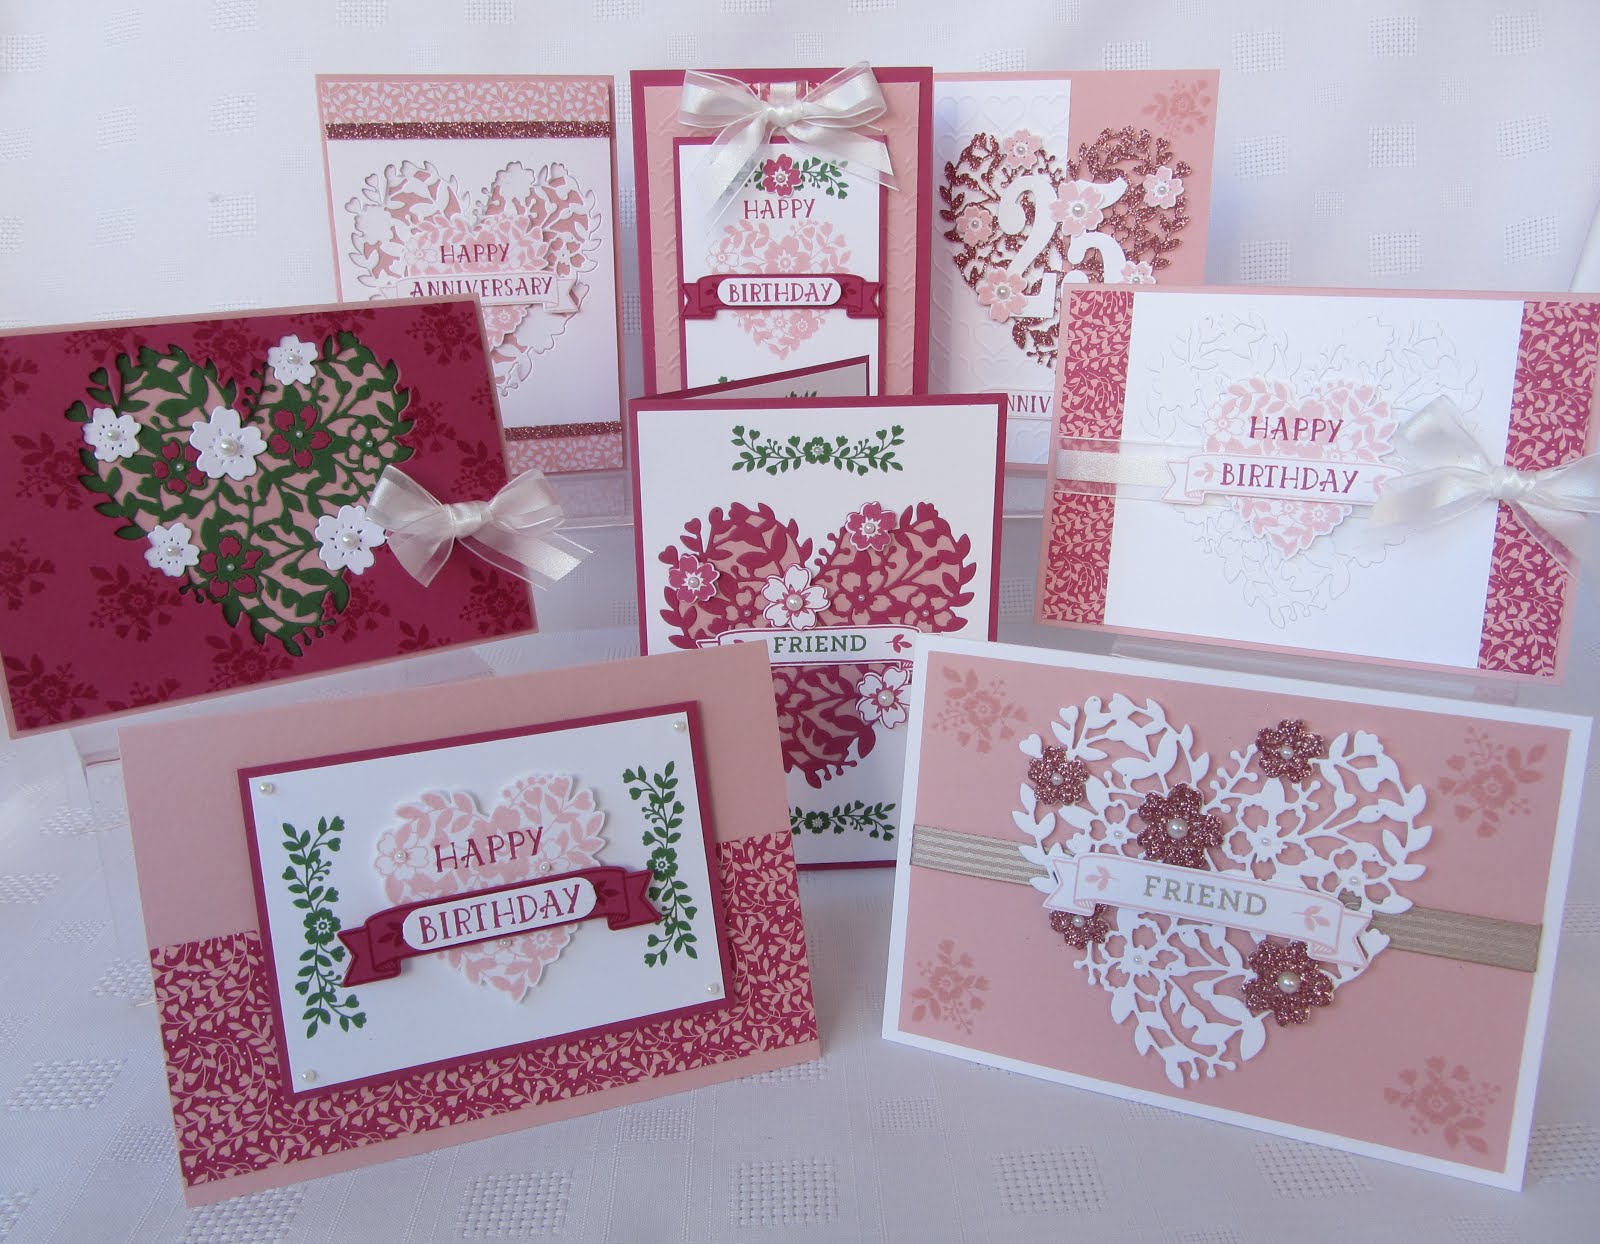
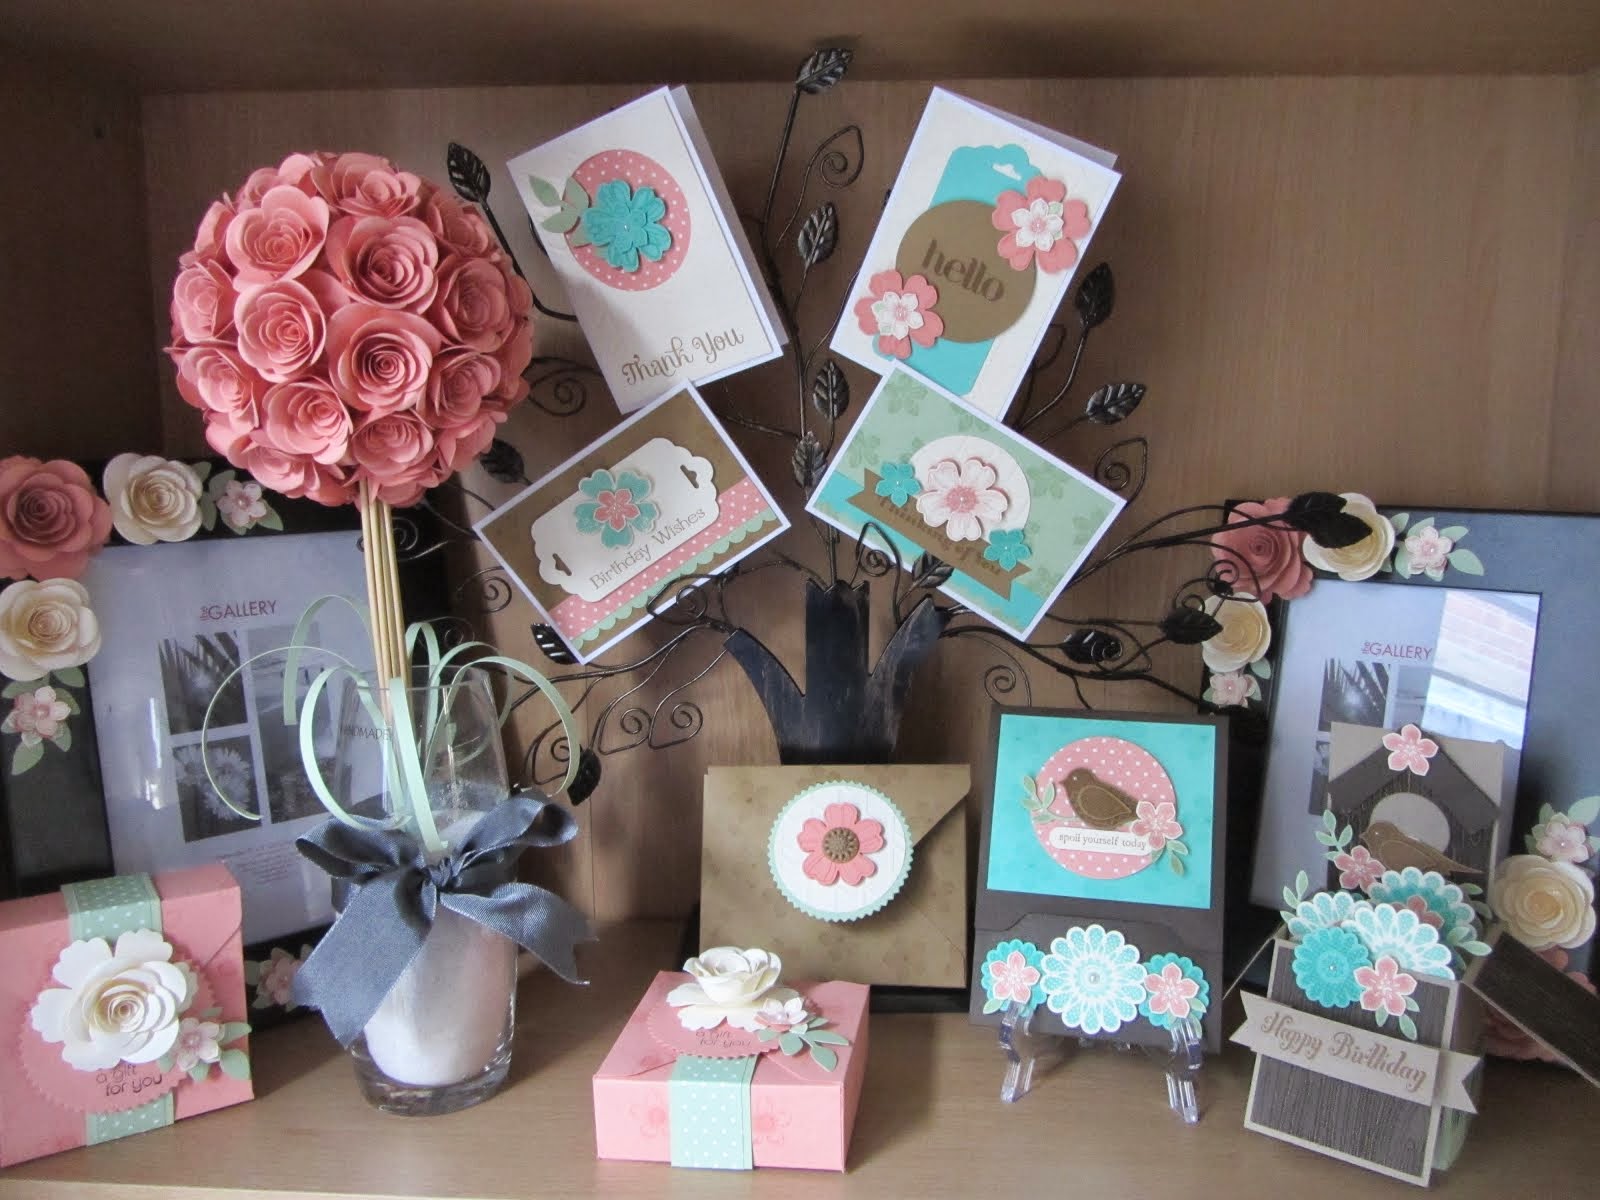
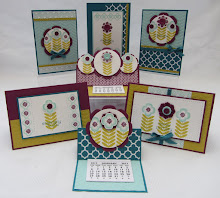
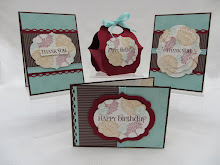
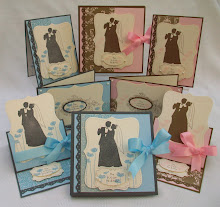
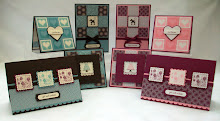
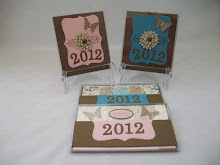
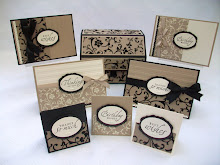
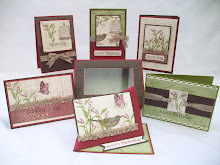
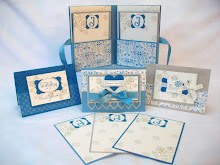
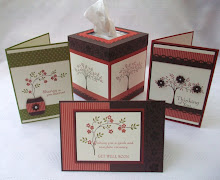
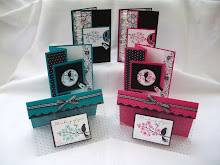
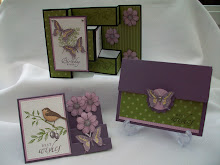
 This is the Soft Subtles, using Lavender Lace, Close to Cocoa, Pretty in Pink, Barely Banana, Real Red.
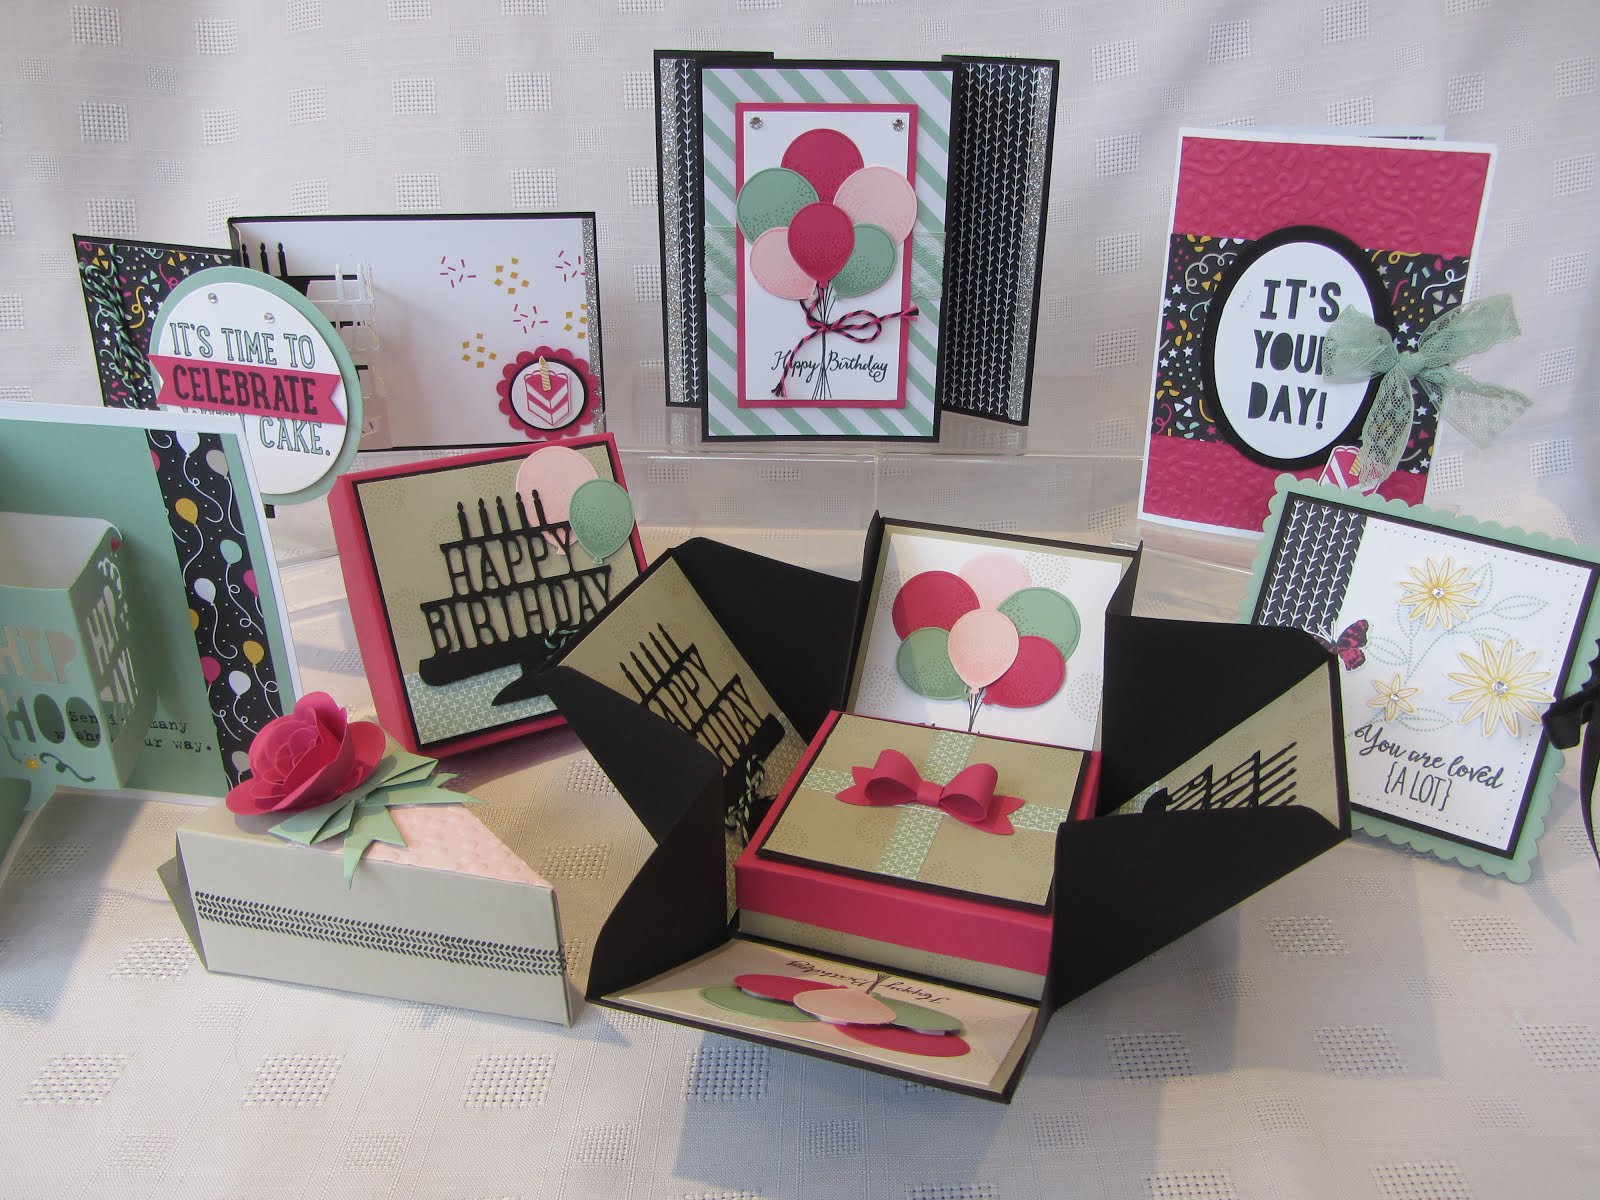
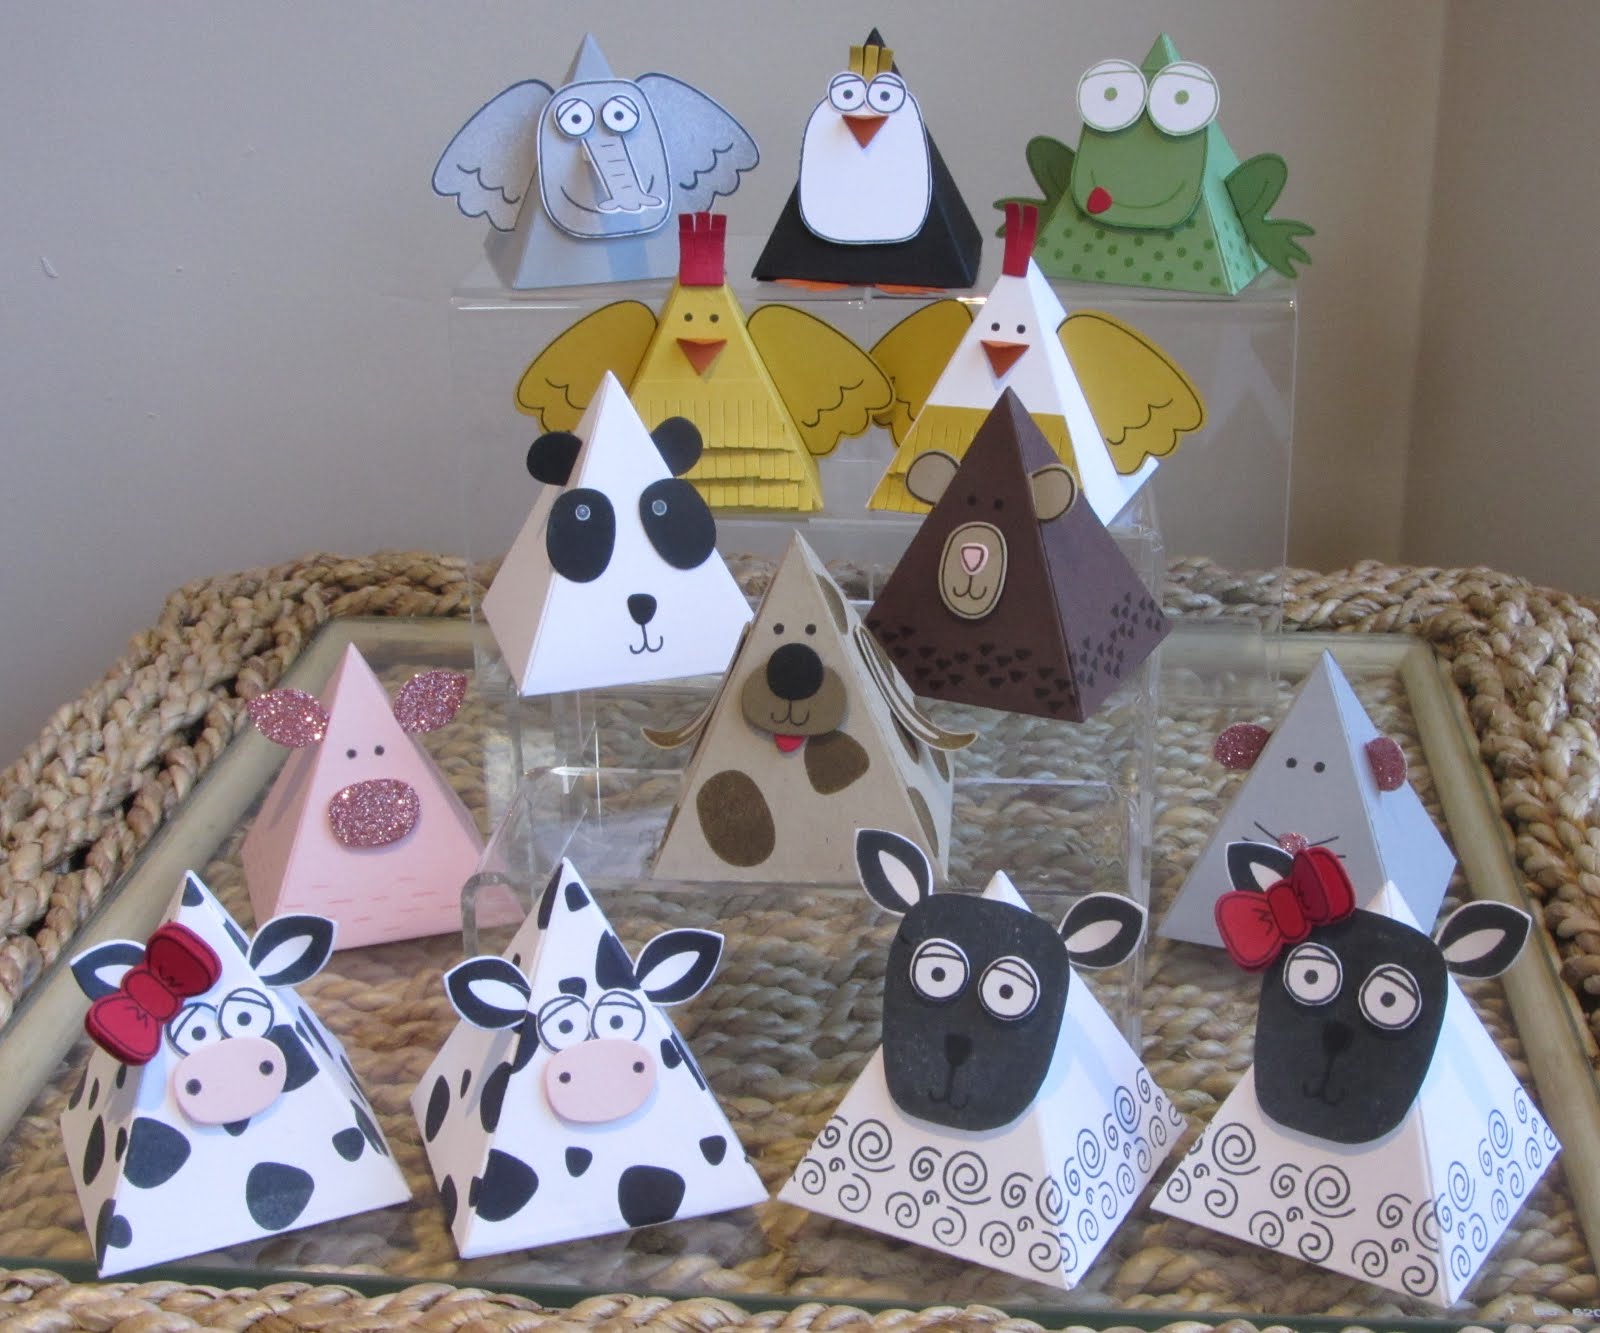
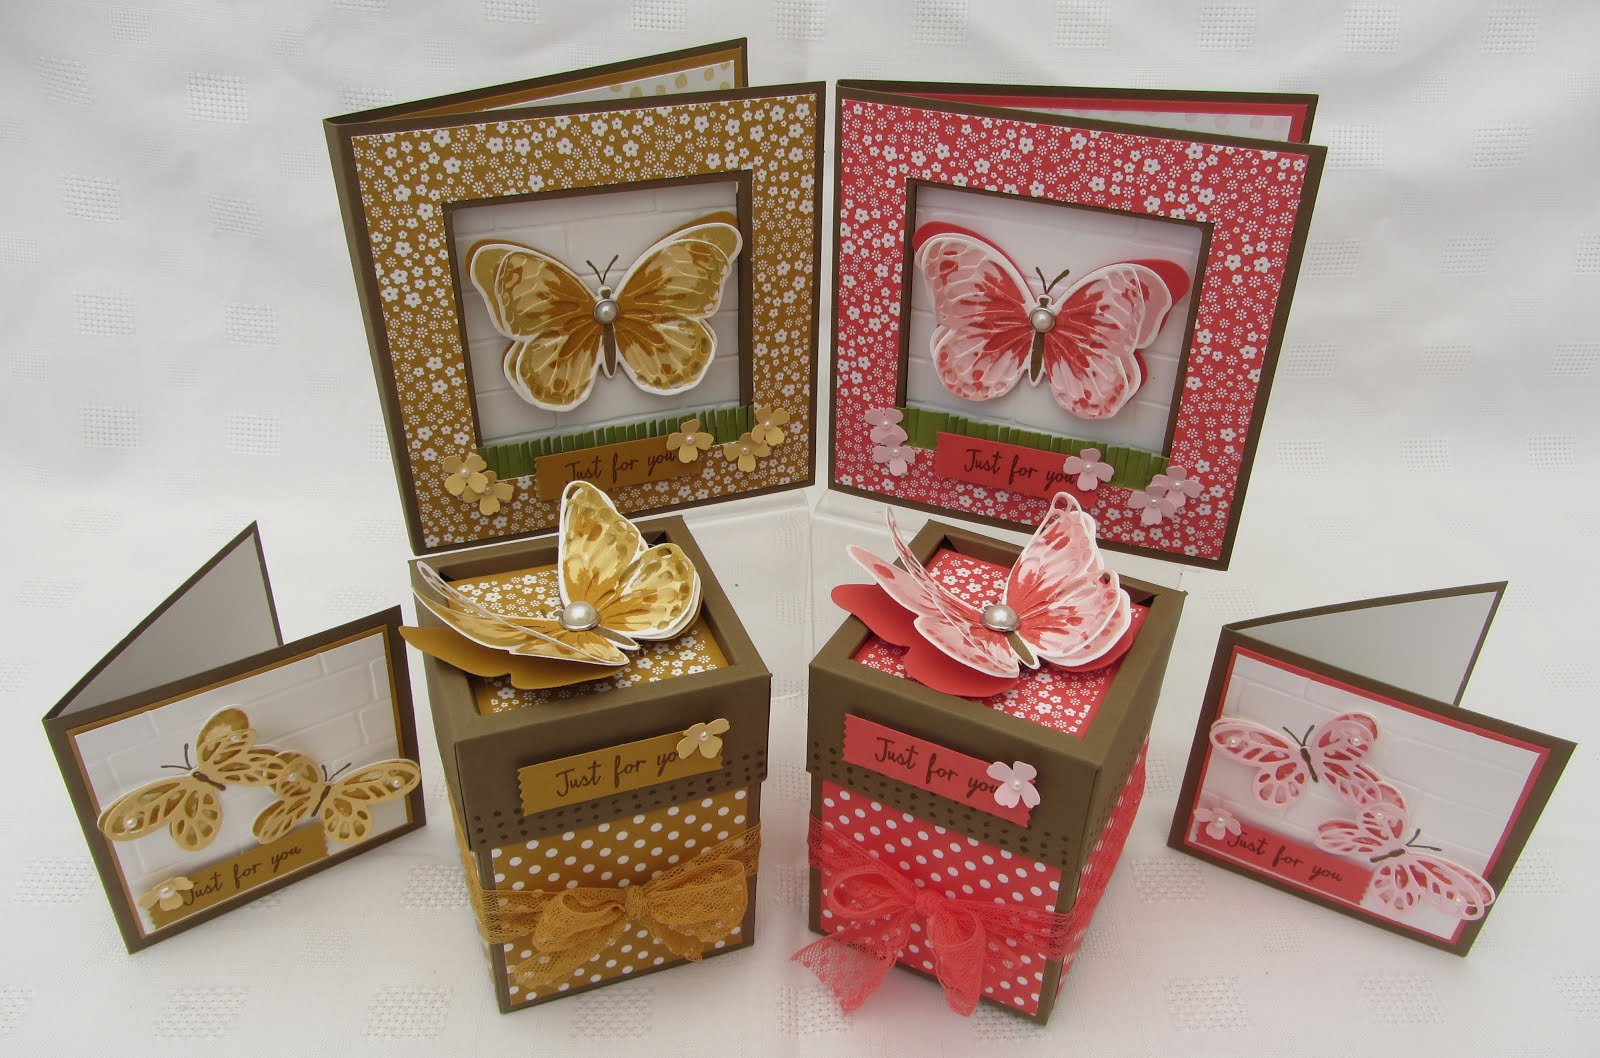
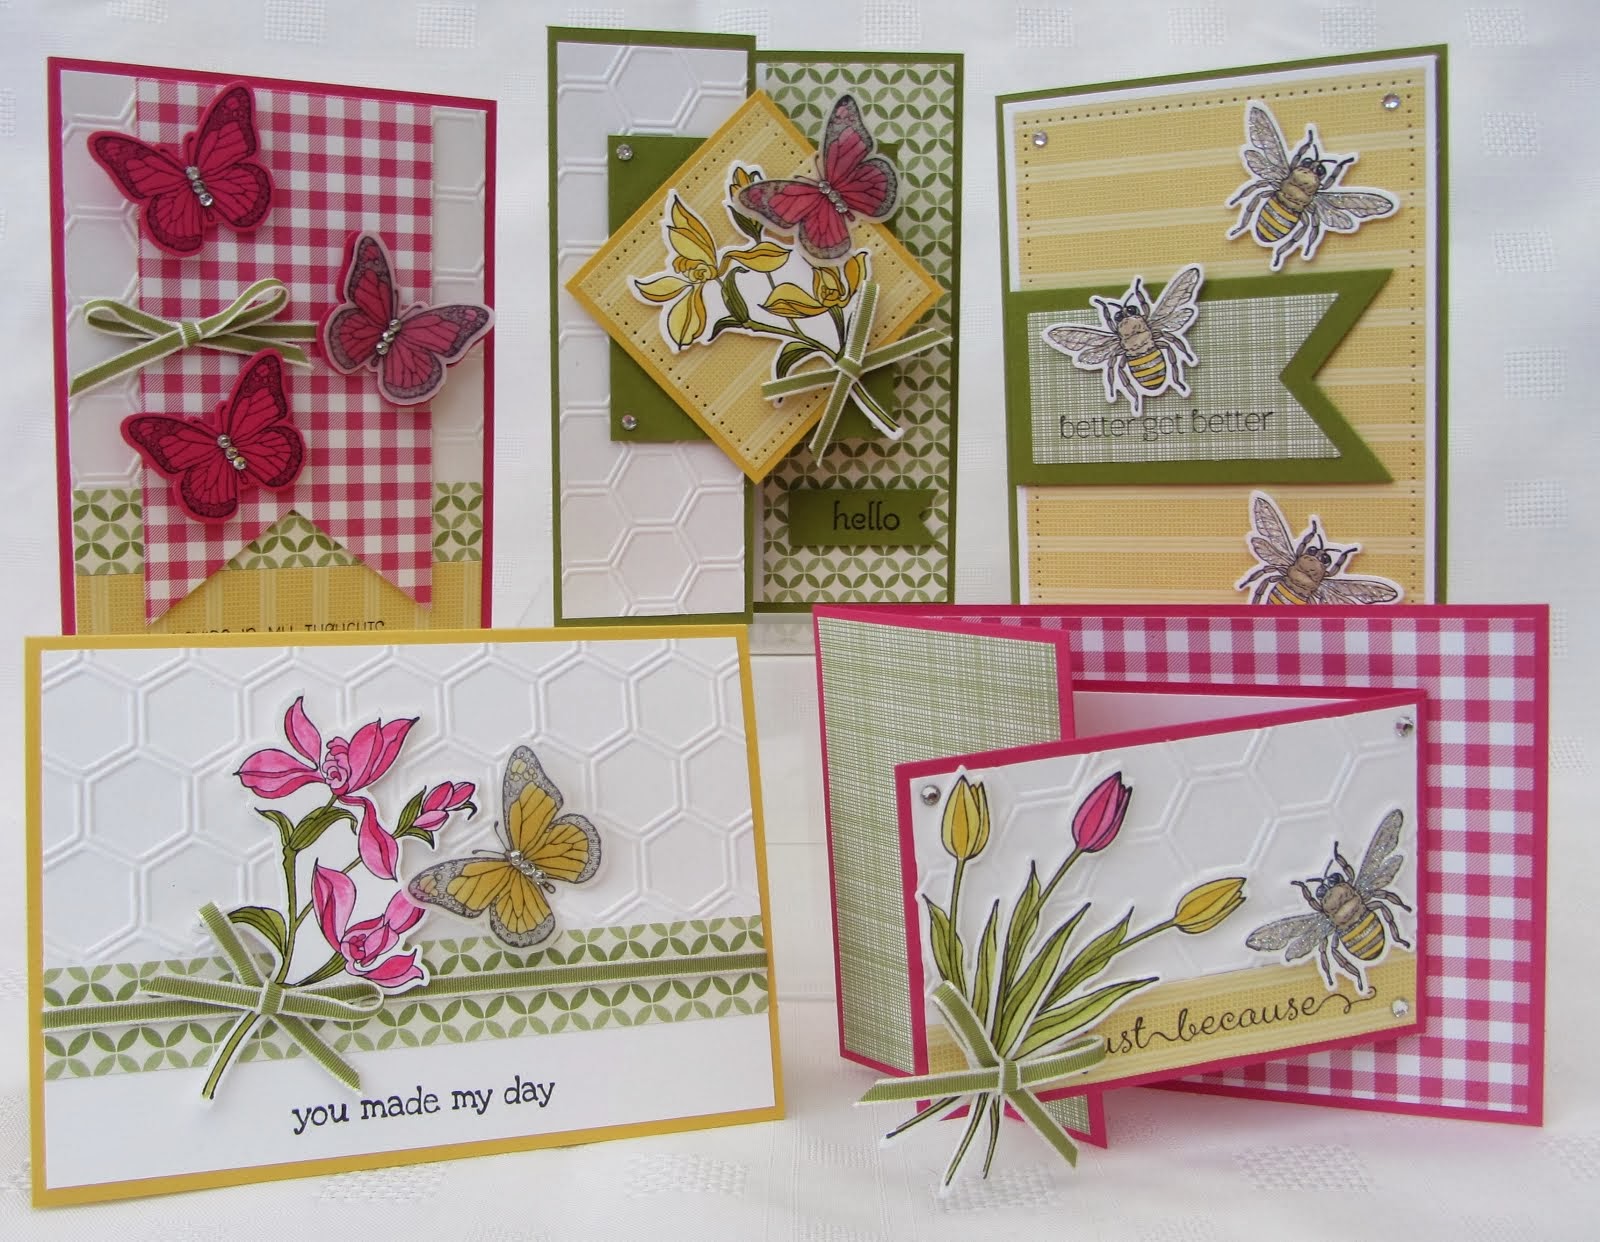
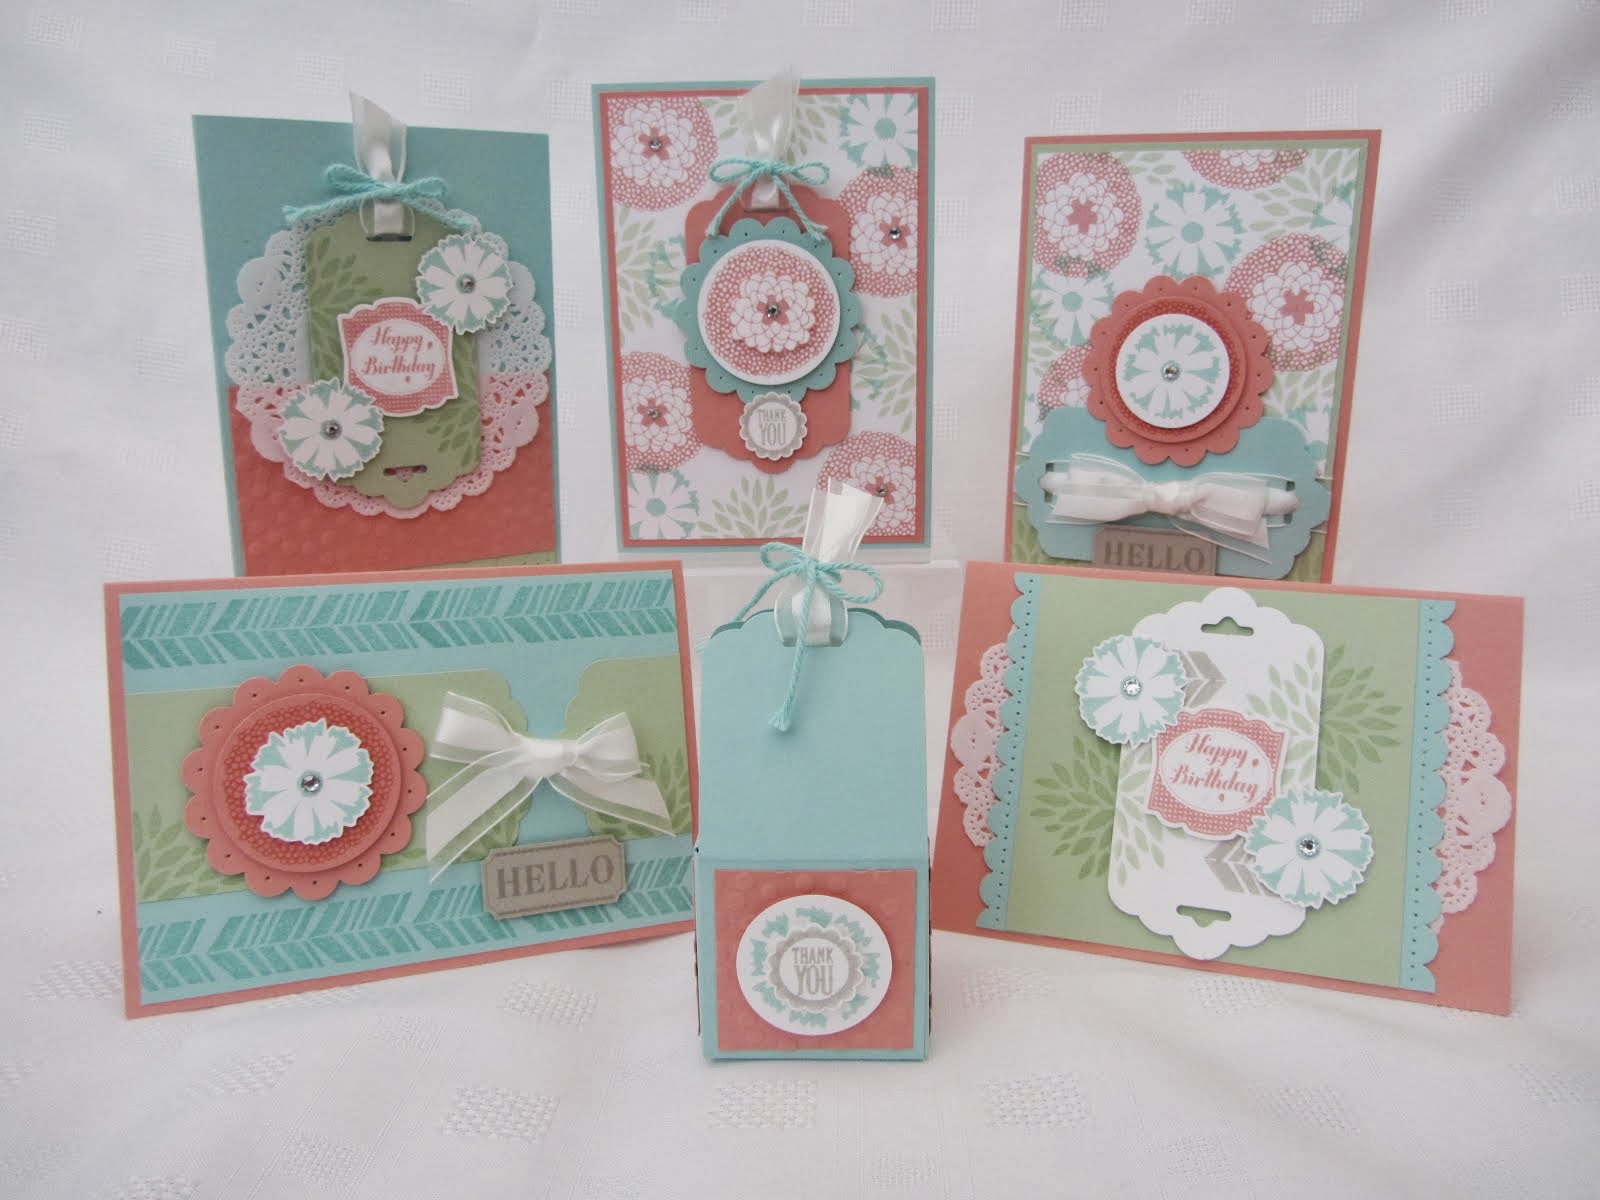
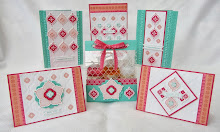
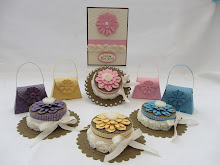
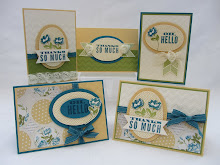
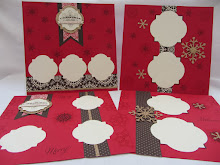
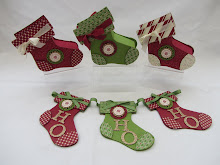
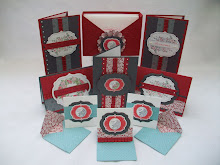
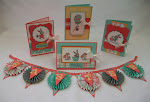
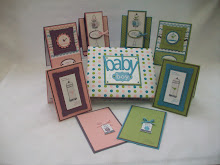
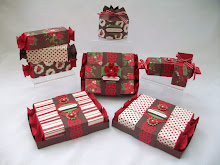
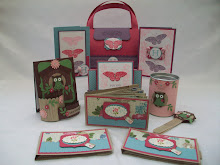
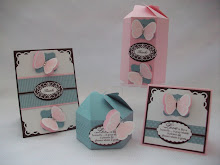
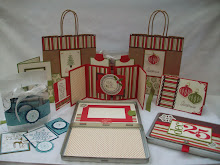
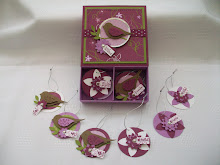
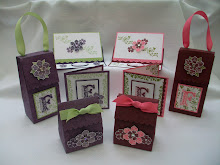
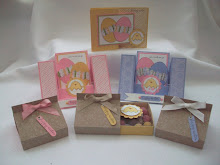
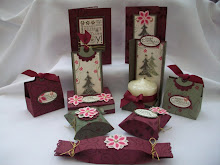
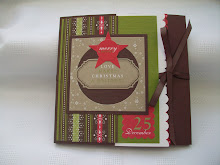
This is My Project for the morning. Using the Good Egg Stamp Set.
 We made a Treat Bag and a Mini Side Step Card.
 We made the So Saffron set but the others are Almost Amethyst, Pretty in Pink.
 This is the Earth Elements, using Not Quite Navy, Old Olive, More Mustard, Pumpkin Pie, Ruby Red.
 This is the Rich Regals, using Taken with Teal, Chocolate Chip, Regal Rose, Rose Red, So Saffron.
 This is the Soft Subtles, using Lavender Lace, Close to Cocoa, Pretty in Pink, Barely Banana, Real Red.
This is My Project for the morning. Using the Good Egg Stamp Set.
 We made a Treat Bag and a Mini Side Step Card.
 We made the So Saffron set but the others are Almost Amethyst, Pretty in Pink.
The papers are the Tea party designer series pack.
 To Make the Side Step Cards.......
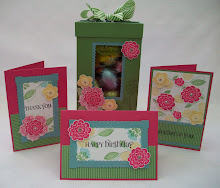
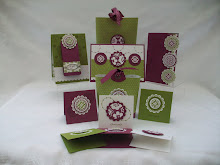
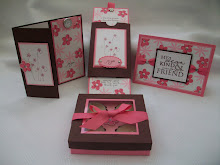
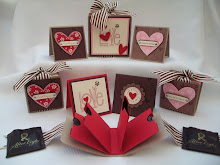
The measurements for the Treat Bag is 3 1/8" x 11 1/2". This is the side view of the Step Card. When folded it measures 4" x 4".
 You can see the chocolate Egg treat bag inside on this view.

Jo will be uploading her project here, So Pop over to jo's blog and take a look. I don't have a photo myself.
 To Make the Side Step Cards.......
Cut cardstock 4" x 8"
With the 4" side running along the top, use the fiskars cutter and line up the left side at 1 1/4".
Then cut down FROM 2" to 7 3/4"
Turn the cardstock, with the 8" side running along the top,
Score from the cut line to the other edge at 3/4", 1 1/2", 2 3/4", 4", 6"
On the 4" score line, Score the whole width of the cardstock, This is the fold to fold the card in half.
Fold the cardstock in half at the 4" score line, then concertina the step section, by folding mountain, valley, mountain, valley, mountain, for the steps.

The measurements for the Treat Bag is 3 1/8" x 11 1/2".
Score along the 11 1/2" side at 4 3/4" & 6 3/4".
Punch a window using the scallop circle punch in one of the long sections, this will be the front.
Cut a piece of Certainly Celery 3 1/8" x 3 1/4". Along the 3 1/4" side score at 1 5/8". Use the eyelet border punch on both edges. Fold in half and wrap this over the top of the base. I sandwiched the small treat bag with chocolate eggs inbetween the So Saffron base, fold over the Certainly Celery topper and use the Crop a dile to punch two holes for the ribbon to go through.
The ribbon is pink taffeta.
 This is the side view of the Step Card. When folded it measures 4" x 4".
 You can see the chocolate Egg treat bag inside on this view.
Jo will be uploading her project here, So Pop over to jo's blog and take a look. I don't have a photo myself.
We were so busy setting up the tables, that I forgot to take a minute to photo all the table settings and lunch bags.......Hope you liked them. Got to love the butterflies!
Right my legs are about to drop off, so thats enough from me today.
Check back Monday for the Good Egg Stamp Class.
Thank You Jo for being such a Great Stampin Up Buddie.....
Thanks for looking,
Jenny:-)xx
 Posted by


