Afternoon Everyone,
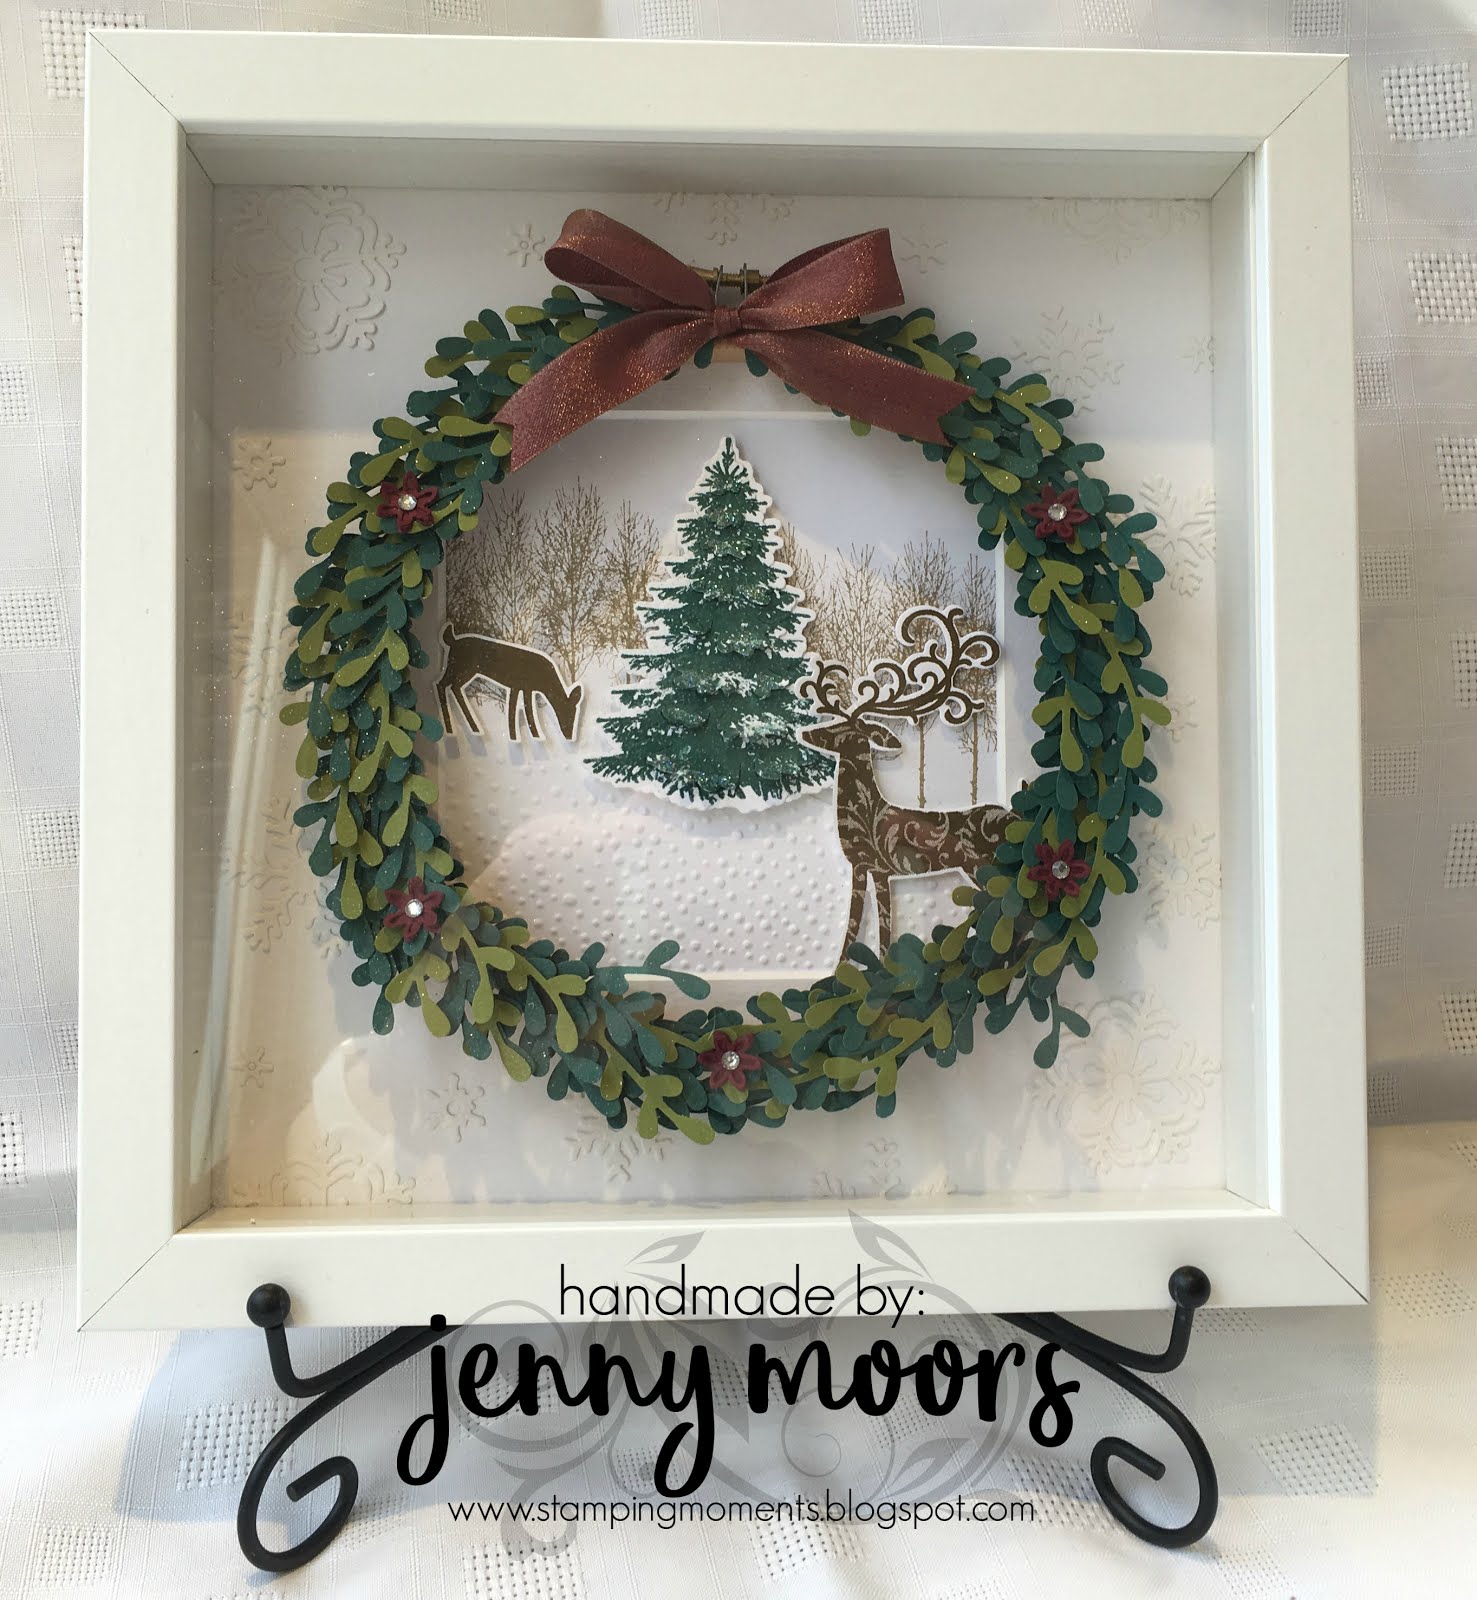
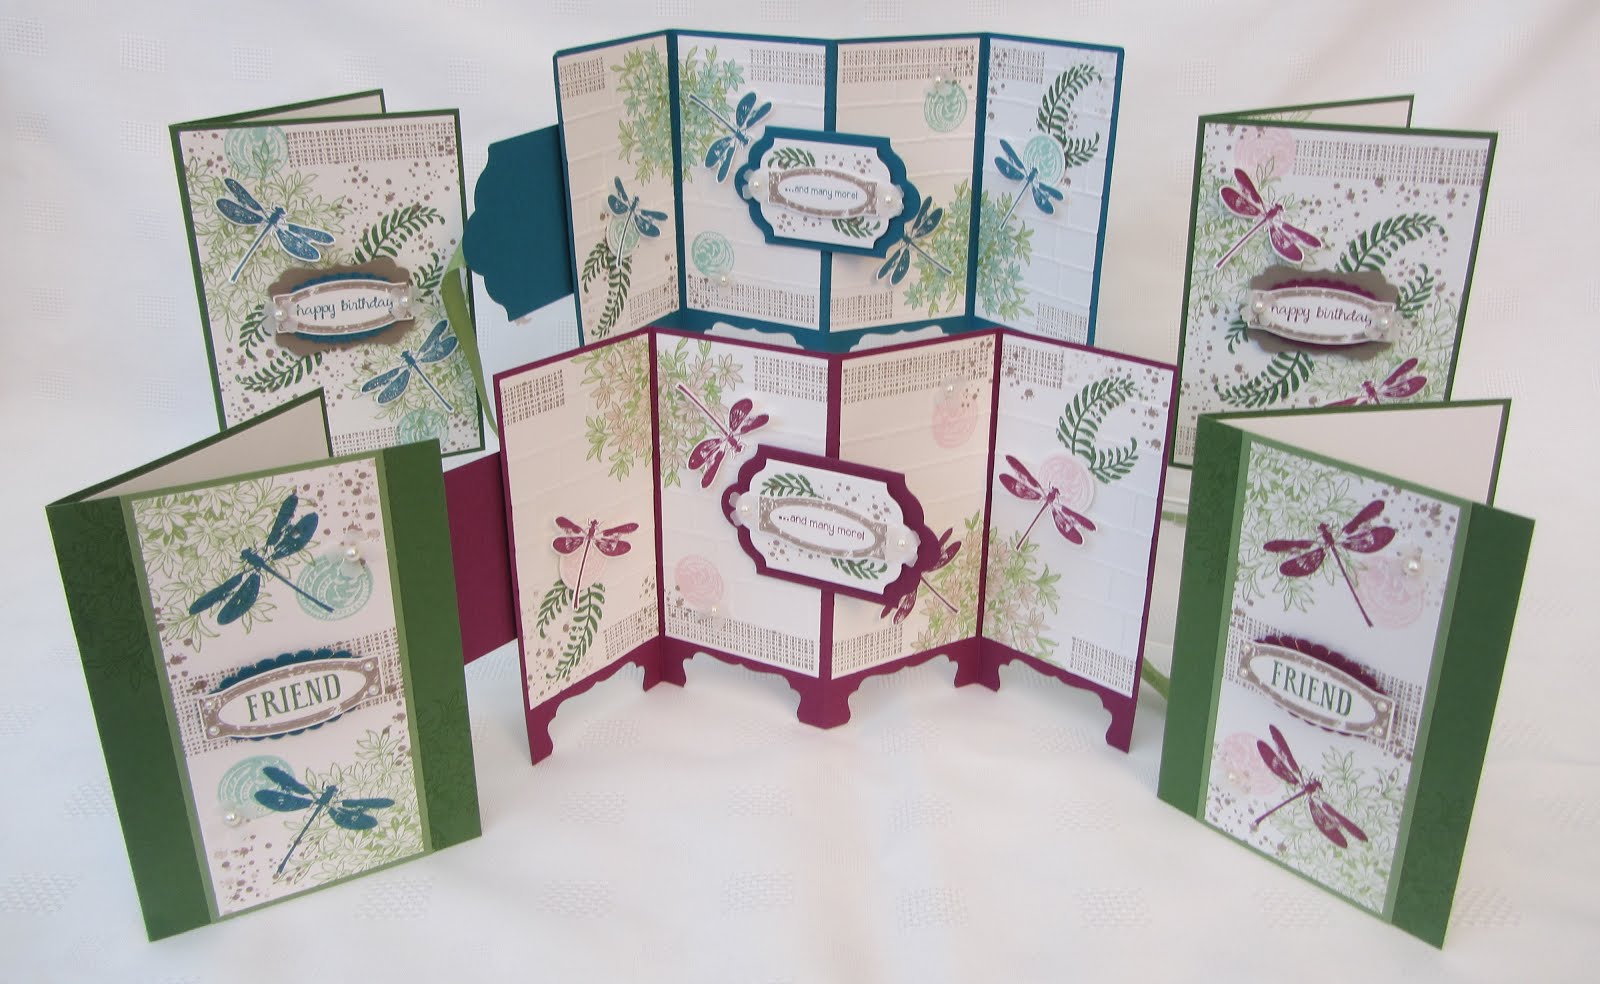
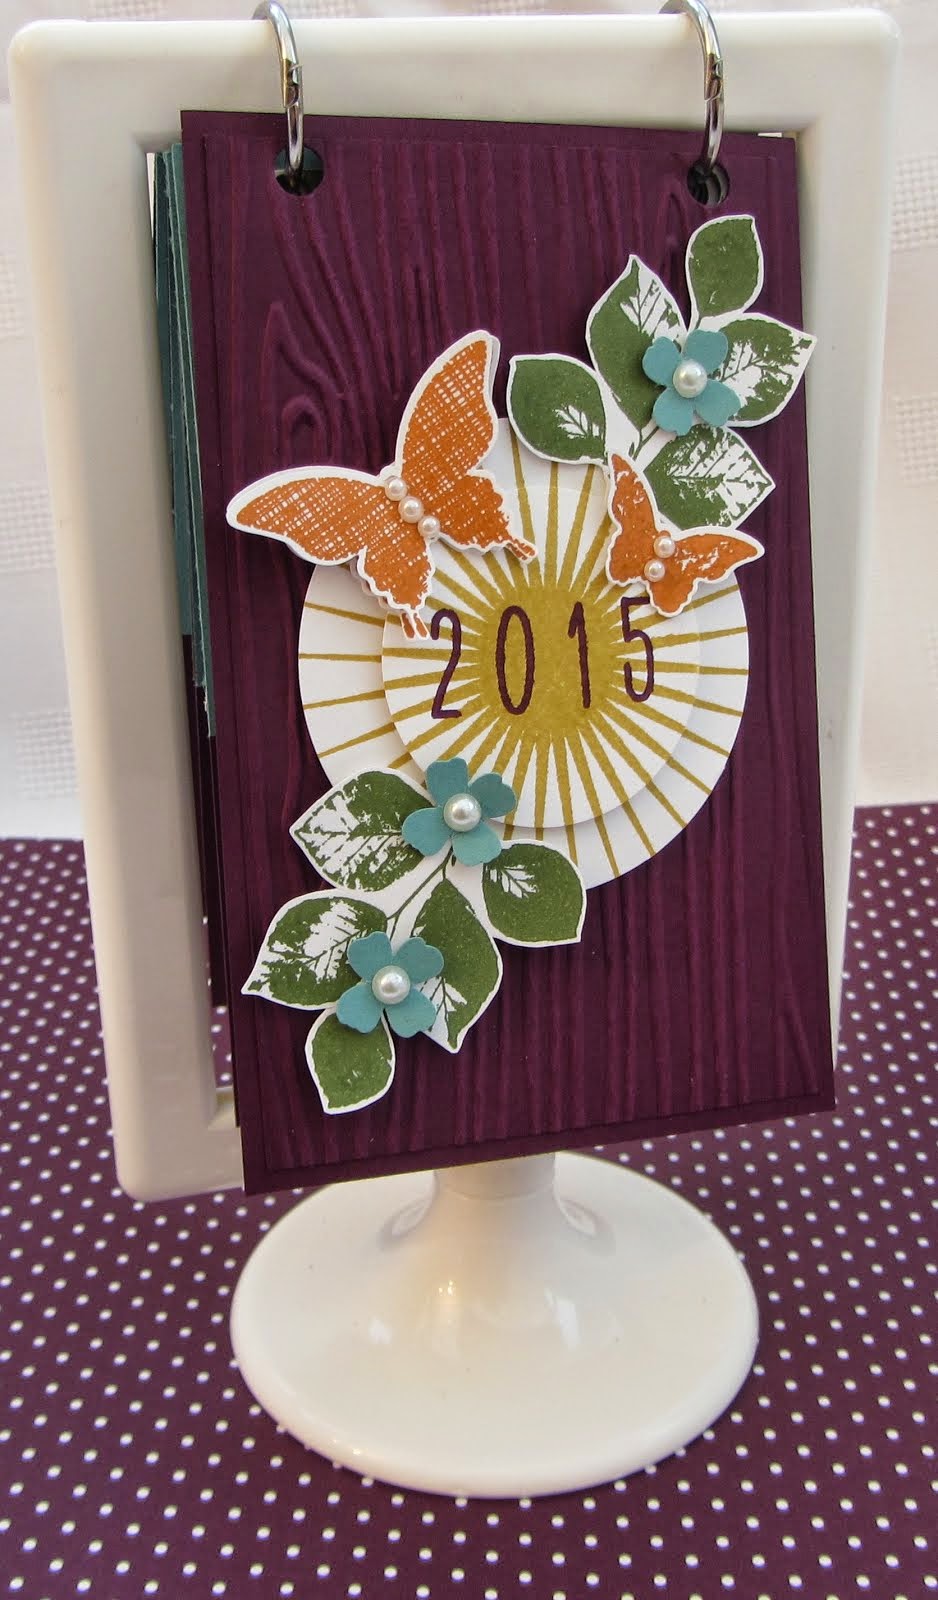
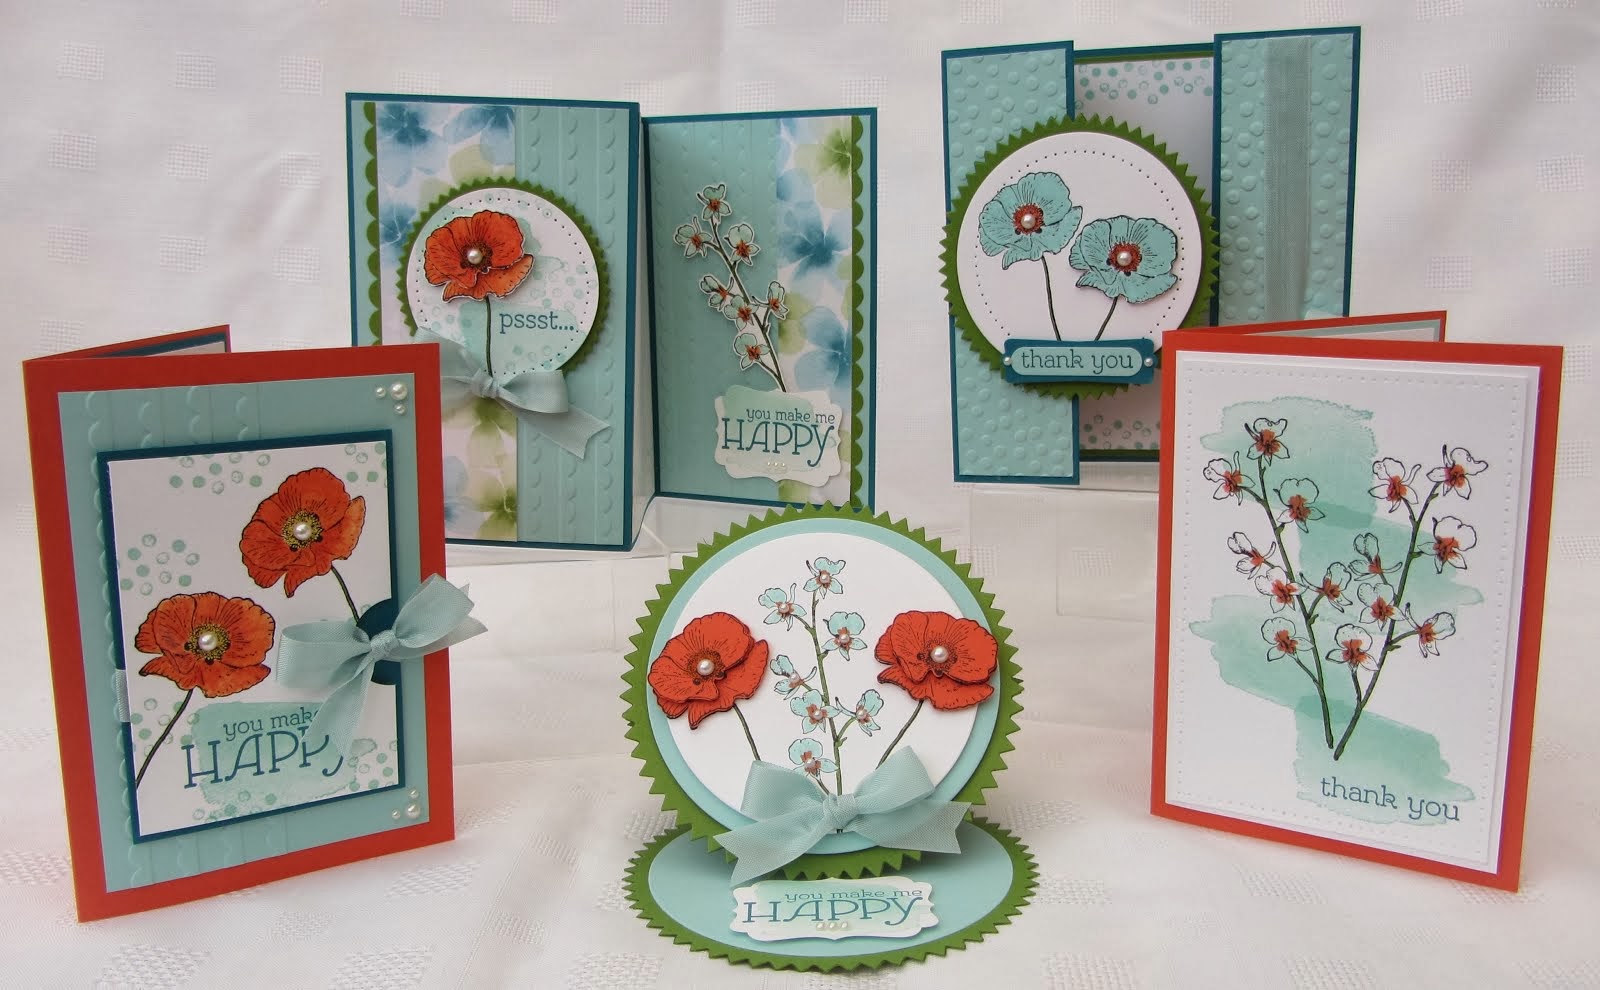
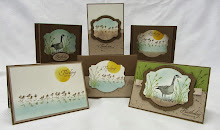
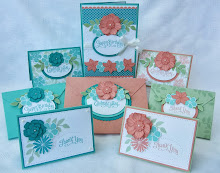
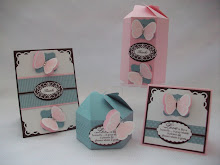
This was my swap card for the Stampin' Up! Regional Event in Telford on Saturday.
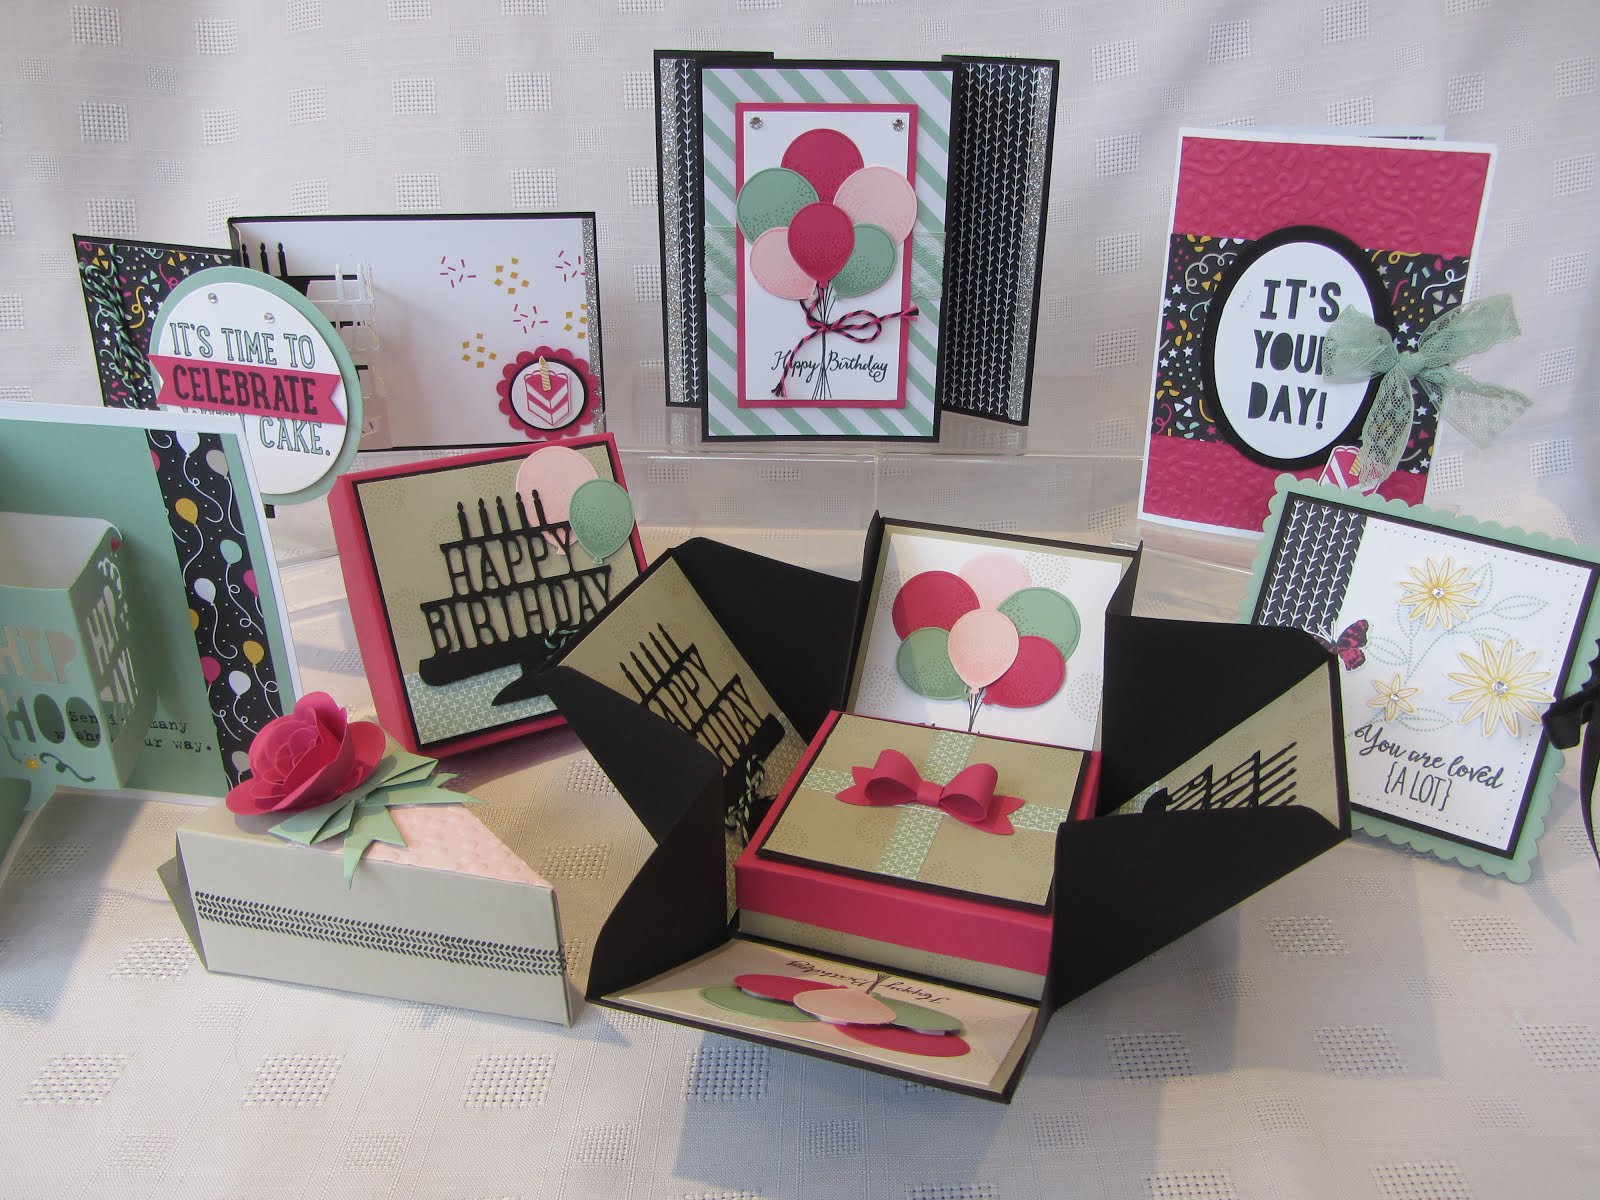
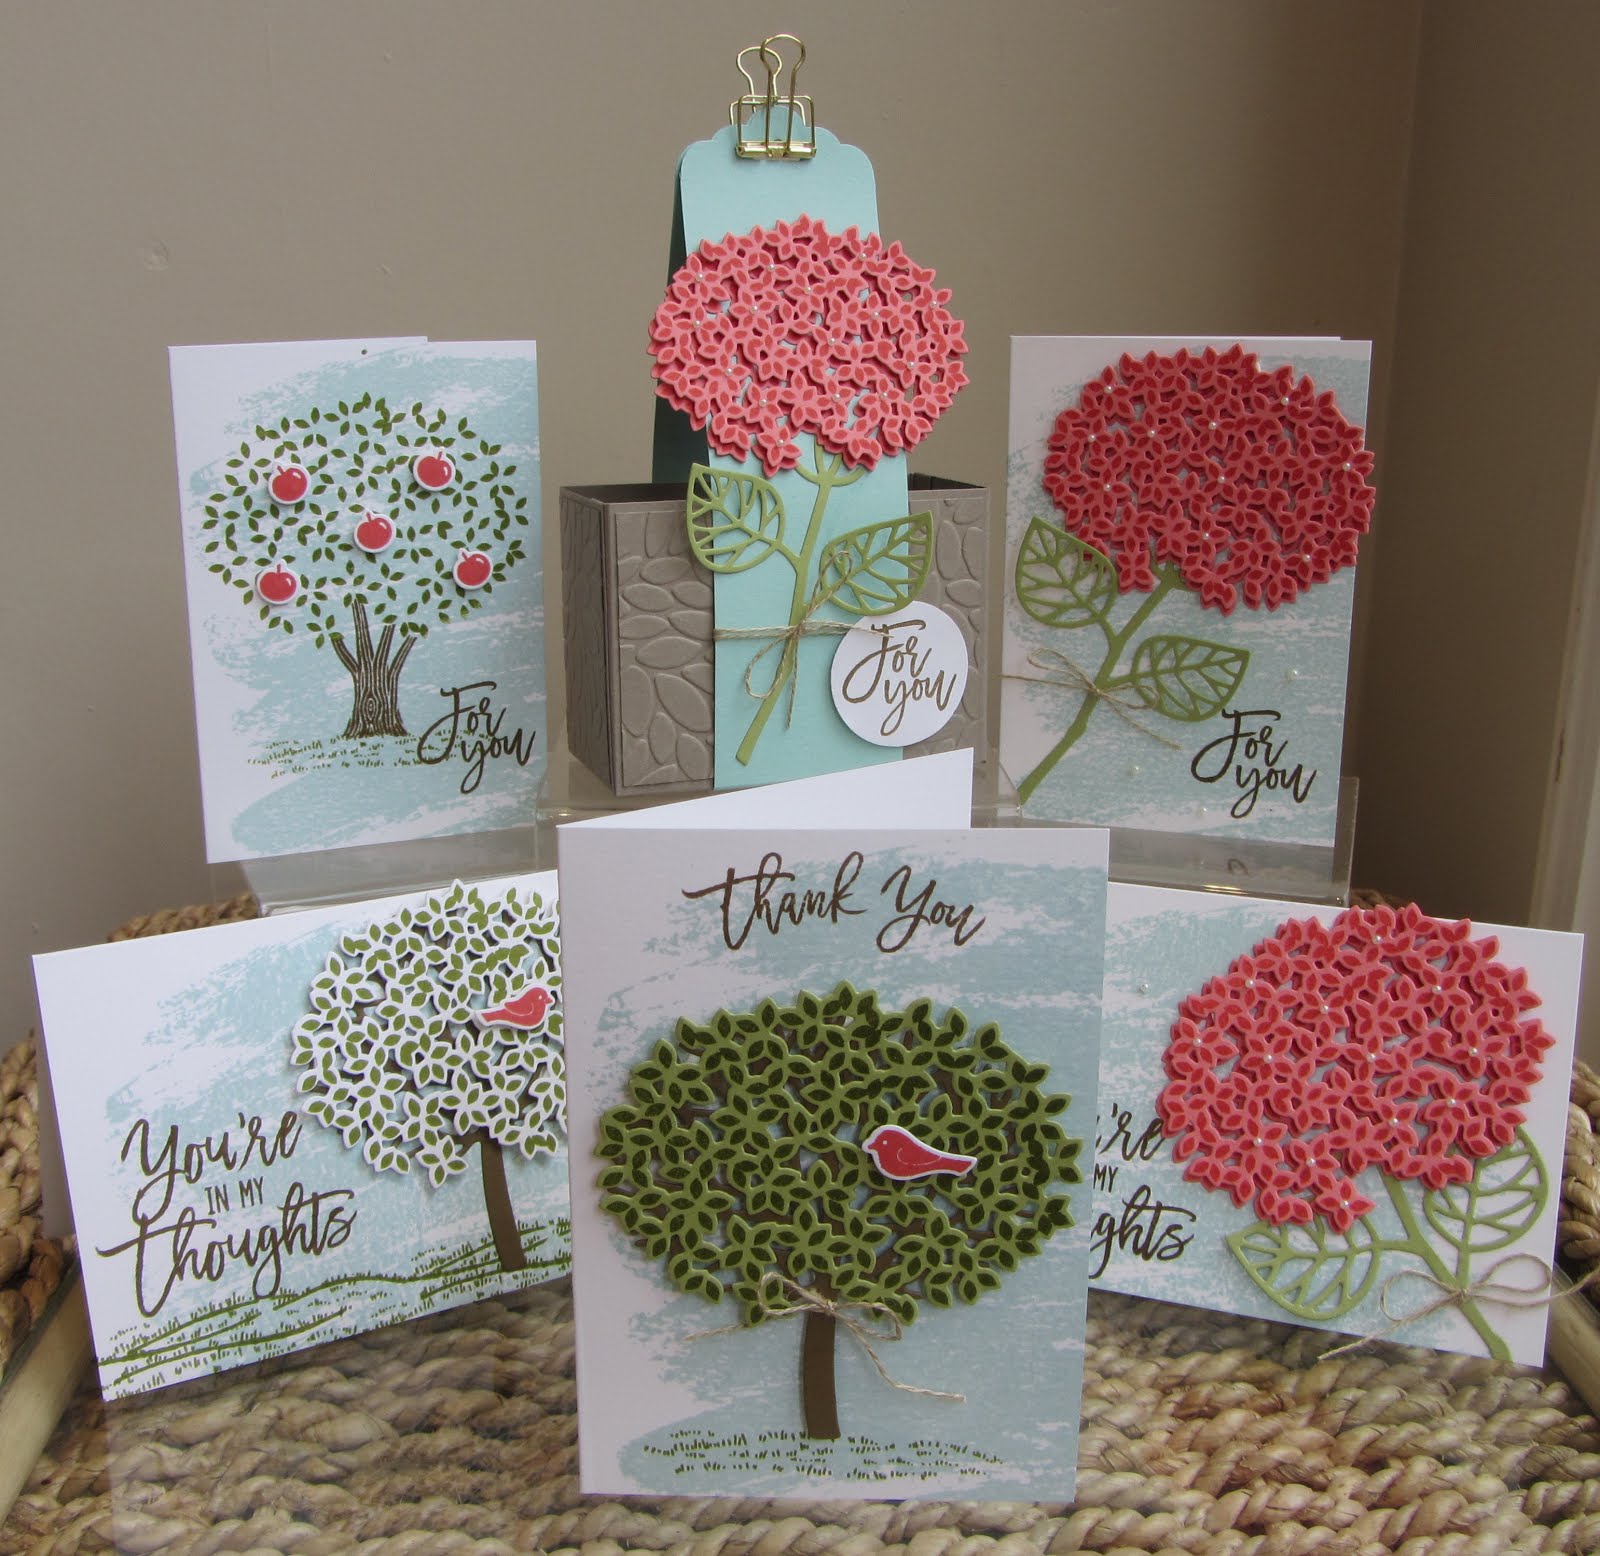
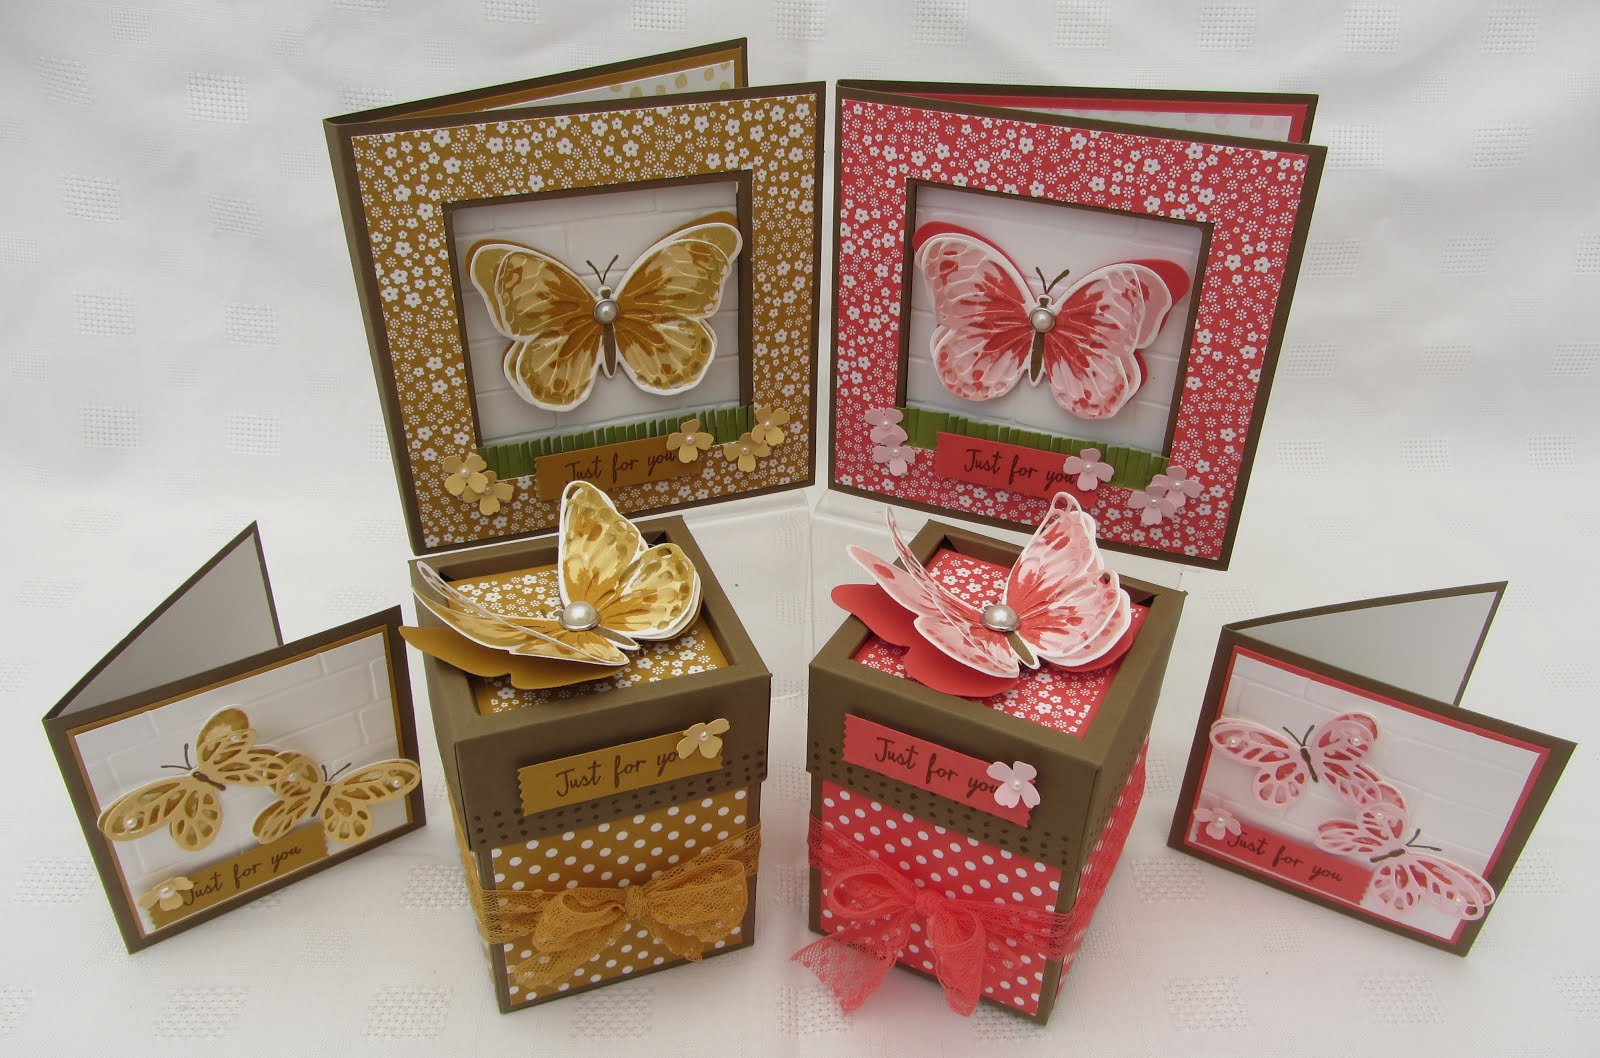
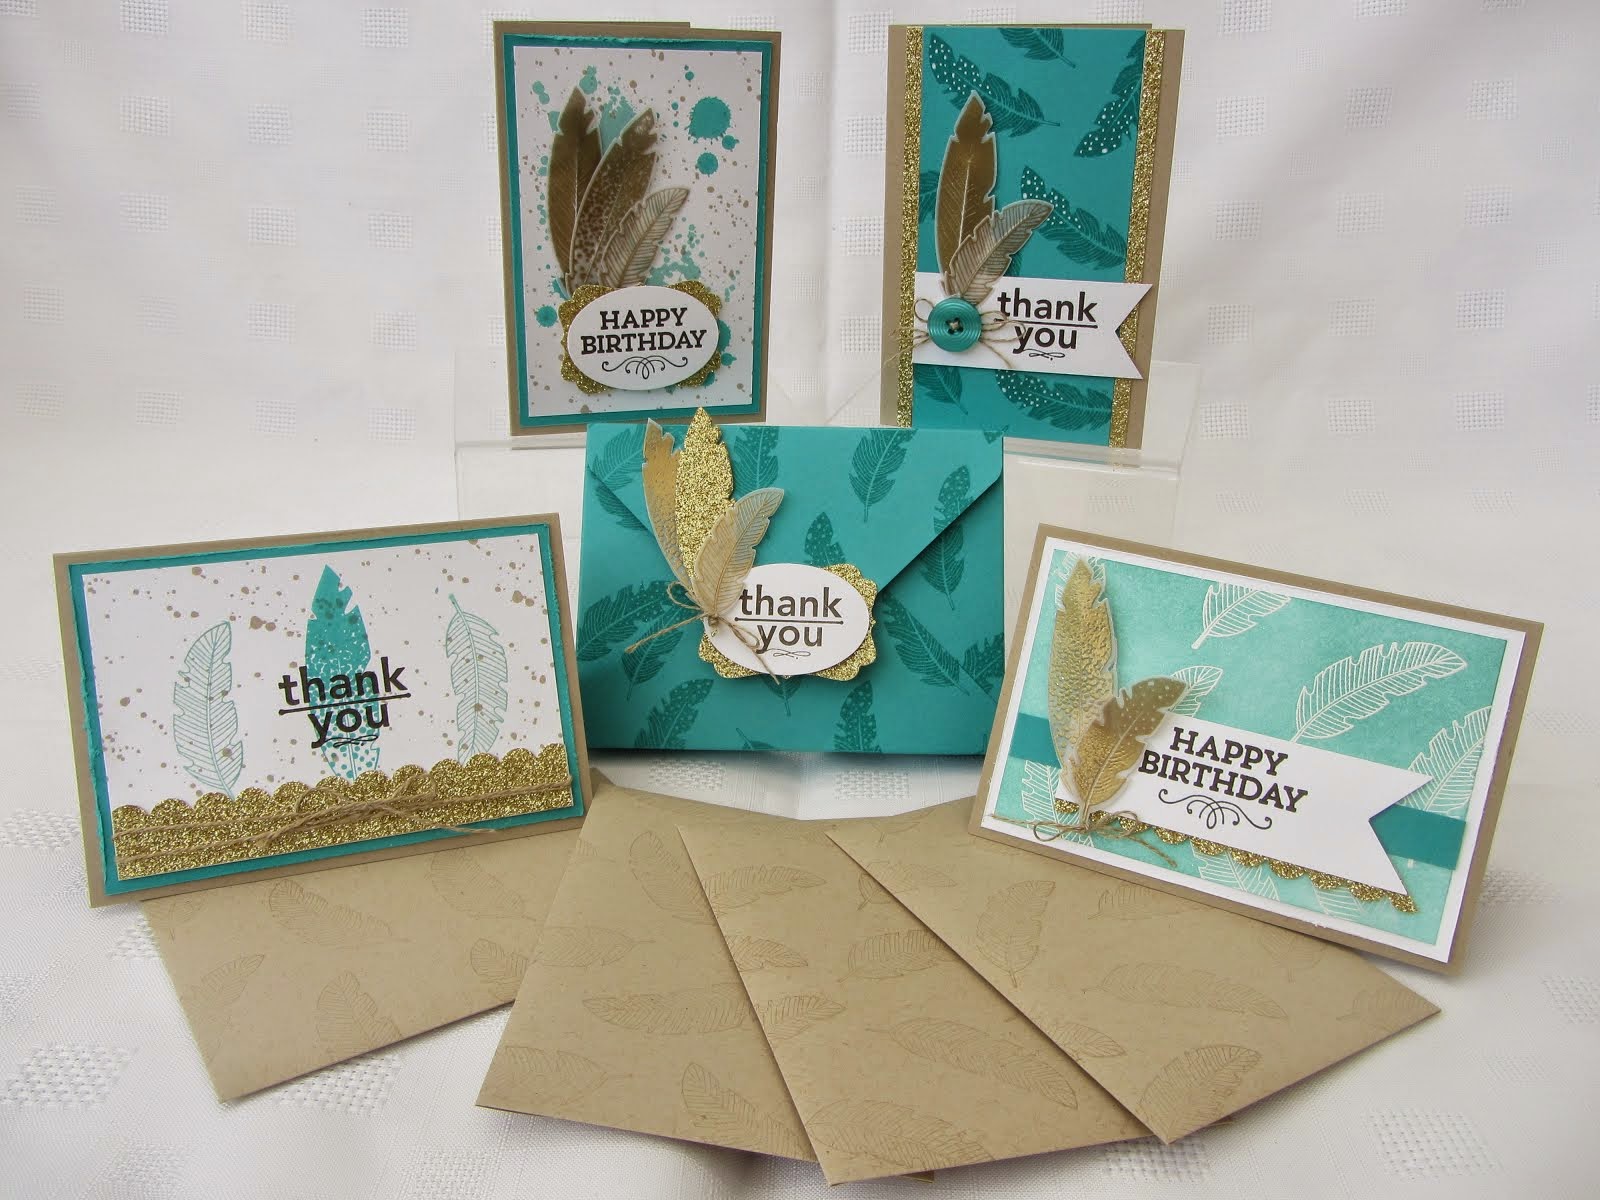
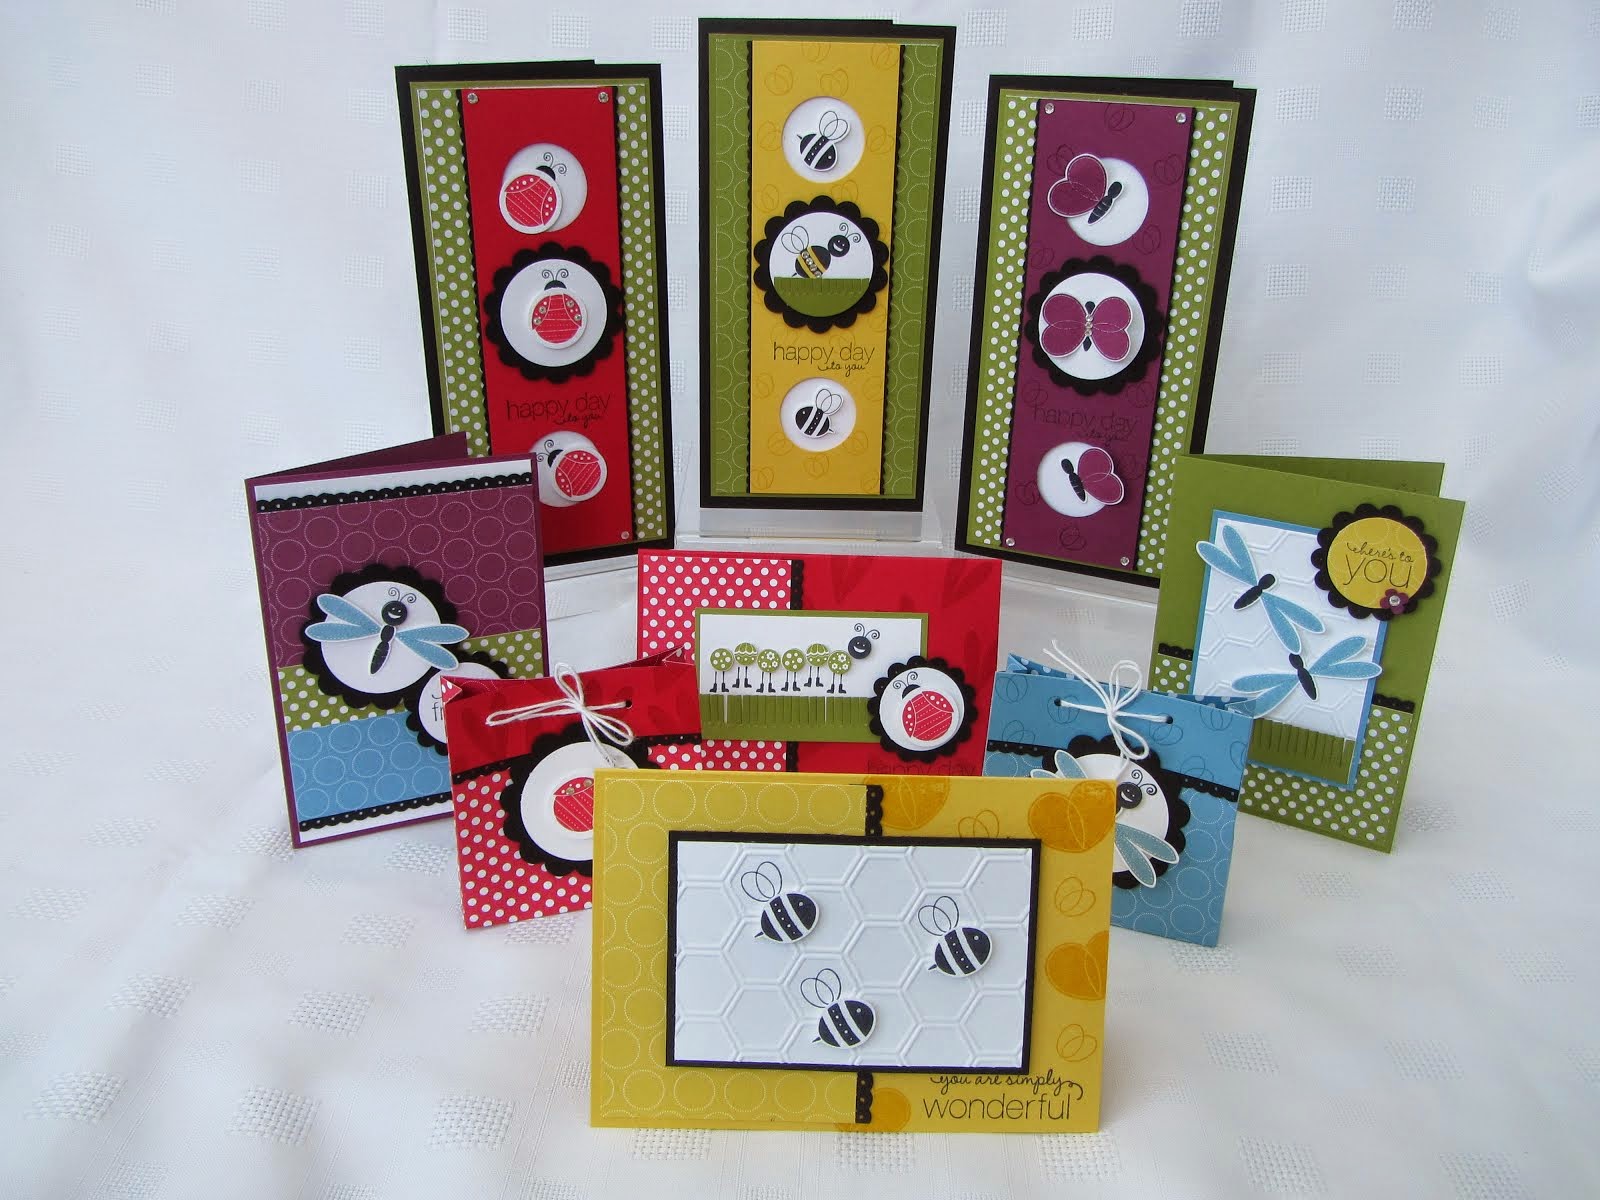
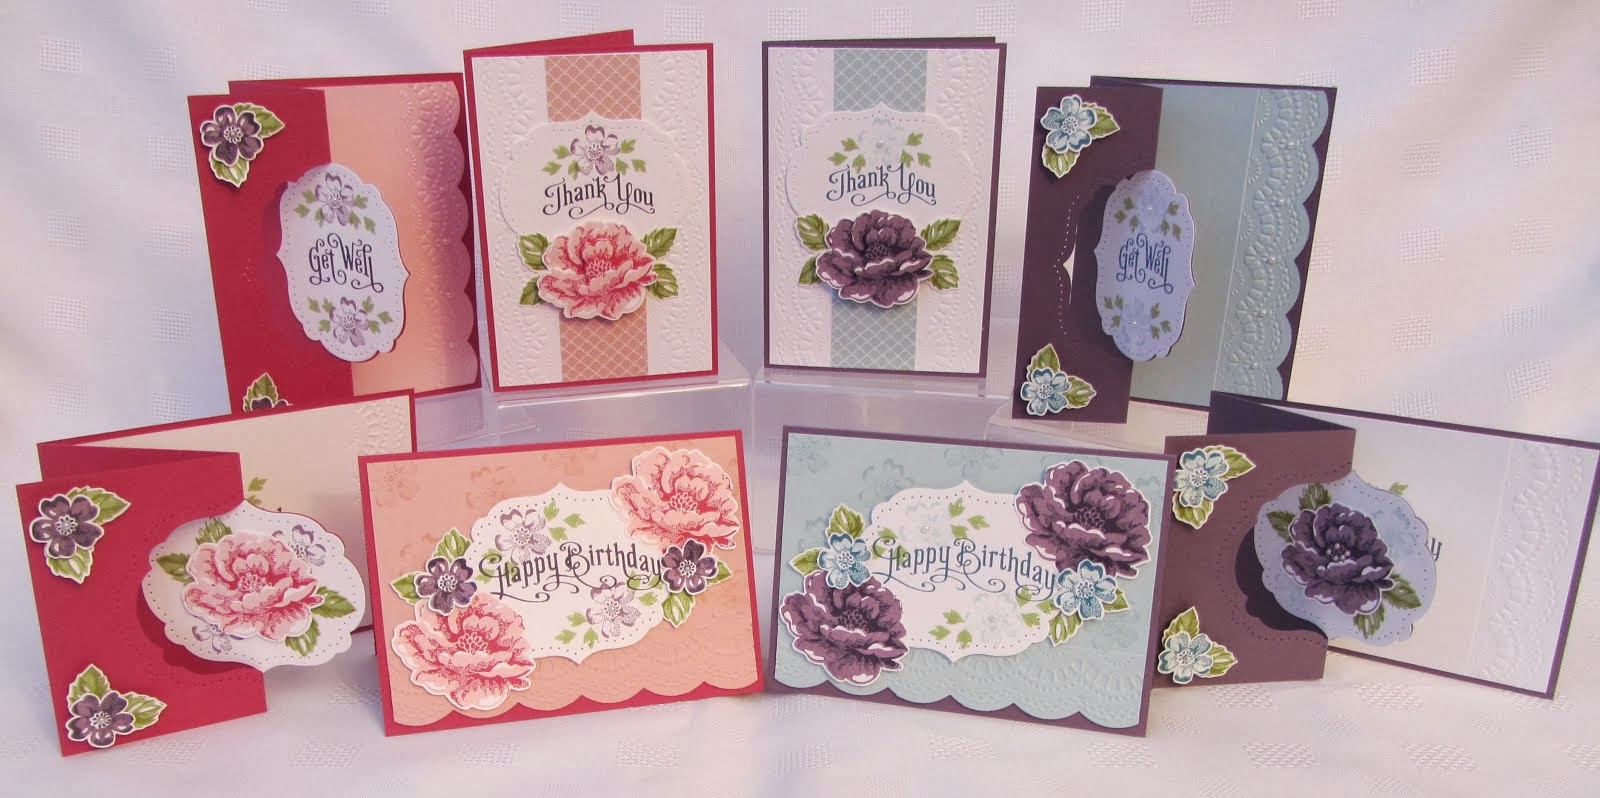
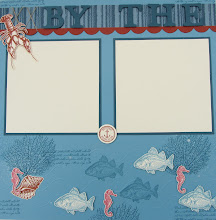
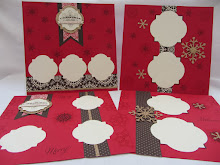
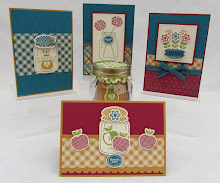
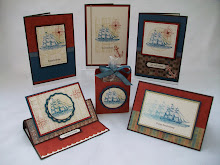
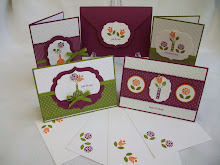
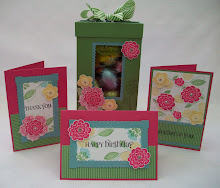
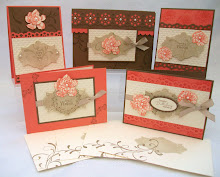
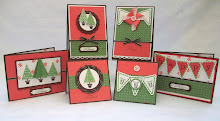
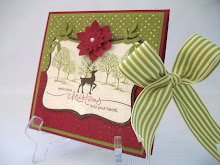
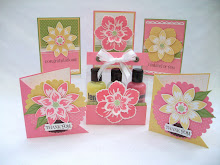
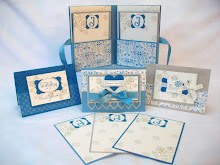
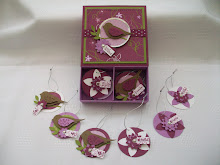
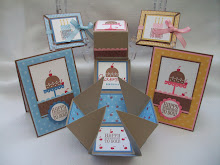
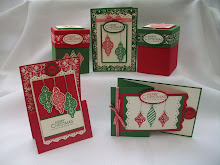
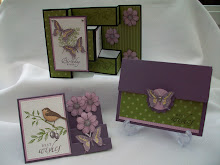
Its a slider card. The stamp set is called Summer Silhouettes.
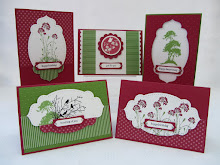
I used Tangerine Tango, Rich Razzleberry, Wild Wasabi and Whisper white for my colour combination.
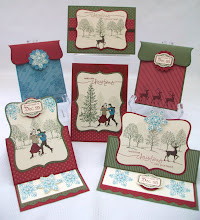
Pull on the ribbon to reveal the inside of the card.
First you will need a half sheet of cardstock for the base card, pocket.
I used tangerine tango, 21cm x 14.8cm, Score along the 21cm at 10cm, 20cm.
For my US friends, half a sheet is 8 1/2" x 5 1/2", Score along the 8 1/2" at 4", 8"
Stamp the border top and bottom on the section with the thin section on the right, this will be the front of the card. Add some double sided tape to the thin section and chop of the corners top and bottom on the thin section.
This makes the sliding action much smoother.
Use the thin section ie tab to join up the opposite side, to make this pocket, for the inside layers.
Use the itty bitty shape to punch through both layers at the same time. The punch should be pushed all the way in until it won't go any further. This is the right hand side of the pocket.
Use a 3/4" circle punch to take out a half circle through both layers.
Take a piece of ribbon, I used the lovely wild wasabi stitched ribbon about 50cm ish or 20"
Thread it through the itty bitty punched hole. Both layers. Pull out so the front ribbon is the same length as the back.
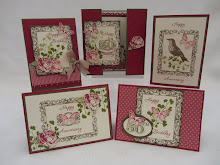
The insert layers are 14cm x 9.5cm rich razzleberry and 13.5cm x 9cm whisper white or
3 3/4" x 5 1/4" rich razzleberry and 3 1/2" x 5" whisper white.
Decorate with the summer silhouette images.
TIP make sure your sentiment in not stamped in the middle or the ribbon will be going over it.
Insert the inside layers in the pocket, going between the ribbon as shown.
Push the insert in and the ribbon will go inside as you push.
Tie a bow to finish.
Pull on the ribbon and the insert will pull out .....Fun!
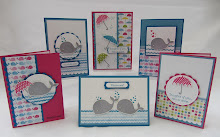
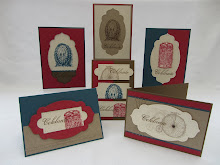
For my outside layers 10.5cm x 7cm rich razzleberry, 10cm x 6.5cm white
or 4" x 2 3/4" rich razzleberry, 3 3/4" x 2 1/2" white
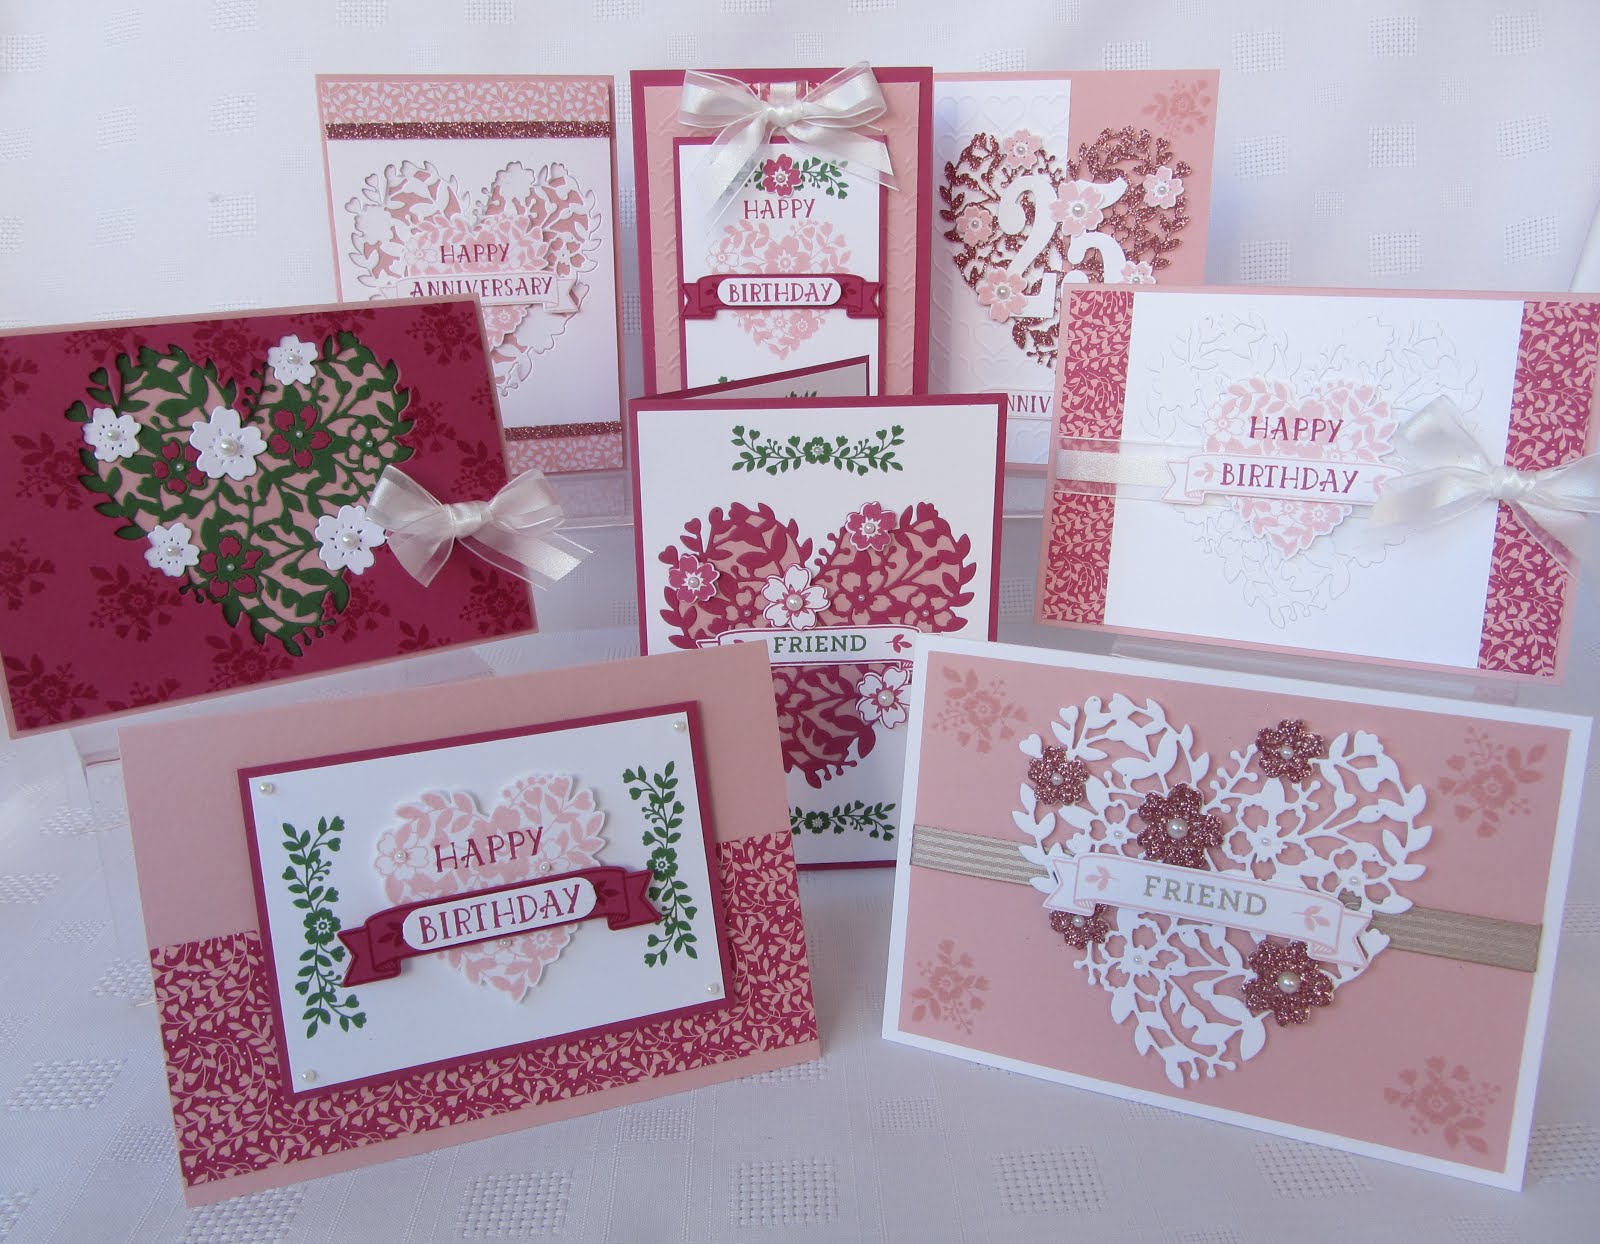
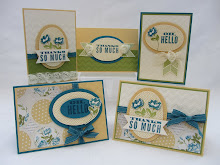
Decorate as you wish, the sentiments are the petite pairs.
I pricked all around the outer edge and stamped and cut out two more flowers.
Use the itty bitty circle punch to punch out the stamped centre of the flowers and finish with popping up this layer on the front of the slider card.
You are finished.....
Why not have a try, I would love to see yours, leave me a link in my comments.
Thanks for looking,
Don't forget the Special Offers are still on this month,
JOIN THE BLOOMIN BUDS for only £99 and get to choose £155 worth of products, plus a welcome gift from me.
Also Spend £250 either yourself or get together with friends and receive £65 FREE Products of your choice for FREE. Or have me come and do a Workshop for you and your friends.
This and That Bundle, which I am still stroking is on Special this month as well for £29.95.
Thanks for looking,
Jenny:-)xx


 Posted by