Thursday 16 March 2017

Stampin' Up! Designer Paper Beads....


Afternoon Everyone,

Hope you are all well.  We made something different this week at Stamp Class.
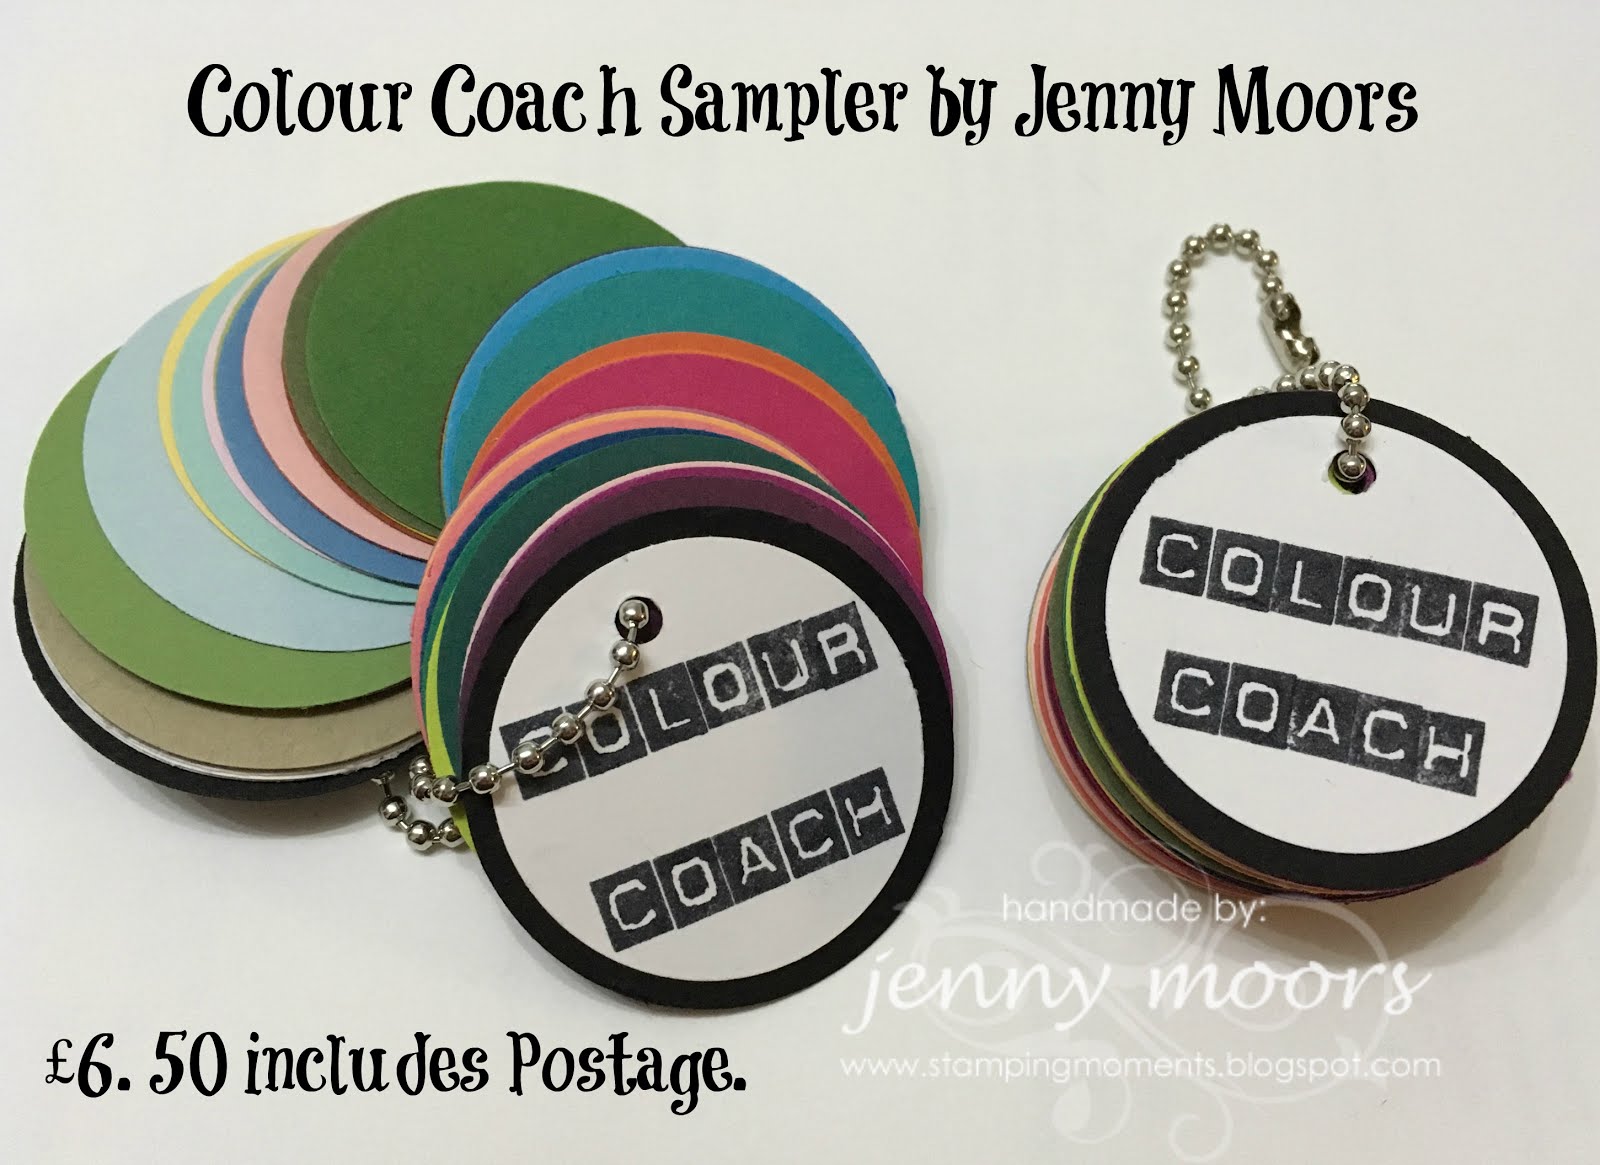
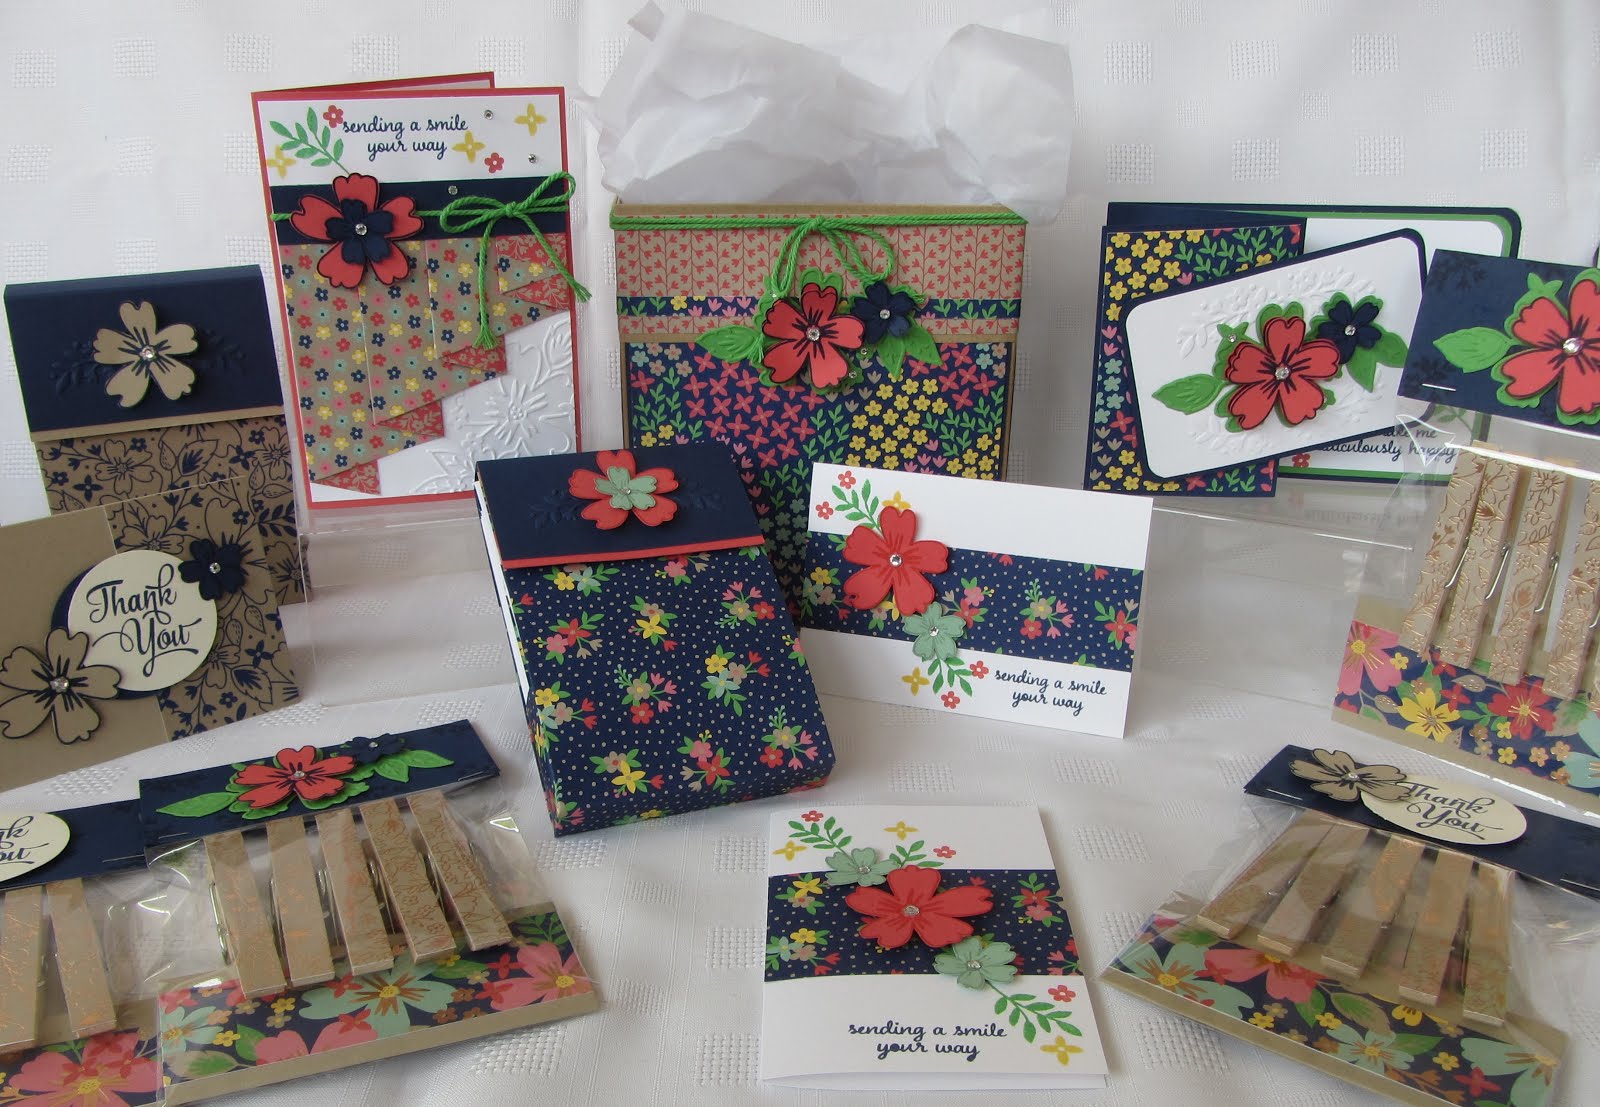
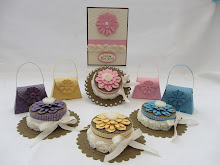
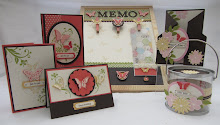
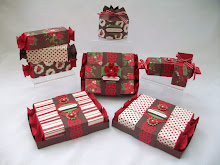
Paper Beads.

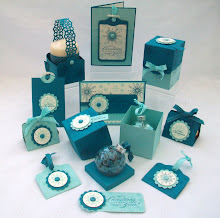
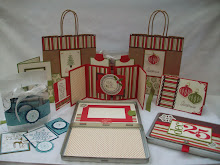
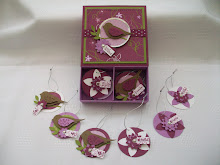
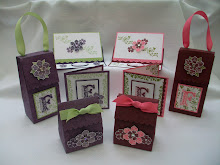
We made bookmarks, bracelets, keyrings, scissor charms and bone folder charms.

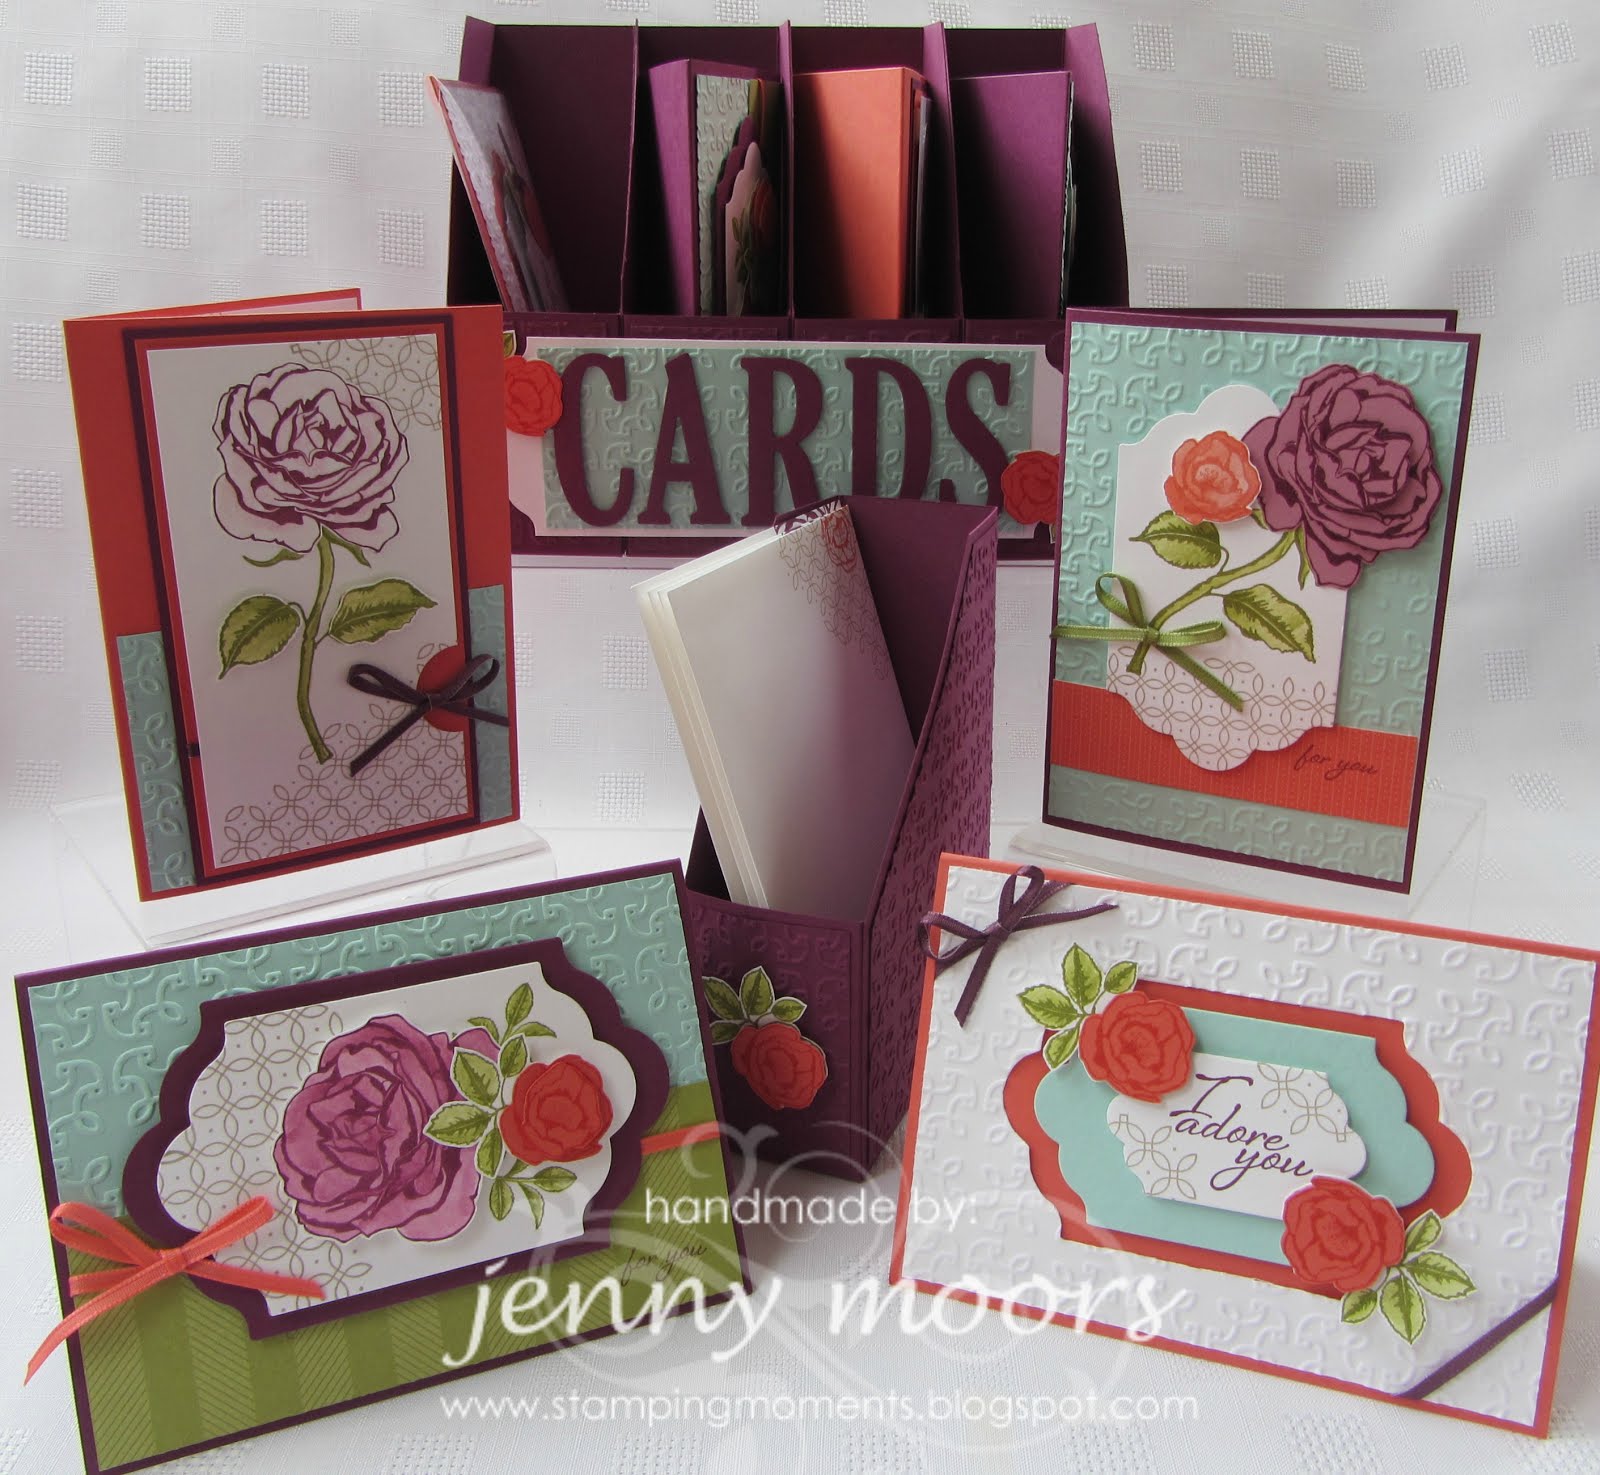
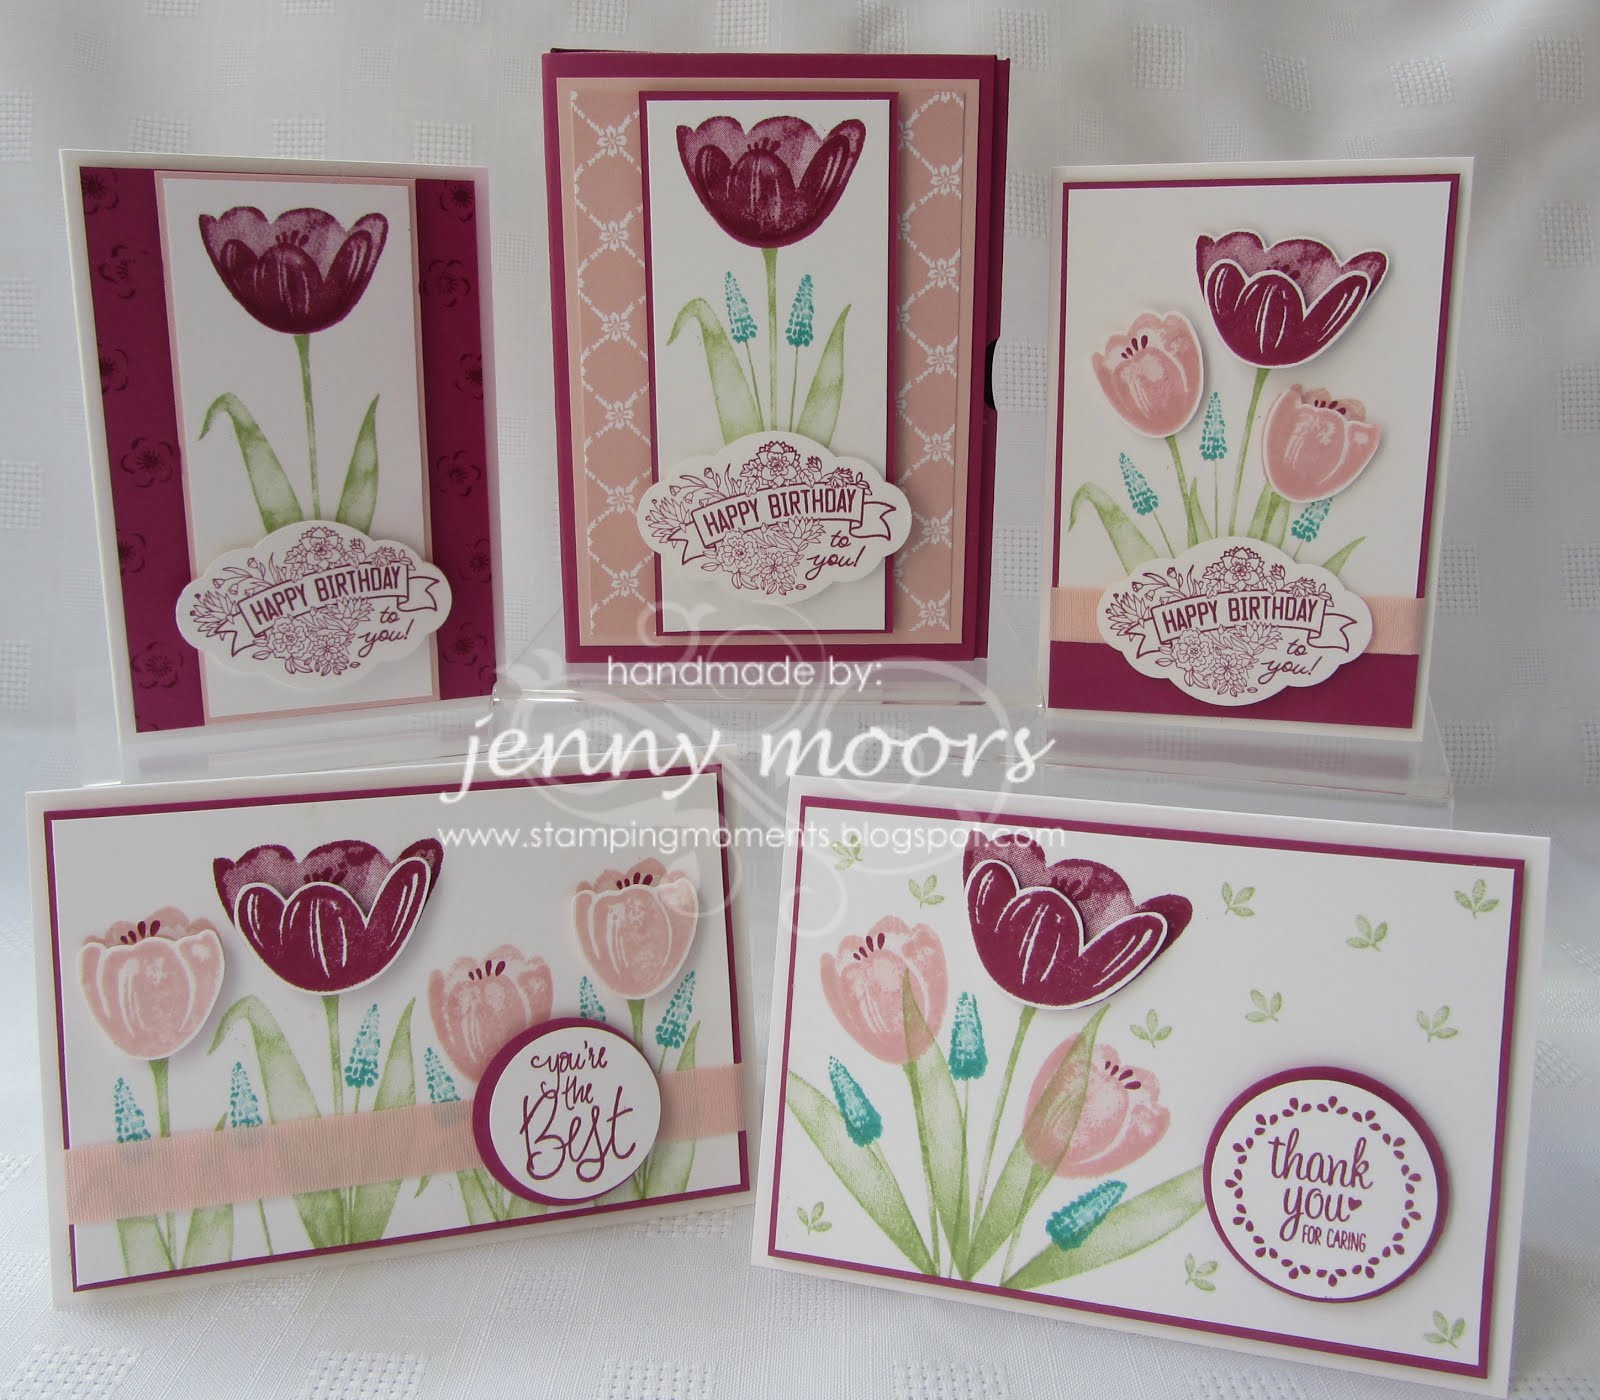
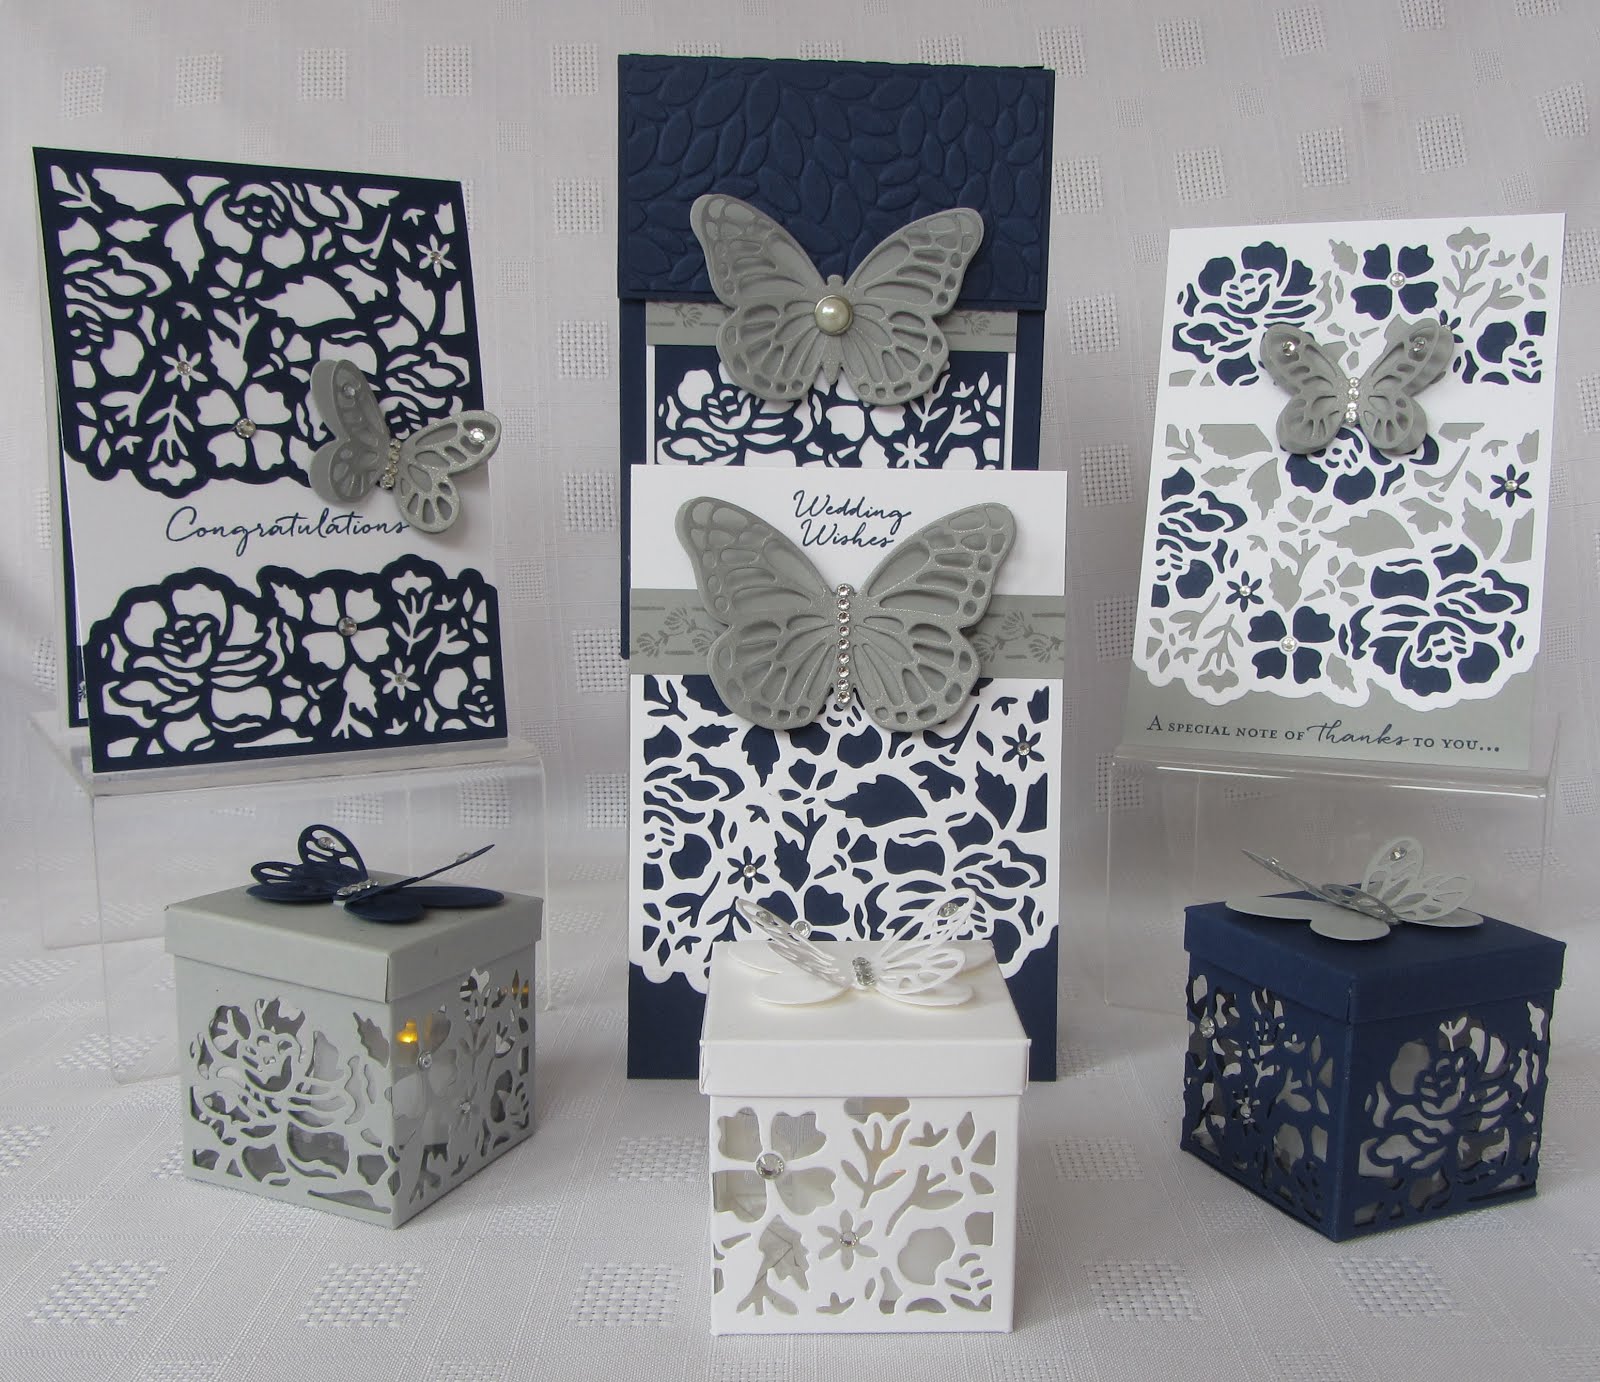
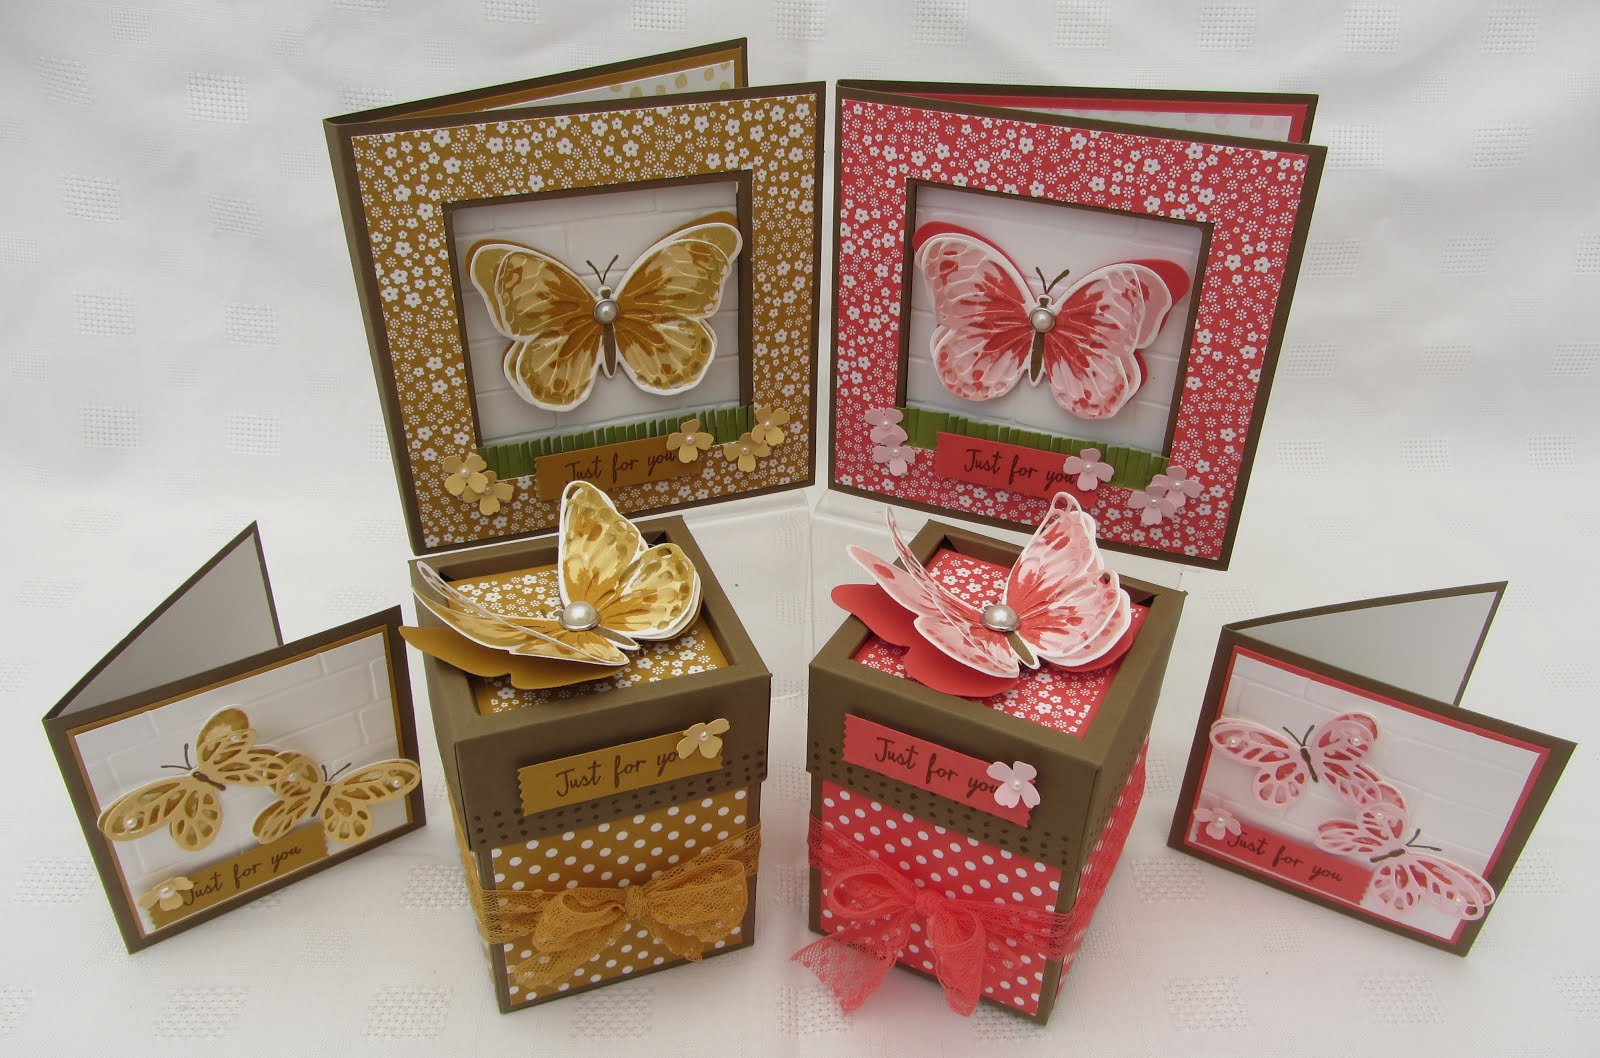
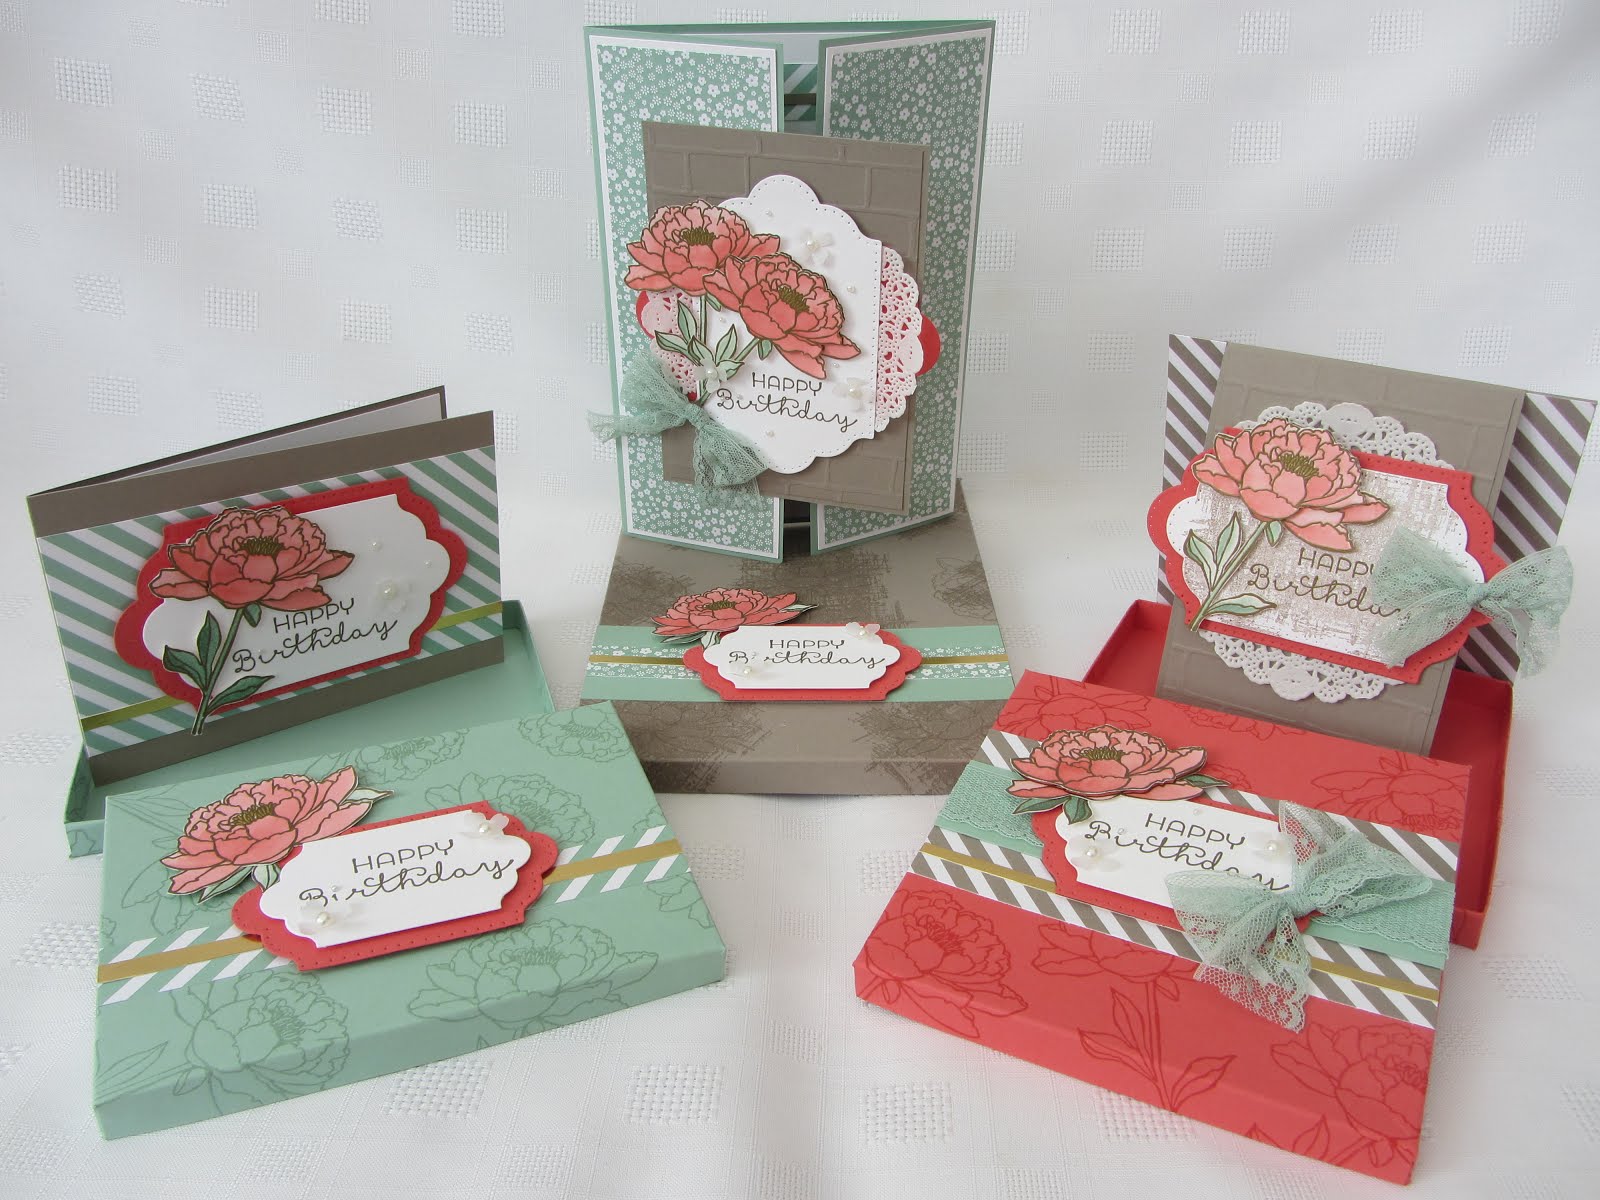
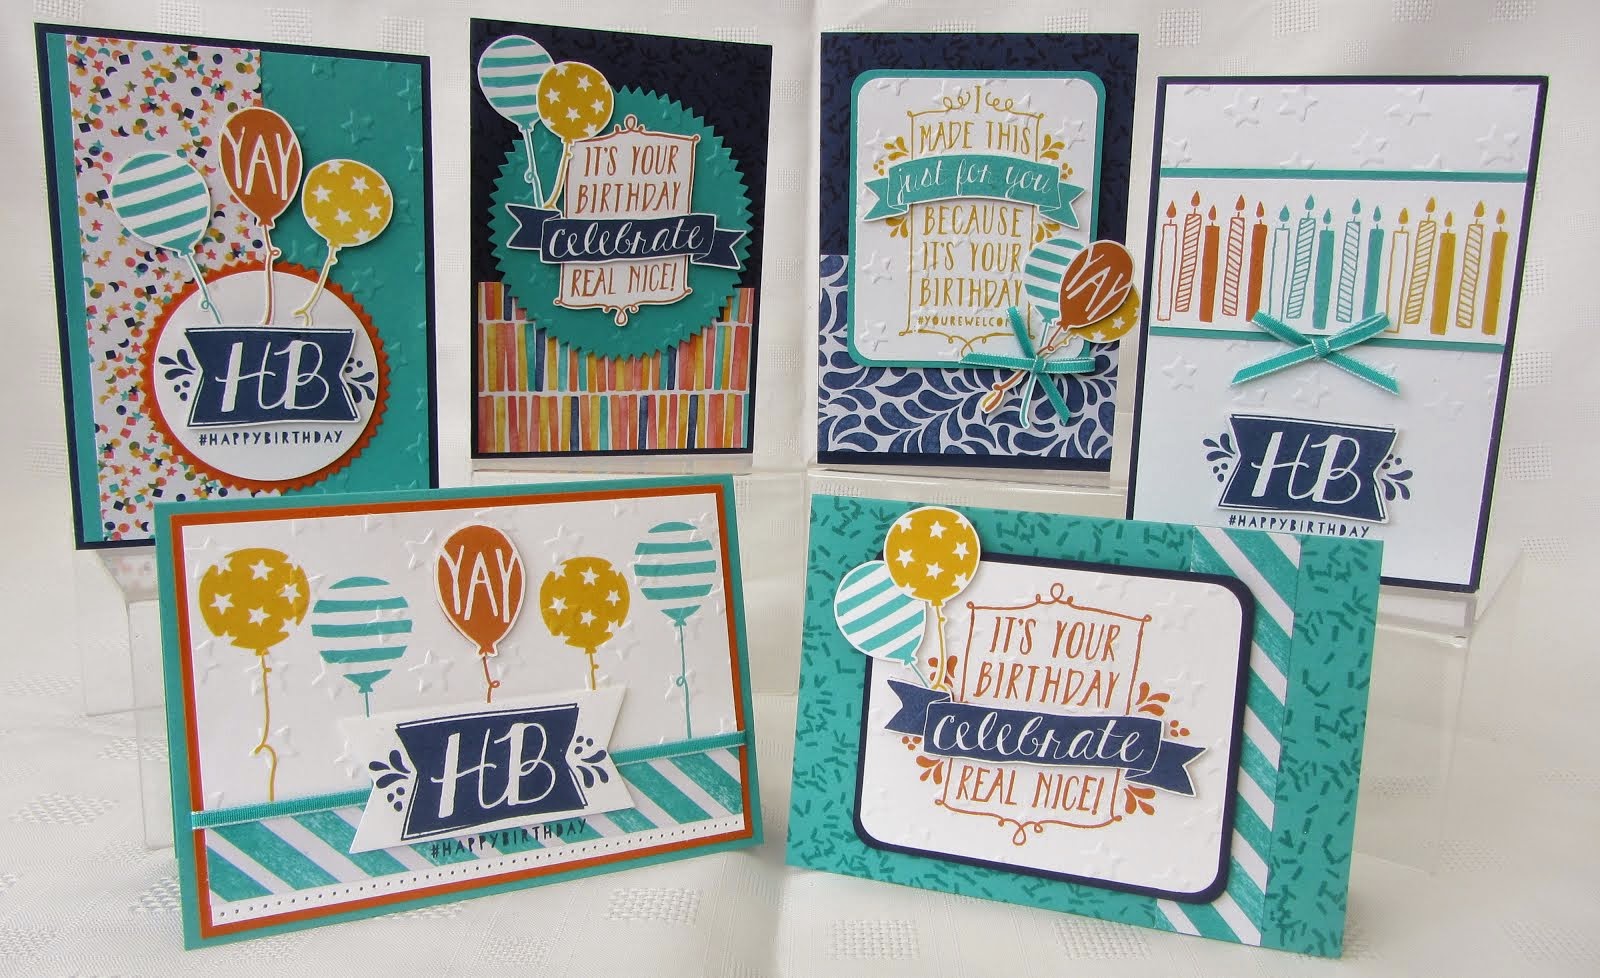
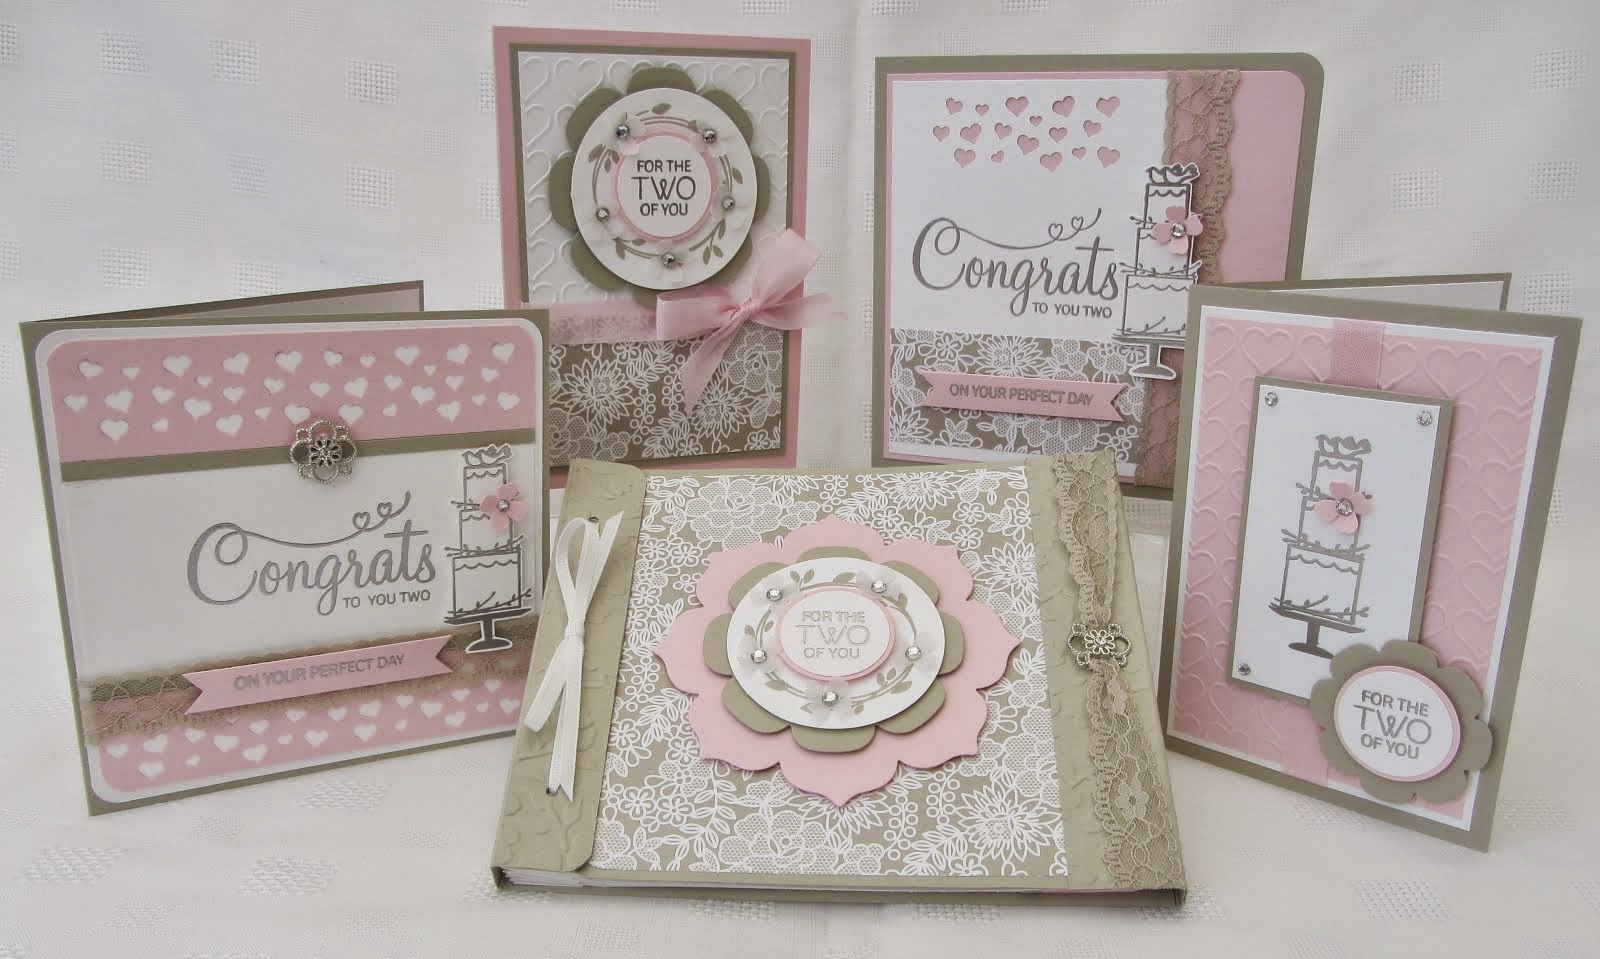
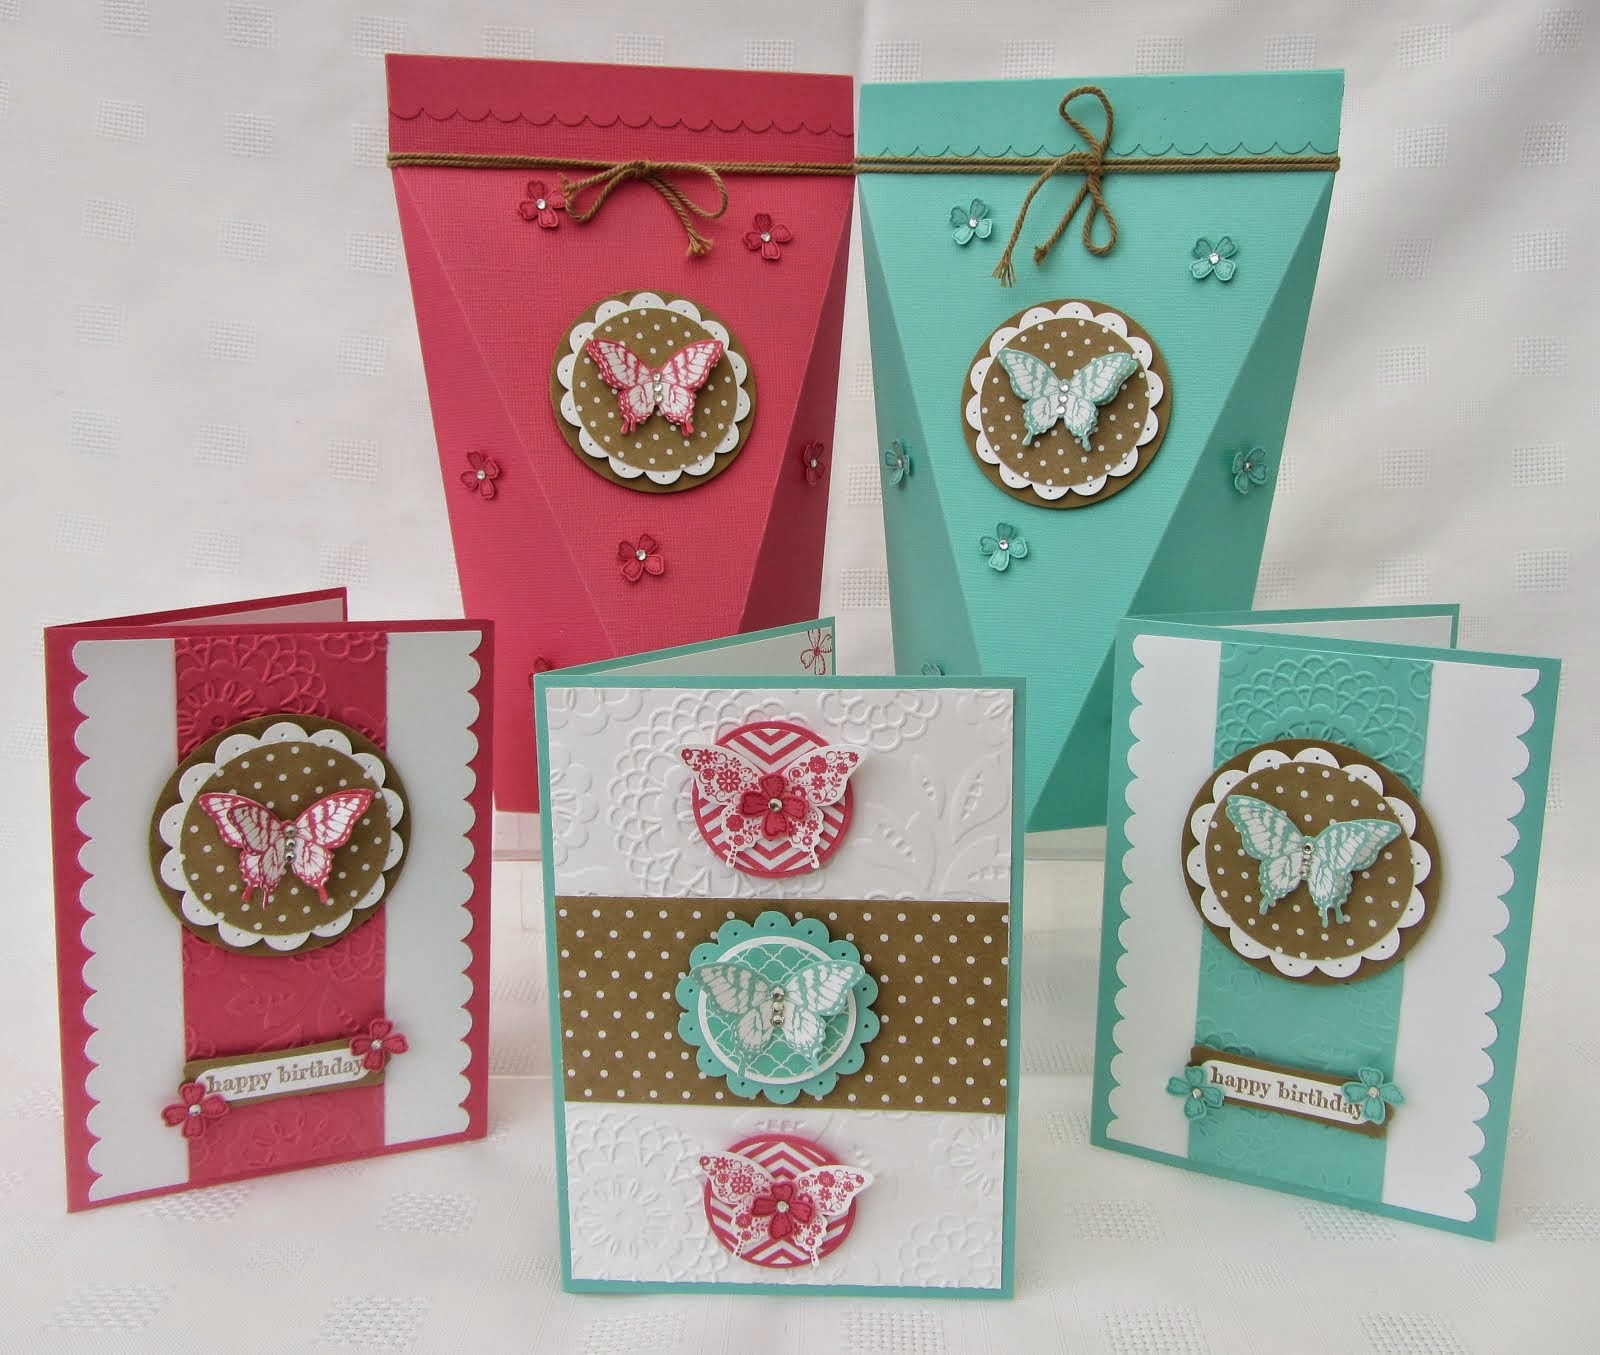
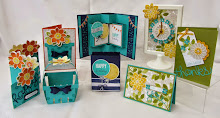
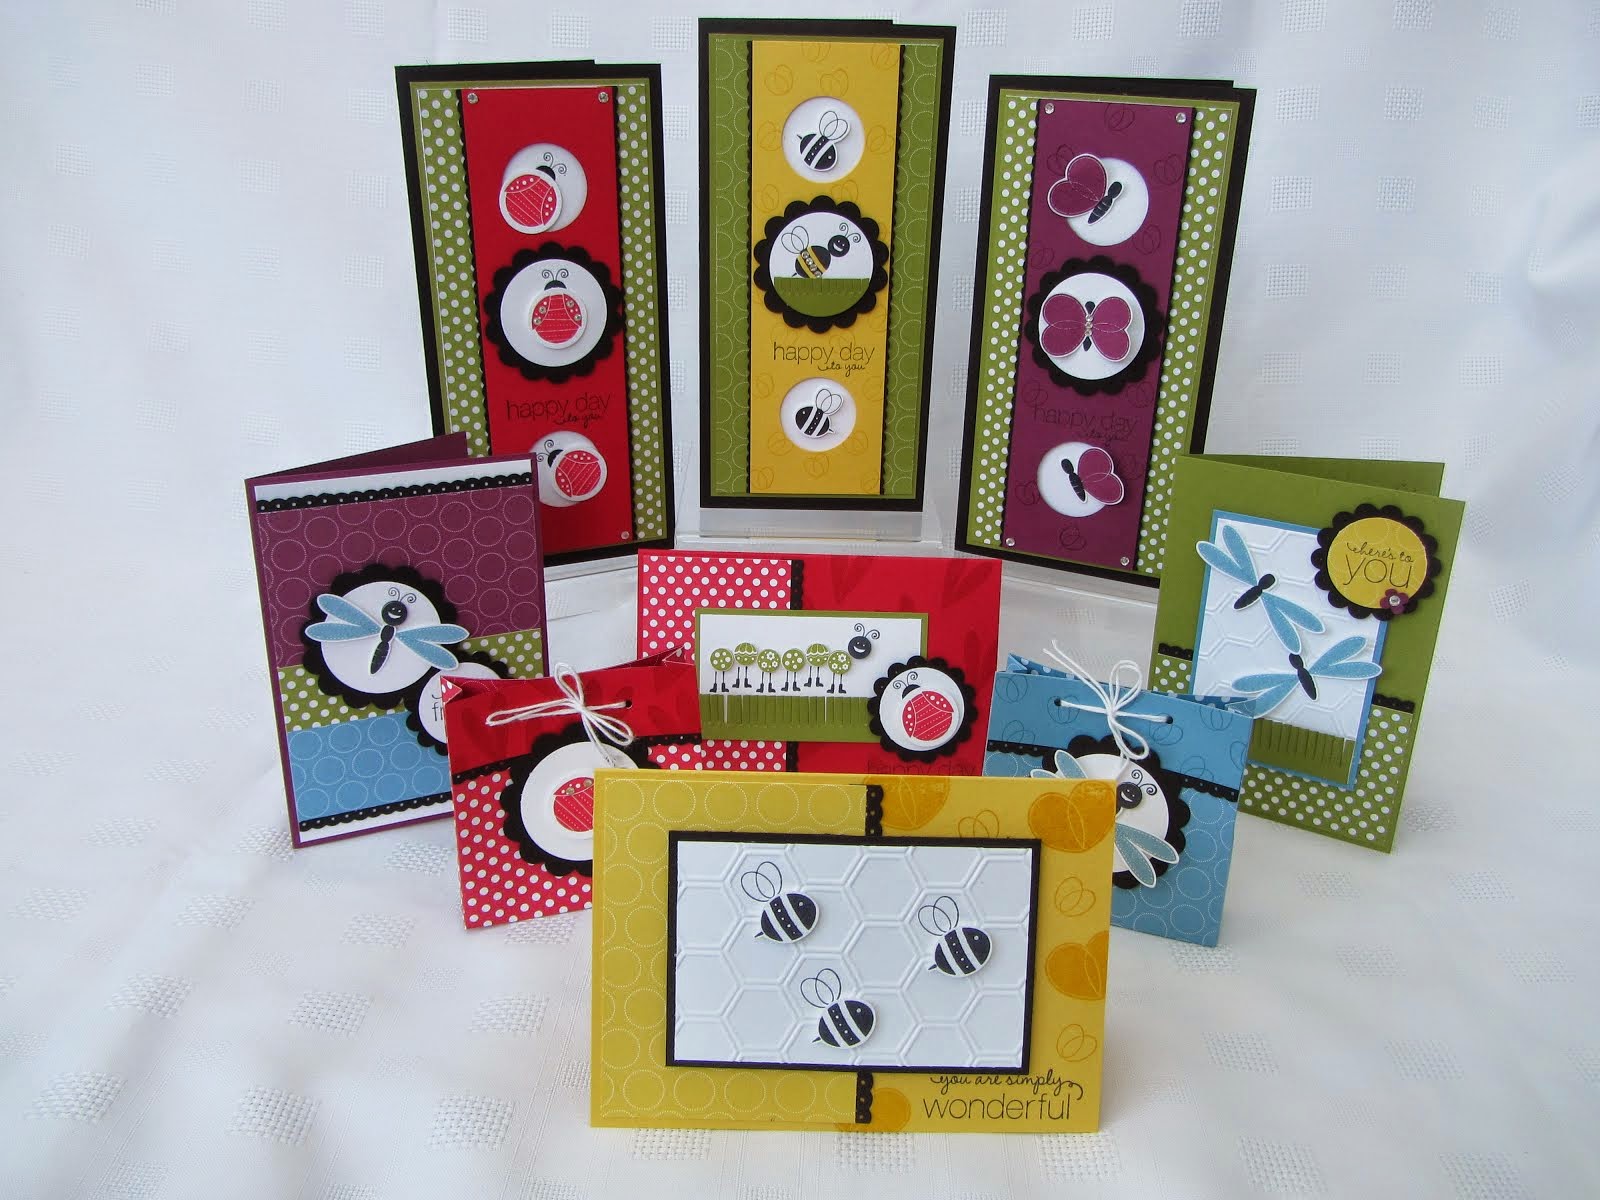
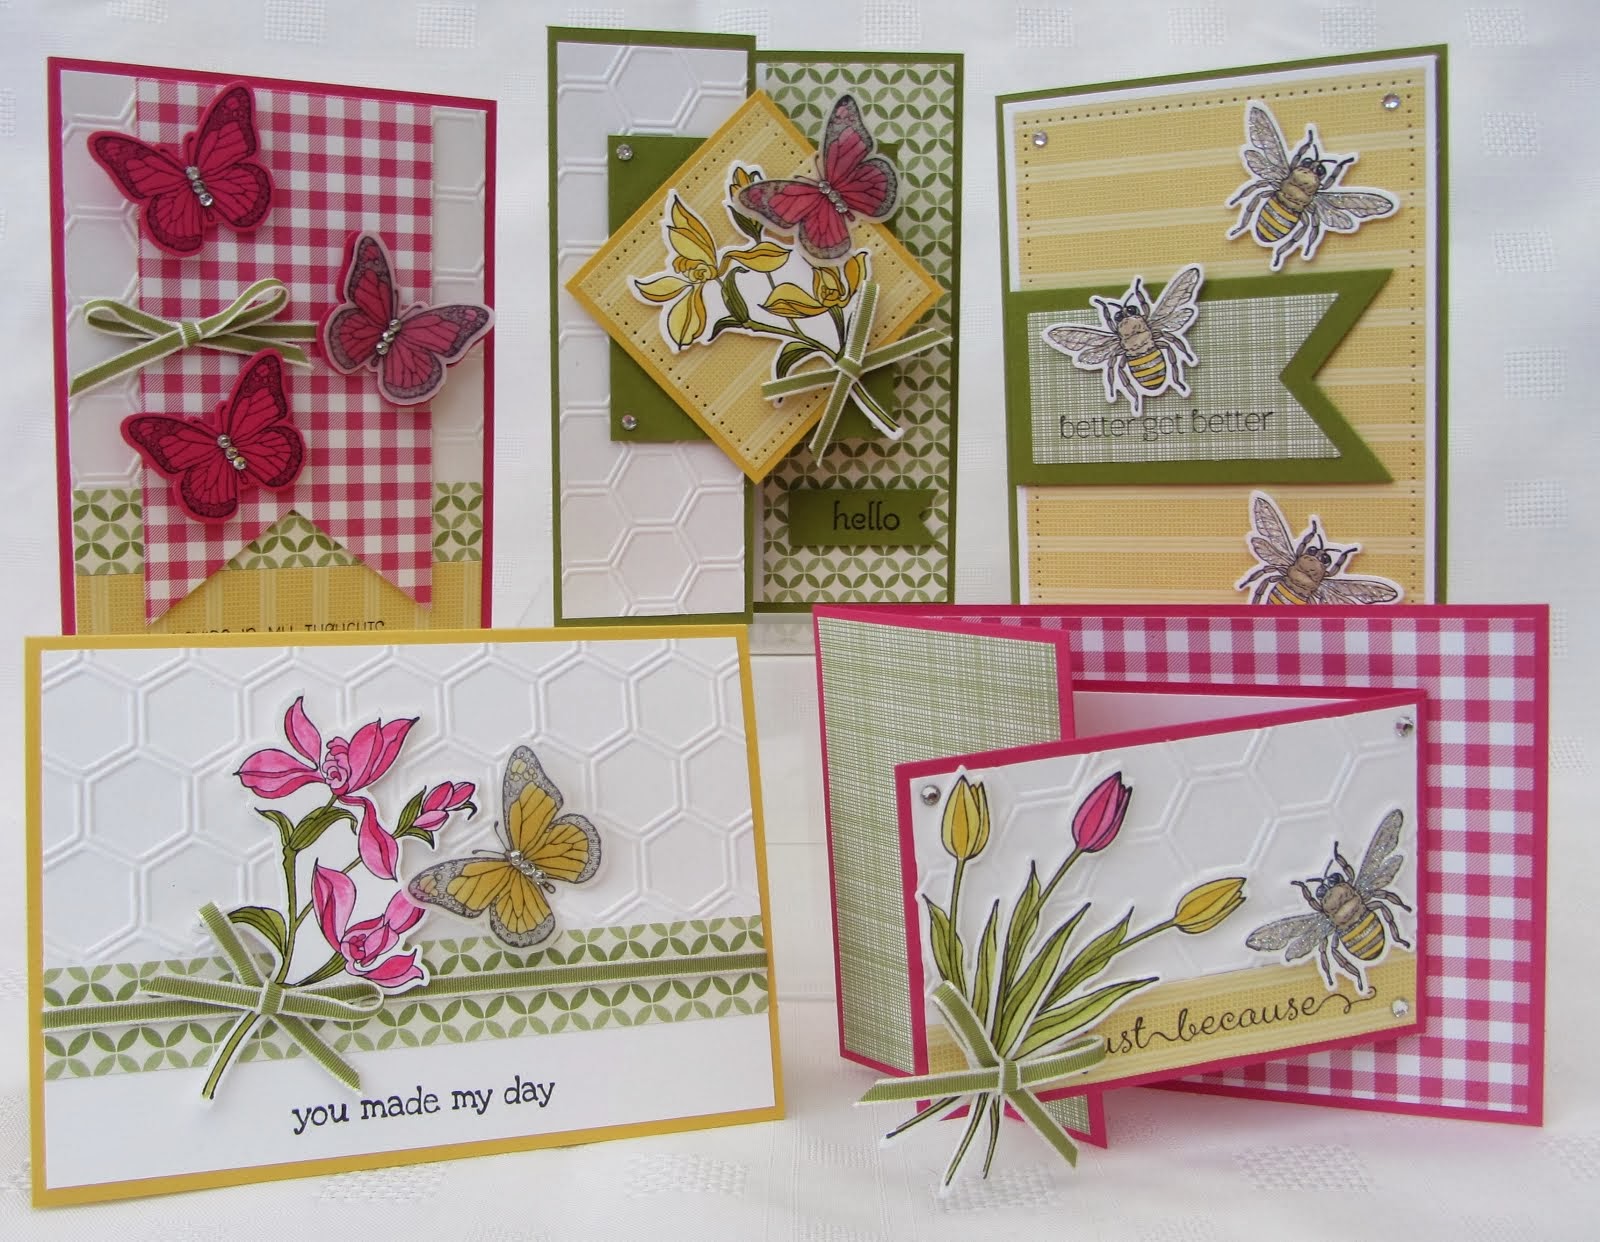
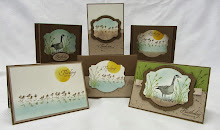
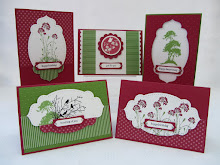
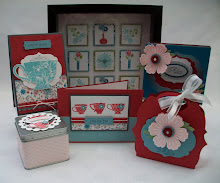
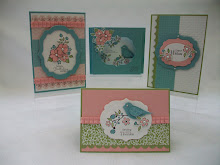
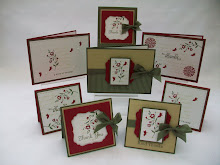
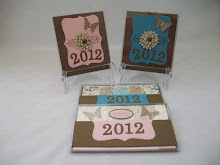
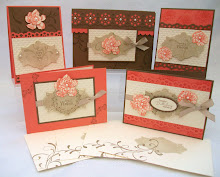
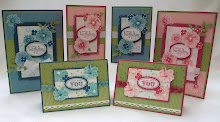
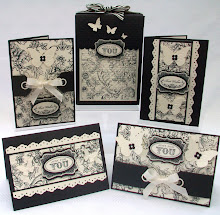
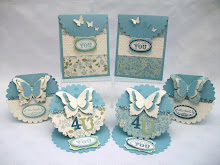
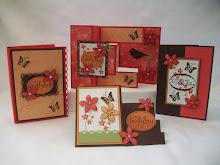
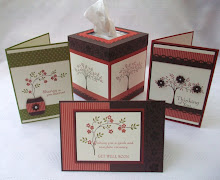
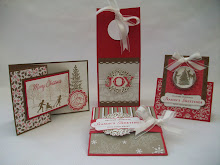
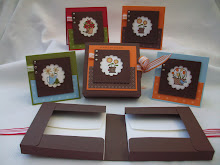
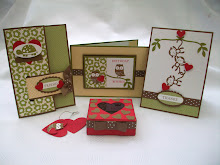
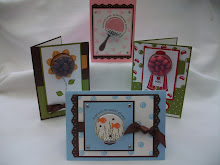
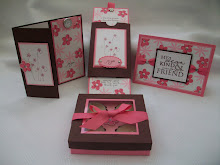
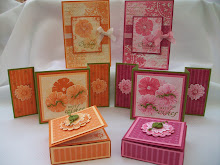
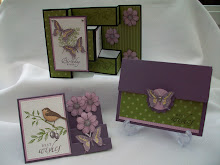
I also added them to the centre of the butterflies on these two cards as its body.


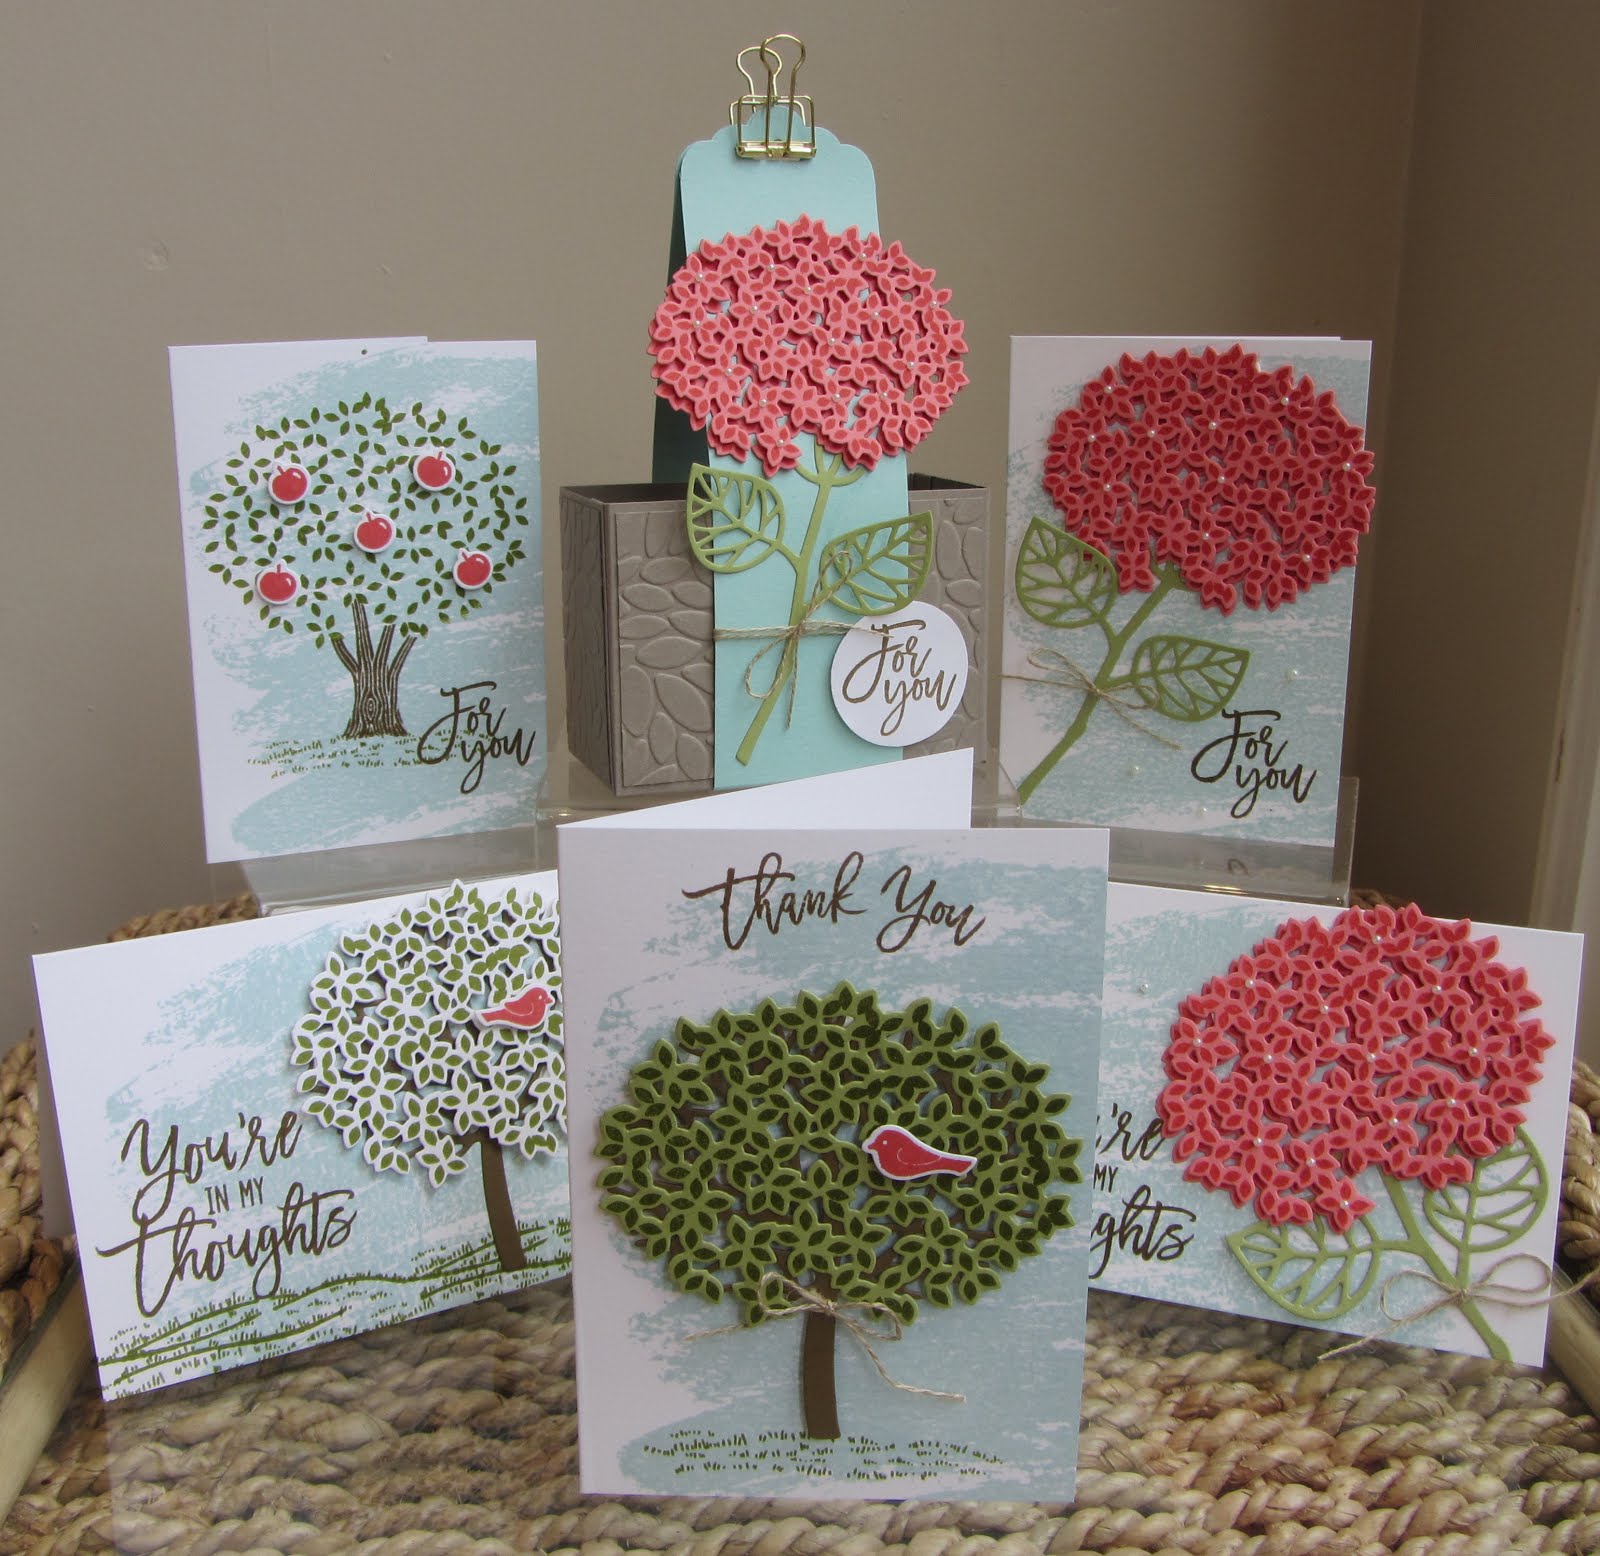
The papers are the Blooms & Bliss paper pack which is great as it has two colour combinations.

I drilled a hole in the end of the bone folder for the ball chain to go through.


This is a closer look.


These are the two bracelets.  A leather style one and a pandora style one.
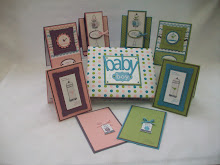

A keyring.


Bookmarks.


A wine glass charm.


The bead is painted with crystal effects or watered down tombow but you could use nail vanish.


For the thinner beads, follow this tutorial.


Take one piece of 6" x 1" strip of designer paper cut into a triangle.
Use a bamboo skewer, start with the wider end of the strip and wrap it around the skewer with out any glue.  Keep rolling it around until you get to the thin end, then glue it down with tombow.


The bigger one on the right is using the same principal but a 12" x 1" strip cut into a triangle.


Round Bead Tutorial.

Cut two strips 12" x 1cm or 3/8" straight piece and a 12" x 1 cm or 3/8" cut into a triangle.


You need two 5mm end caps (got mine from amazon) a no.5 knitting needle.

Start with the straight piece and wrap it around the needle.


Take it off the needle without glueing the end in place, let it unraffle and put in the silver end caps to get the right tension, then roll it back up tighter.


Glue down the end of the straight piece and then add the wider end of the triangle second piece.


Wrap it around until you get to the end and glue it in place.


glue in the end caps.


Finished bead.


Thanks for looking,
Jenny:-)xx


Sunday 12 March 2017

Bella & Friends Stamp Class


Morning Everyone,

Something a little bit cute for you this Sunday morning.

I used two stamp sets called Bella & Friends and the Pretty Kitty.

All the colouring in was done with the stampin' up! markers.


I used the banner framelits and the layering circles for the above two cards.  The embossing folder was Petal Burst, love that one.

The collar has a little enamel heart on it matching the in colour of dapper denim.


I 3d the flower pot for this cat card.  I used cajun craze marker for the flower pot, going over it a couple of times to get the shading.


Finished off with a few tiny pearls for the flowers.


The ballon was stamped on some designer paper and cut out then glued on top of the stamped one on the circle.


The cat was coloured in with sahara sand for this card.


Finishing off the set with this 3d card.


Thanks for looking,
Jenny:-)xx

Friday 10 March 2017

Stampin' Up! Hightide Stamp Set....


Morning all,

Just thought I would show you this lovely project today.  Last week at our Blooomin' Buds Craft Weekend we all make one 3D swap and this was made by one of my downline Jane Adams.  Such a talented Demonstrator from Northbourne, Bournemouth.

I was lucky to have won this swap.

Its a set of six tile coasters using the Hightide stamp set, stamped in black stazon and then sealed to make it waterproof.


Love the look of the tiles, kitchen tiles from  B & Q.


A closer look.


Thanks for looking,
Jenny:-)xx

Thursday 9 March 2017

Special Reason Stamp Class


Good Morning Everyone,

I'm sneaking on here, just before we have our last trip to the Cancer Centre for Daniel's last Chemo session, so busy day.

For this week's stamp class we used the Special Reason stamp set.
For the colour combination I used Rich Razzleberry, Sweetsugar plum, Crushed Curry and Pear Pizzazz.

The first card is an easel card, with the Dynamic Hexagonal embossing folder.  I have only just used this embossing folder and love it the impression is so deep.  I added it to the little post it note holder back and front as well.


This is the inside of the easel card, with a hint of the SAB glitter cardstock freebie.


You can see it better here.


A simple layer card but the actual base card is embossed which looks lovely on the inside.


For the flowers on this one the edges and centre were sponged with a dauber before stamping.


What a lovely sentiment on this card.


The post it notes were sweet sugarplum and they were from Lidl.


Only a couple of weeks left for Sale a Bration.

Hope you have a good day.  

Thanks for looking,
Jenny:-)xx

Monday 6 March 2017

Stampin' Up! Team Bloomin' Buds 2017


Morning Everyone,

I am so lucky to say I have two families.  These are some of my other family they are my Stampin' UP! Family and we are called the Bloomin' Buds.  We have just been on our yearly Bloomin' Buds Team craft weekend to Tincleton.

We craft from Friday afternoon to Monday morning.  This was our 3rd year staying at Tincleton.  
All the ladies mean so very much to me and its the love of Stampin' UP! that have given me a lovely second family.

I like to spoil my Bloomin' Buds and these are the bits I made for them.
We start off the weekend with a little project.  I used the Birthday Bright Project Kit with the matching Birthday Bright stamp set.  The little notepads come from home bargains.


These are my room gifts for each Bloomin' Buds.  I covered a coaster for the Bedroom Door Label for each bedroom.


We all take projects for everyone to make, this was my card project using the Dragonfly Dreams stamp set.


These are some of the buds busy crafting.


On the saturday evening we do a Show & Tell.  Thank you to the ladies who did the Show & Tell projects.  This was Debi's Mood Board.


This is Jill Hilson's Butterfly frames.


A couple of Beautiful You frames, such a lovely stamp set.


Some gorgeous projects using the High Tide stamp set by Jill Lackford.


This was Maria Mitchell's Show & Tell using the Succulent Garden and Window Bow framelits.


We all learnt to belly laugh over the weekend, and these were a few of the ladies practicing it before we left.

Thank you for coming Bloomin' Buds.   Roll on the next time we craft together.


Fancy joining???

Thanks for looking,
Jenny:-) xx

 
09 10